A workflow taught by Adobe Certified Instructors at Adobe Video World.
Motion graphics feel twice as polished with the right sound — a whoosh on a transition, an impact as a logo lands, a soundtrack under an animation. After Effects can handle audio, though it’s worth knowing its strengths and limits. This guide covers adding, adjusting, and syncing audio, plus when to take your mix to Premiere instead.
Why Sound Matters in Motion Graphics
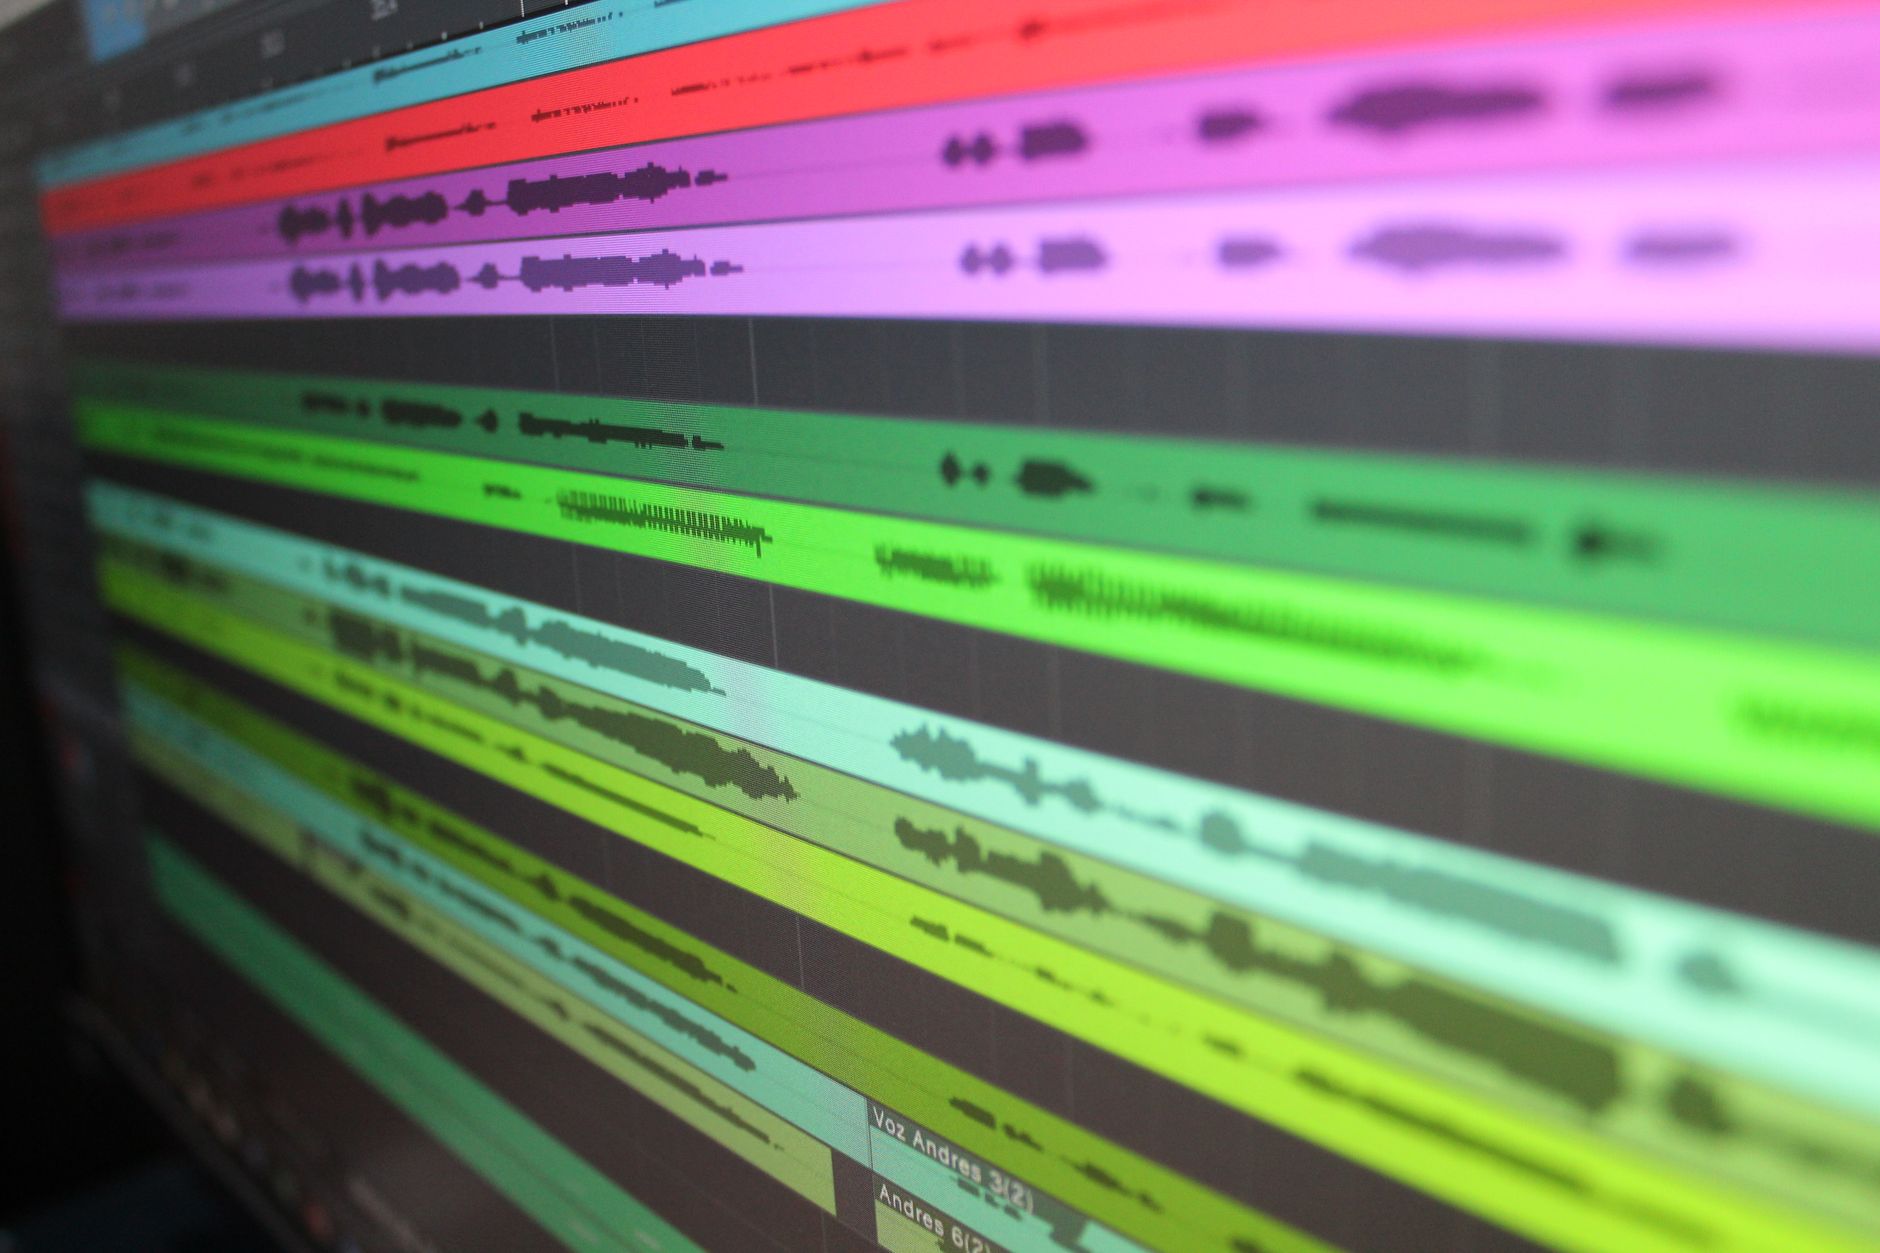
Animation and sound are partners. A logo that scales in feels flat in silence but powerful with a whoosh and an impact, because audio adds weight, timing, and emotion that the visuals alone can’t convey. Great motion designers treat sound as half the work.
Even simple sound effects dramatically raise perceived quality. A subtle click as a menu appears or a soft swell under a title makes an animation feel designed and intentional, which is why professional motion graphics are almost never silent.
Import Audio Files
Adding sound starts with importing it. Use File > Import to bring in audio files — WAV for quality or MP3 for smaller size — and drag them from the Project panel onto your timeline just like a video layer.
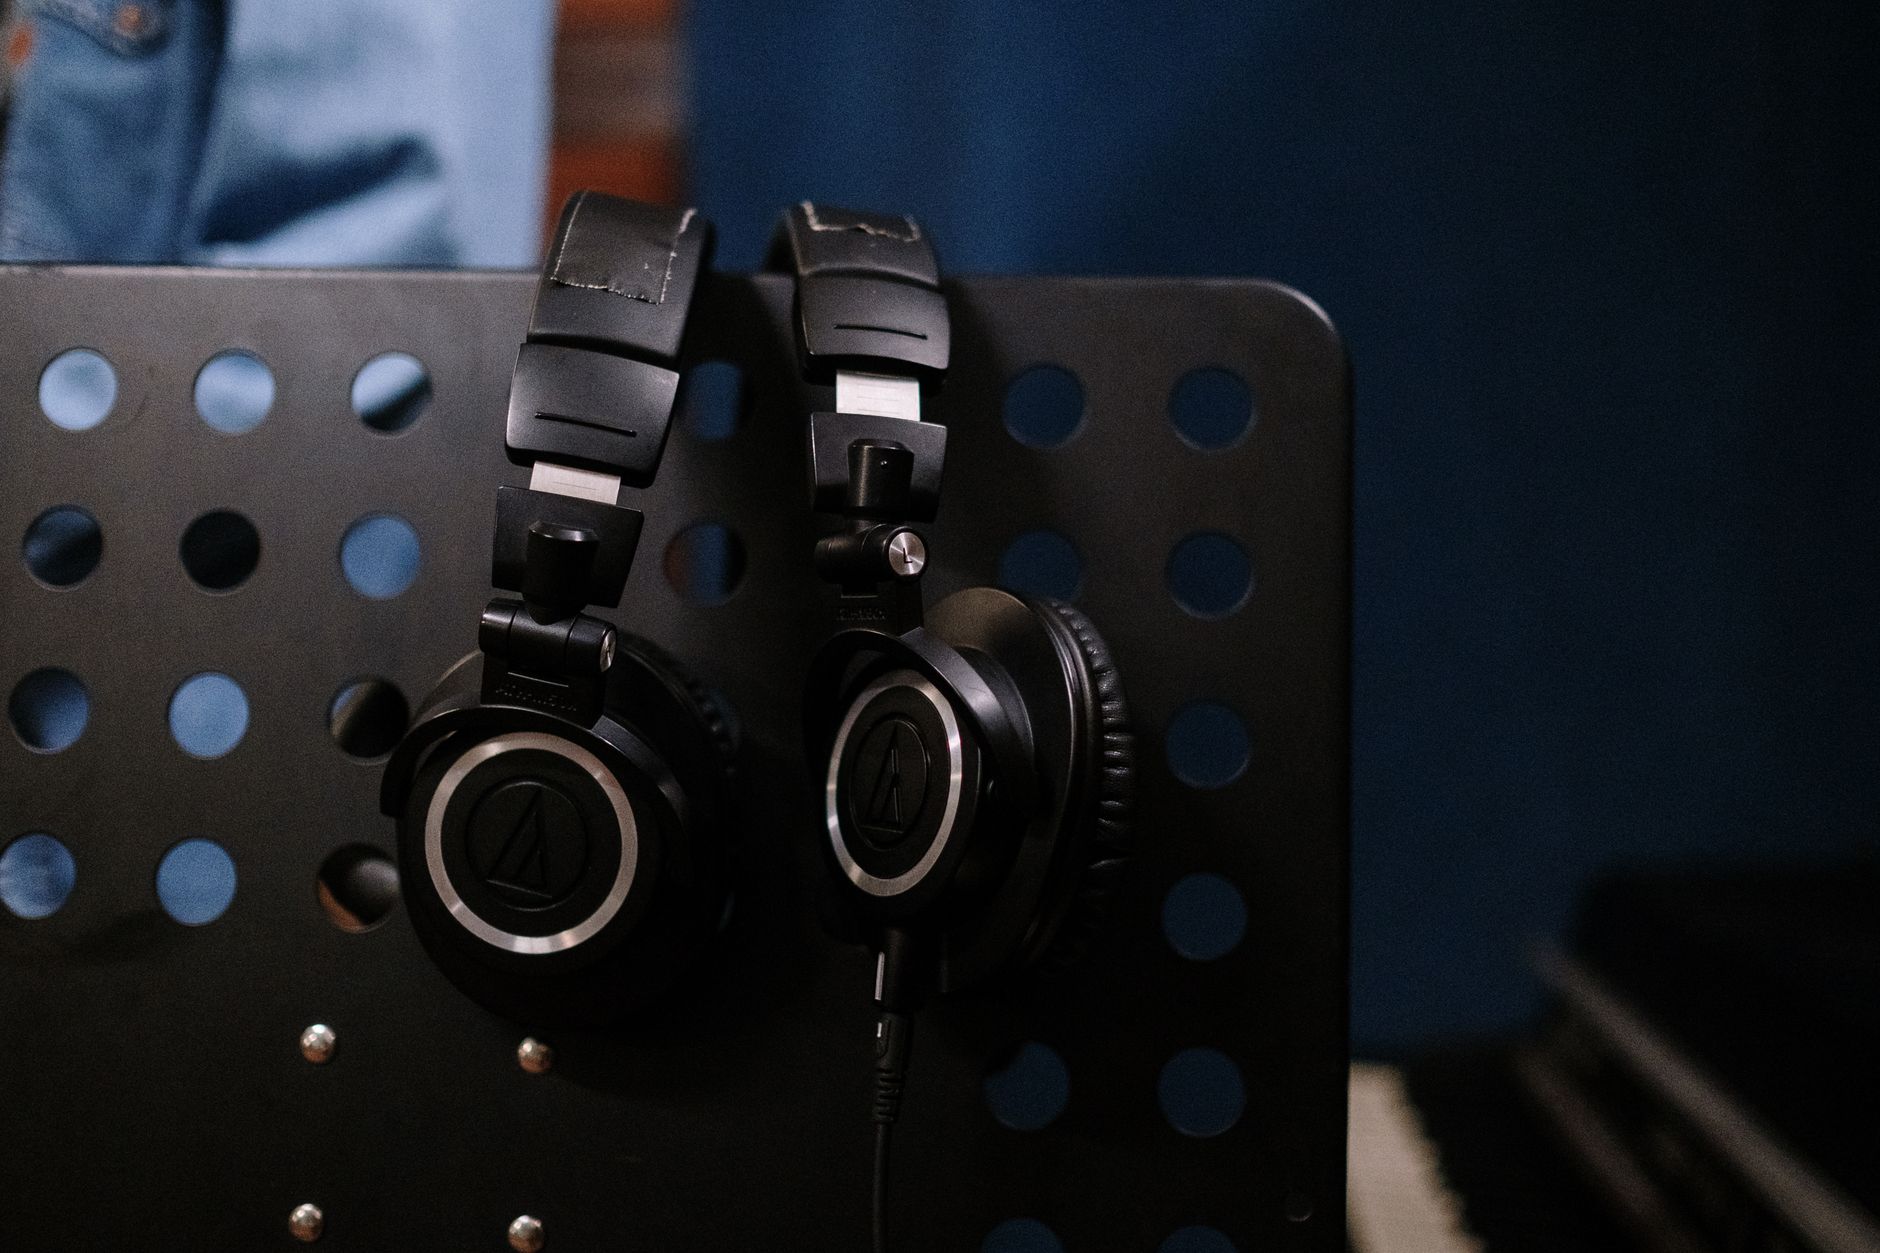
Each audio file becomes its own layer with a waveform you can expand to see. Stack multiple audio layers for music, sound effects, and voiceover together, and After Effects plays them all at once as you preview your composition.
Preview Audio Correctly
After Effects doesn’t always play audio during a normal RAM preview unless it’s set to, which confuses many beginners. Make sure audio is enabled in your preview settings, or use the period key on the numeric keypad to preview audio only.
The waveform on each audio layer is your visual guide even when you’re not listening, showing exactly where sounds peak. Learning to read those waveforms lets you place and time audio precisely, which is the foundation of syncing sound to motion.
Adjust Audio Levels
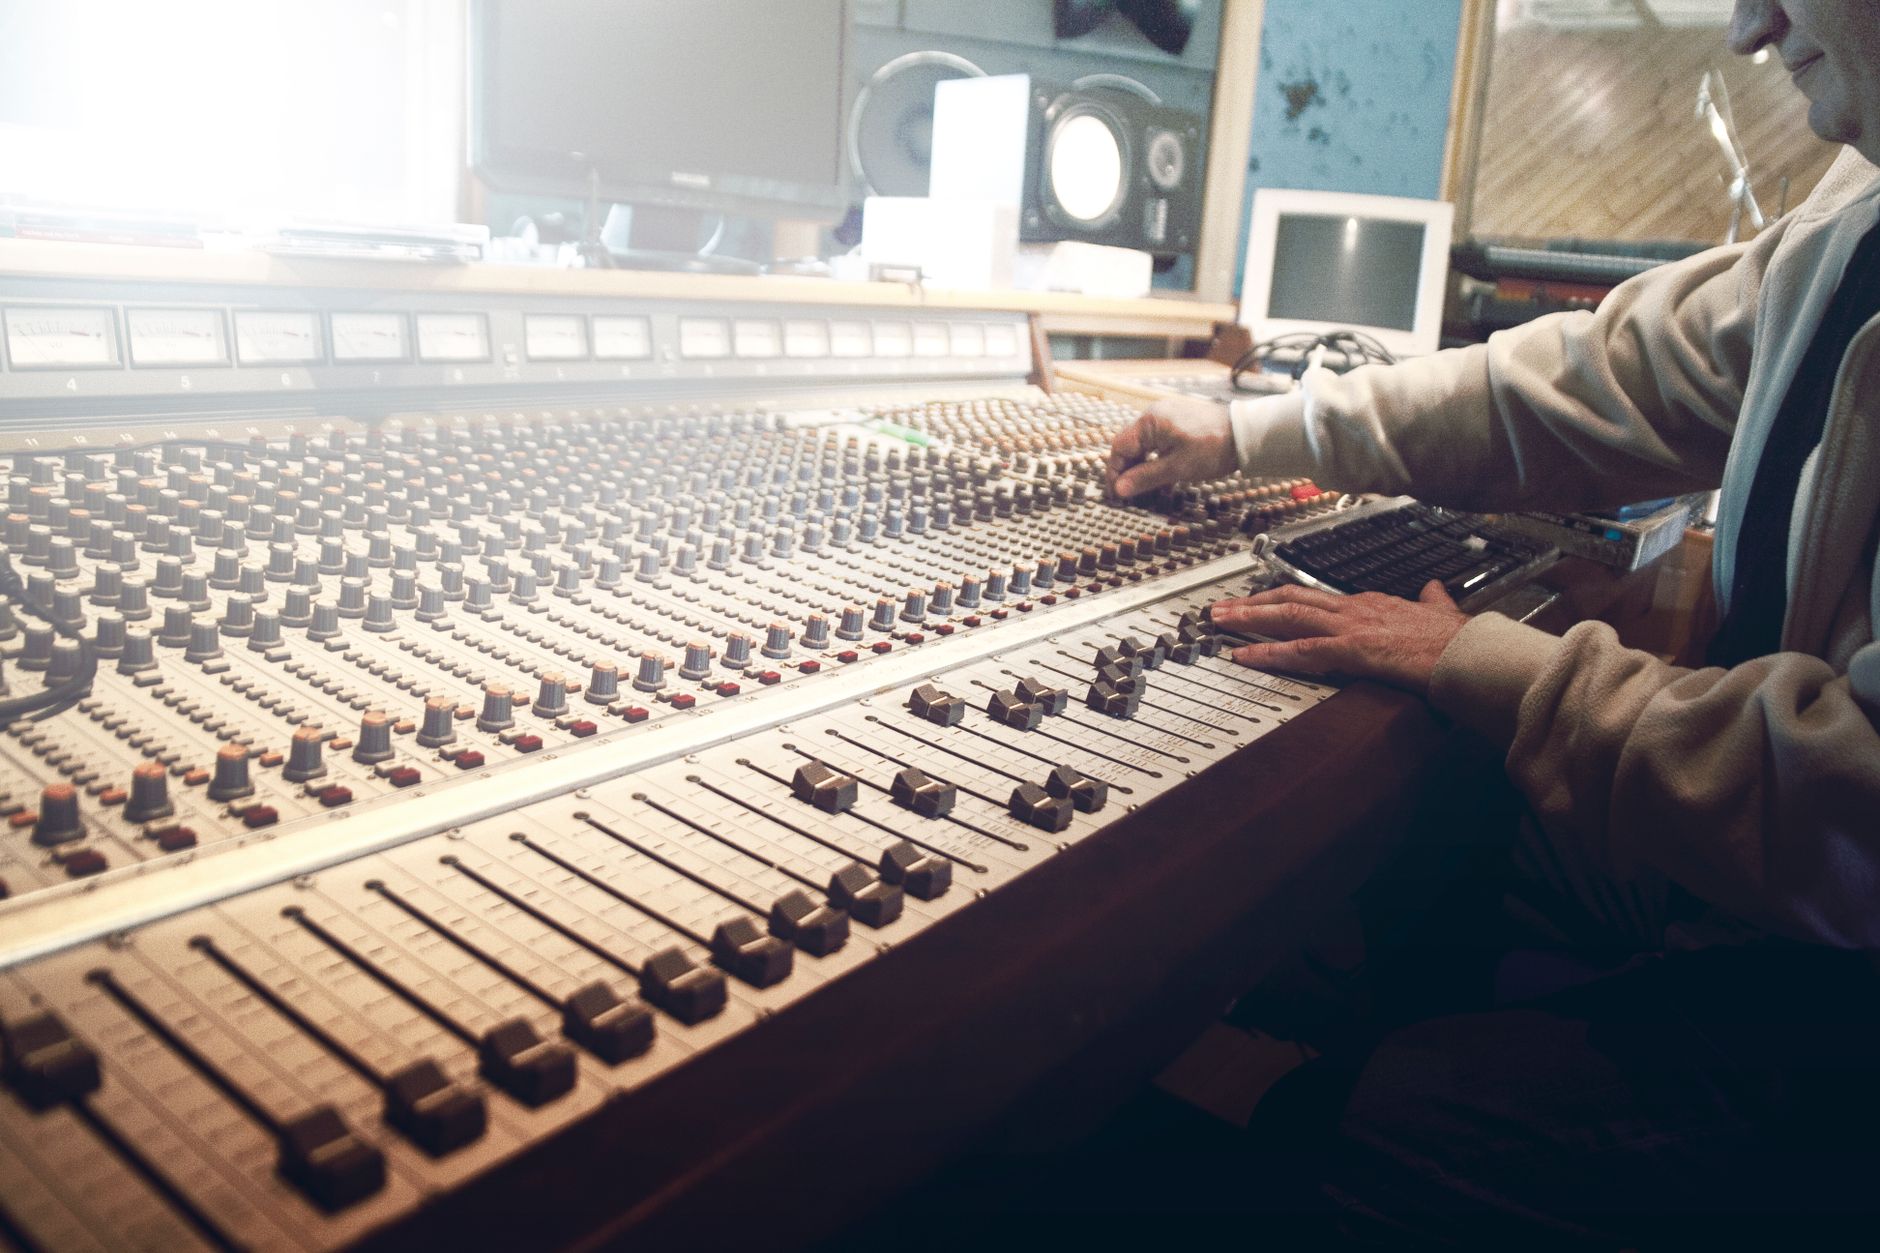
Control volume with the Audio Levels property on each audio layer, twirled open in the timeline. Raise or lower the decibel value to balance a sound against the others, so your music sits beneath dialogue and effects punch through clearly.
Keyframe the Audio Levels to fade sound in and out, ramping a soundtrack up at the start and down at the end. These simple level adjustments are the basics of a clean mix, preventing the jarring jumps that make audio feel unfinished.
Sync Animation to Sound
The real magic is matching your animation to the audio. Expand an audio layer’s waveform to see where the beats and hits fall, then place your visual keyframes so a logo lands exactly on an impact or a cut hits on a beat.
This synchronization is what makes motion graphics feel choreographed rather than arbitrary. Lining up your keyframes with the peaks in the waveform ties picture and sound together so tightly that the two feel inseparable.
Add Sound Effects to Motion
Specific sounds bring specific moves to life. A whoosh suits something flying in, an impact or thud suits something landing, a click suits a small element appearing, and a riser builds tension toward a reveal. Matching the sound to the motion is the whole art.
Build a small library of go-to sound effects so you can grab the right one quickly. A handful of whooshes, impacts, and clicks covers most logo stings and transitions, and using them consistently gives your work a recognizable, polished signature.
Convert Audio to Keyframes
After Effects can turn audio into animation data automatically. Right-click an audio layer and choose Keyframe Assistant > Convert Audio to Keyframes, and it creates a layer of keyframes that follow the audio’s amplitude.
Link other properties to those keyframes with expressions and your animation can pulse, scale, or shake in time with the music automatically. This audio-driven animation is how music-reactive visualizers and beat-synced graphics are made.
When to Mix in Premiere Instead
After Effects handles audio, but it’s not a dedicated audio editor. For a full mix with multiple tracks, noise reduction, and precise level automation, Premiere Pro’s Essential Sound panel is far better suited to the job.
A common workflow is to design your sound effects alongside the animation in After Effects, then do the final mix in Premiere where your animation sits in the larger edit. Knowing which tool to use for which task keeps both your visuals and your audio professional.
Audio Best Practices
- Enable audio preview so you actually hear your composition.
- Read the waveform to place and time sounds precisely.
- Keyframe Audio Levels to fade sound in and out cleanly.
- Sync animation hits to the peaks in your audio.
Common Audio Mistakes
- Silent motion graphics that feel flat and unfinished.
- Sounds that don’t match the movement on screen.
- Unbalanced levels with music drowning out everything else.
- Trying to do a full multi-track mix in After Effects instead of Premiere.
Build a Sound Effects Library
Working motion designers keep a personal library of go-to sounds. Collect a handful of whooshes, impacts, clicks, risers, and ambient beds, and organize them so you can find the right one in seconds. Reaching for a trusted sound rather than searching mid-project keeps your creative momentum going.
Many high-quality royalty-free sound effects are available free or by subscription, and a small curated collection beats a vast disorganized one. Using a consistent set of sounds across your projects also gives your work a recognizable signature, the same way a consistent visual style does.
Music, Licensing, and the Final Mix
Music transforms an animation, but licensing matters. Use royalty-free or properly licensed tracks so your videos don’t get taken down or demonetized, and keep a record of what you’ve licensed. Free music libraries and subscription services make this easy and affordable for creators at any level.
When your animation joins a larger edit, do the final balance in Premiere Pro, where the Essential Sound panel handles multi-track mixing far better than After Effects. Designing sound alongside your animation and mixing it properly in Premiere is the workflow that keeps both picture and audio polished.
Key Takeaways
- Import audio and drag it to the timeline like any layer.
- Enable audio preview and read the waveform to time sounds.
- Keyframe Audio Levels and sync animation hits to the audio.
- Use Convert Audio to Keyframes for music-reactive animation.
Frequently Asked Questions
How do I add audio in After Effects?
Import the audio file with File > Import and drag it onto your timeline like a video layer. Adjust its volume with the Audio Levels property, and enable audio in your preview settings to hear it.
Why can’t I hear audio in After Effects?
Audio isn’t always enabled during a standard preview. Turn on audio in your preview settings, or press the period key on the numeric keypad to preview audio only.
How do I sync animation to music in After Effects?
Expand the audio layer’s waveform to see where beats and hits fall, then place your visual keyframes on those peaks. You can also use Convert Audio to Keyframes for automatic, music-reactive animation.
Sources: Wikipedia’s overview of sound effects.
Add impact with sound at Adobe Video World
Train hands-on with Adobe Certified Instructors across 100+ Premiere Pro & After Effects sessions.



