A workflow taught by Adobe Certified Instructors at Adobe Video World.
The Echo effect repeats a layer’s frames over time to create motion trails, ghosting, and streaking effects. It’s behind everything from smooth motion blur trails to trippy, layered visuals. This guide explains how Echo works, its key controls, and how to use it for dynamic, eye-catching motion design.
What the Echo Effect Does
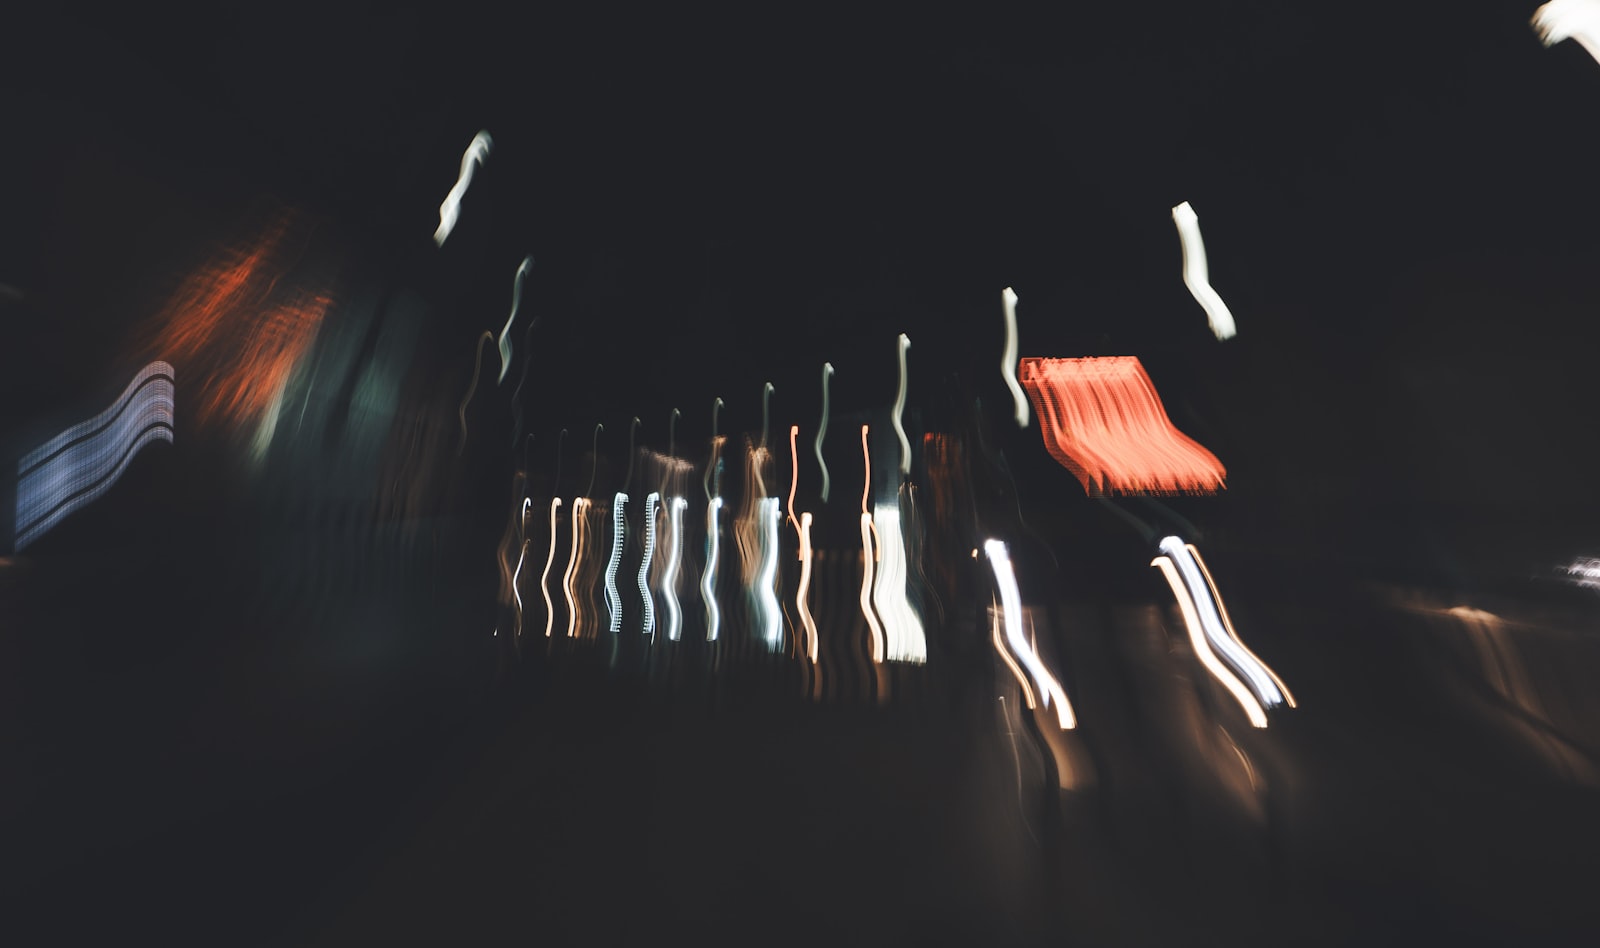
The Echo effect combines frames from different points in time within a single layer, overlaying past or future frames onto the current one. This creates trails, ghosting, and streaking as moving elements leave visible echoes behind them.
It’s a time-based effect, blending a layer with delayed copies of itself. The result ranges from subtle motion trails to wild, layered visuals, making Echo a versatile tool for adding a sense of speed, energy, and surrealism.
Apply the Echo Effect
Apply Echo from the Time category to a moving layer. Because it works with motion over time, you’ll only see its effect on layers that are animating or contain movement, where it overlays the echoed frames.
On a static layer, Echo does nothing visible, since there’s no motion to trail. Applied to an animating element, it immediately begins layering frames, and its controls then shape how those echoes look.
Control Echo Time and Number
Two key controls define the trail. Echo Time sets the gap between each echoed frame — negative for trailing behind, positive for leading ahead — and Number of Echoes sets how many copies appear.
A small echo time with several echoes creates a smooth, dense trail, while a larger time spreads distinct ghost images apart. Balancing these two controls is how you shape everything from a subtle blur to a series of separated echoes.
Use the Echo Operator
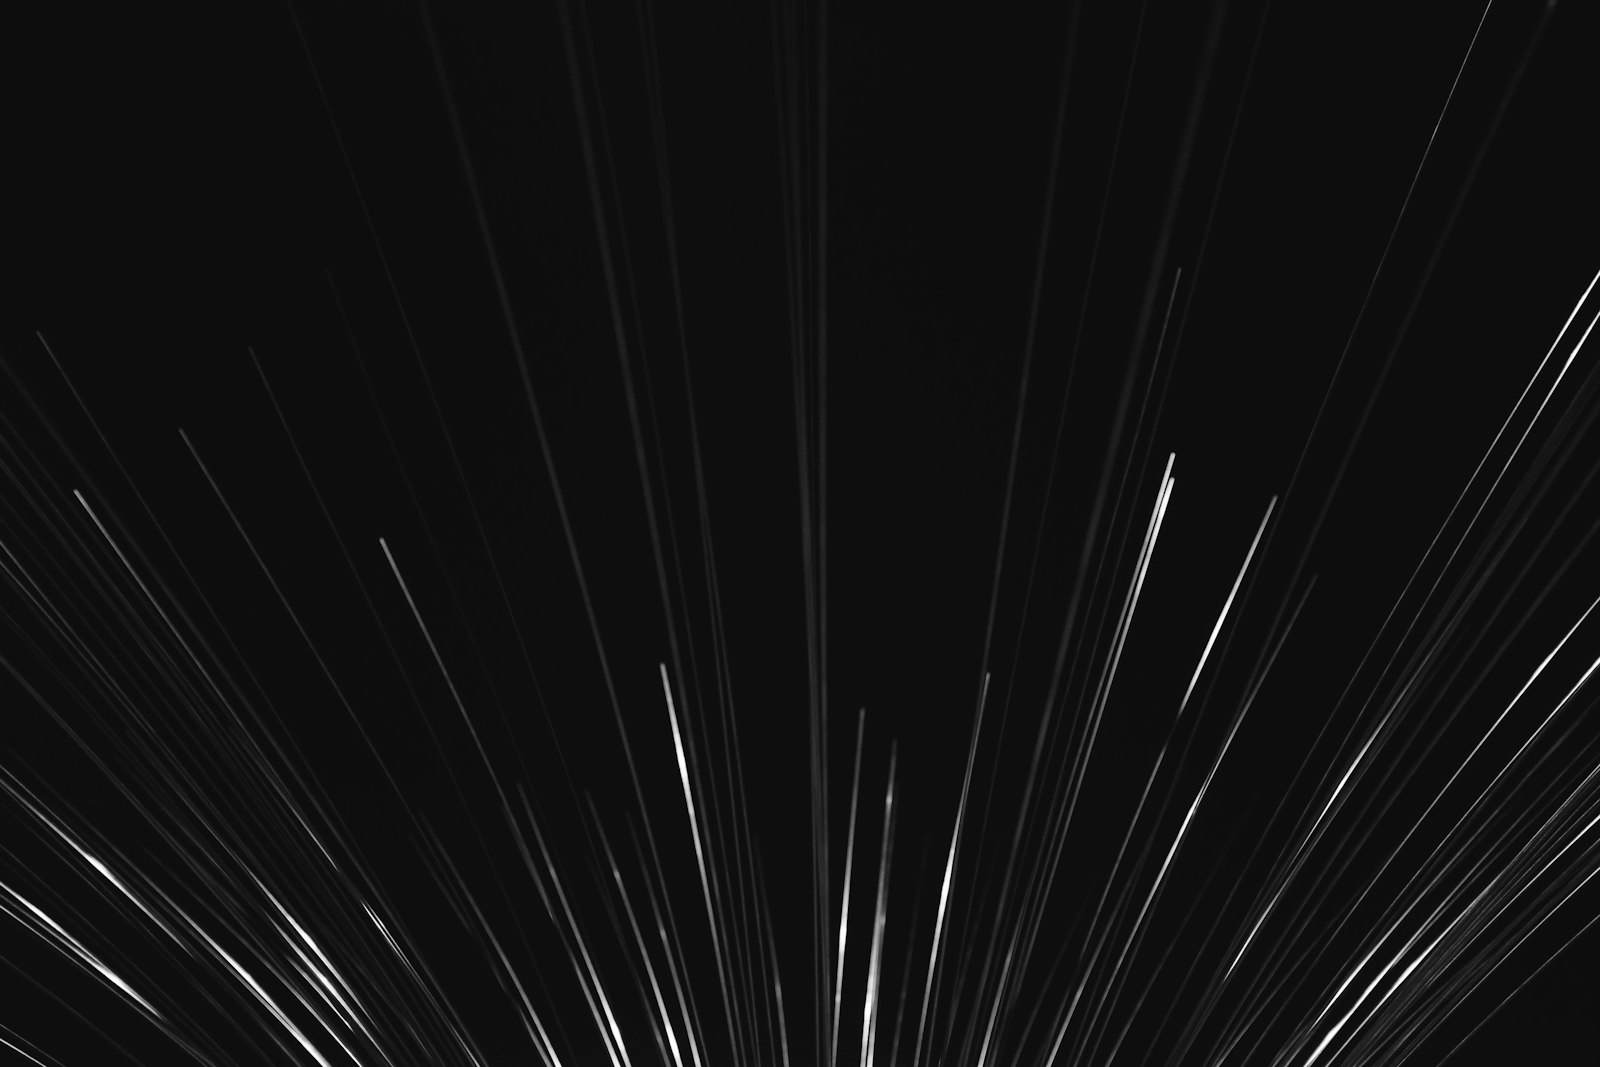
The Echo Operator determines how the echoed frames blend together — Add, Maximum, Minimum, Screen, and others. Each produces a different look, from bright additive trails to darker or composited blends.
Add and Screen create luminous trails ideal for light and energy, while other operators suit different effects. Experimenting with the operator dramatically changes the result, so it’s worth trying each to find the look your project needs.
Create Smooth Motion Trails
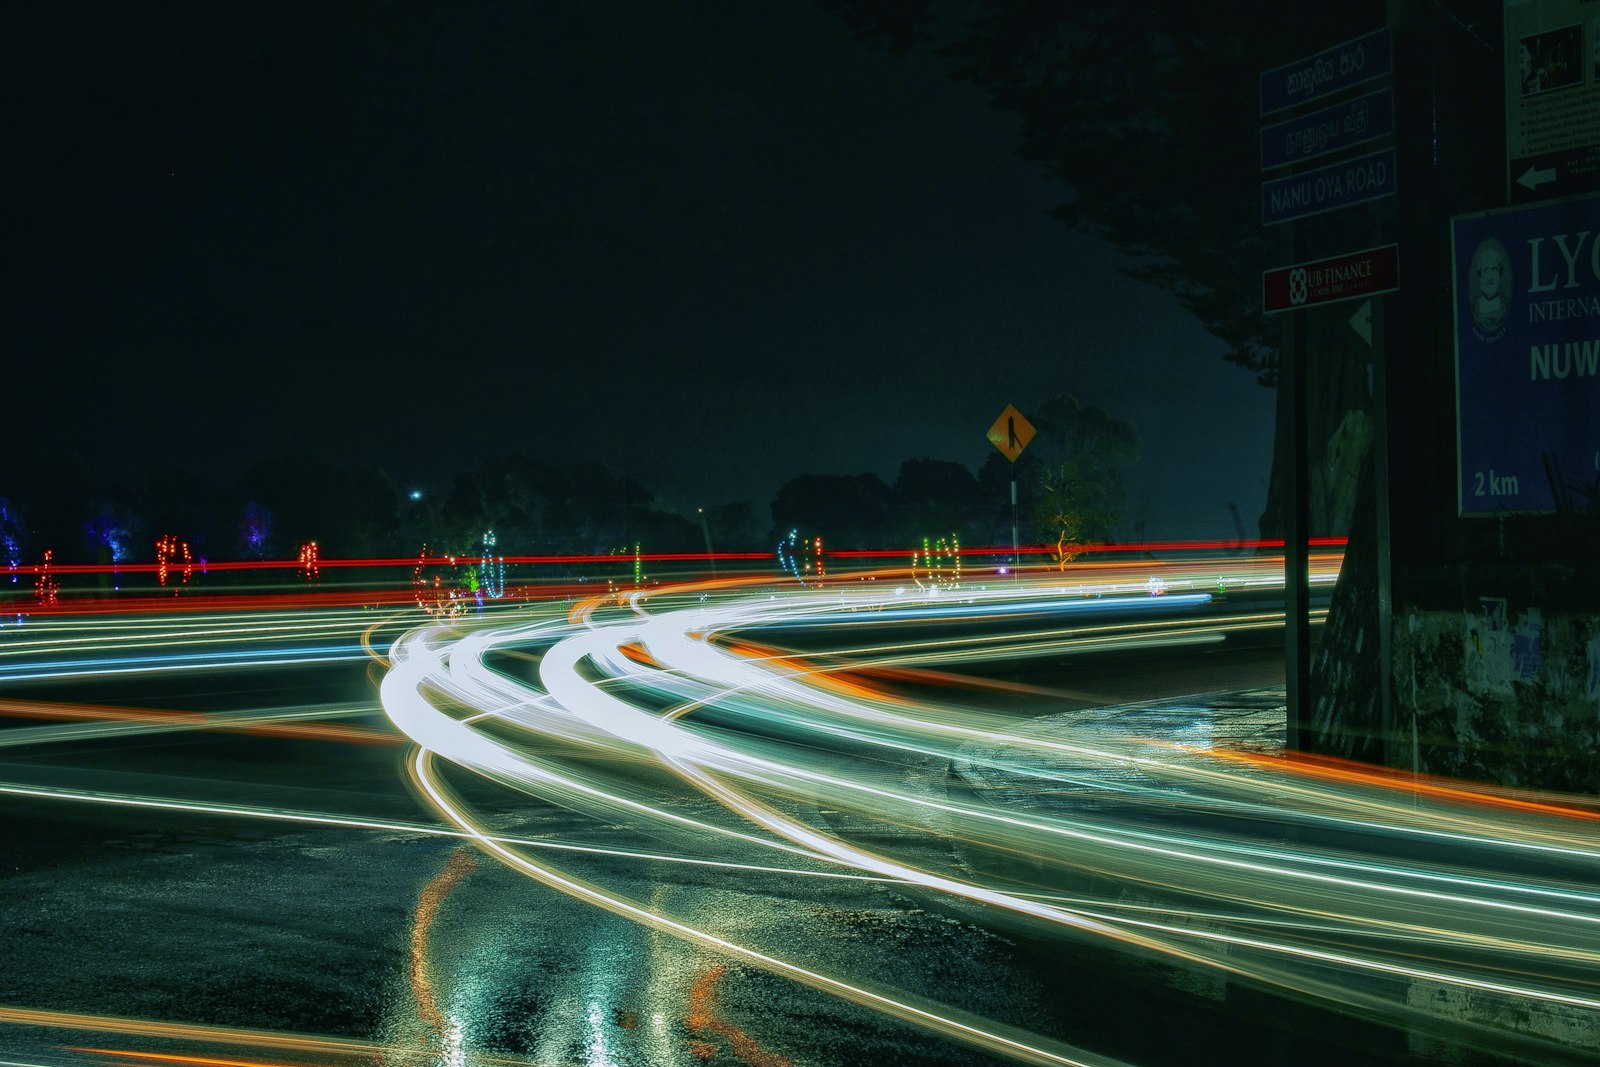
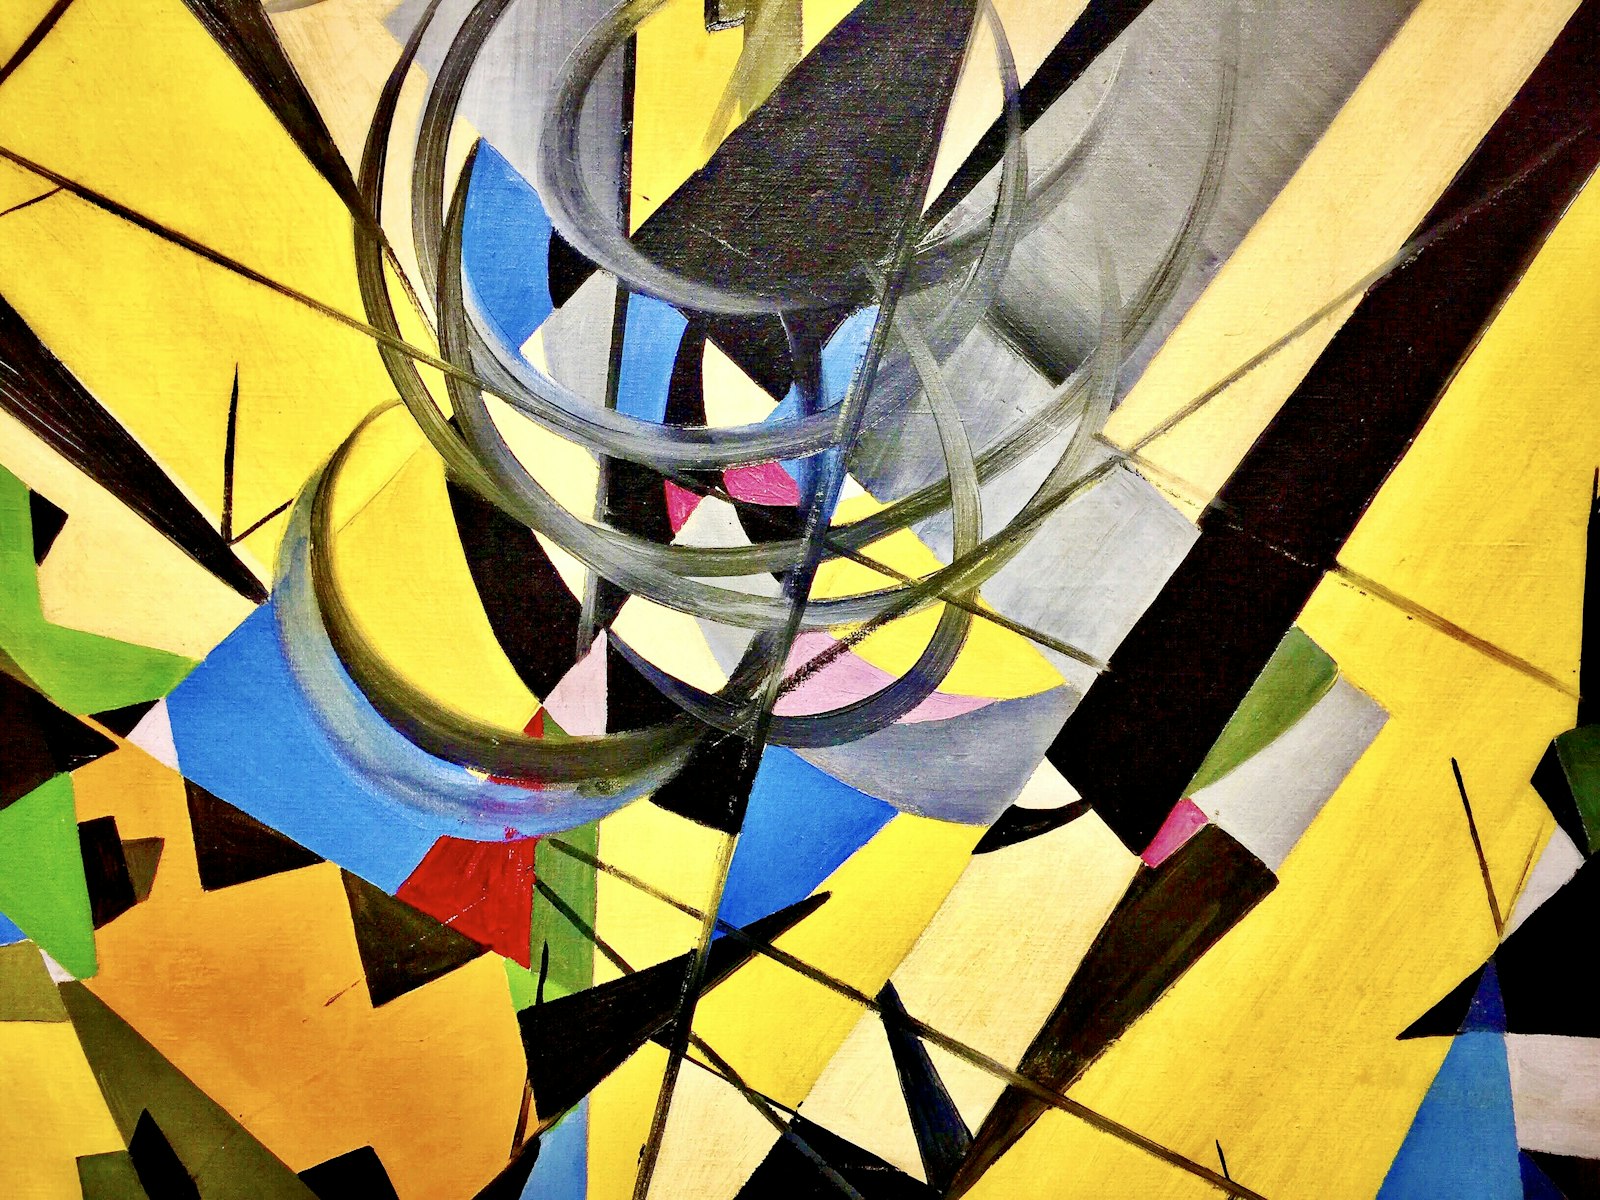
For a smooth trail behind a moving element, use a small negative echo time with several echoes and a decaying intensity. This leaves a clean streak following the motion, perfect for fast-moving graphics, text, or light effects.
Setting the Starting Intensity and Decay so each echo fades makes the trail taper off naturally. These smooth trails add a sense of speed and polish, complementing the motion blur on fast elements.
Make Trippy Layered Effects
Echo also creates surreal, psychedelic visuals. A larger echo time with many echoes and a bright operator produces layered, overlapping ghost images that build trippy, kaleidoscopic motion, popular in music videos and experimental design.
Pushing the settings to extremes, combined with colorful footage or animation, yields mesmerizing results. These layered echoes turn simple motion into complex, hypnotic visuals, a creative use far beyond a subtle trail.
Combine Echo with Other Effects
Echo works well layered with other effects. Adding a glow over echoed light trails makes them radiate, while applying Echo to a pre-comp lets you trail complex animations as a whole.
Its role as a time-based building block makes it versatile. Stacking Echo with color, glow, and distortion effects, or applying it to grouped elements, expands what you can create, from energy effects to abstract motion graphics.
Know Echo’s Quirks
Echo only sees the layer it’s applied to, ignoring effects applied above it in the stack unless you pre-compose. It also works on actual motion, so understanding that it samples frames over time helps you predict and control the result.
Because it can be processor-intensive with many echoes, keeping the count reasonable helps performance. Knowing these quirks — its frame-based nature and stacking order — lets you use Echo deliberately rather than being surprised by unexpected results.
Echo Effect Best Practices
- Apply Echo to moving layers — it needs motion to trail.
- Use a small negative echo time for smooth trails.
- Try different Echo Operators for the look you want.
- Pre-compose to echo complex animations or stacked effects.
Common Echo Mistakes
- Applying it to a static layer, where it does nothing.
- Too many echoes, slowing the render down.
- The wrong operator for the desired blend.
- Forgetting Echo ignores effects above it without pre-comping.
A Real Echo Effect Example
Picture animating a glowing title that streaks on screen. You apply Echo to the moving text, set a small negative Echo Time with five echoes on the Add operator, and add Decay so each trailing copy fades. As the title flies into place, it drags a luminous comet-like tail behind it that settles as the motion stops.
A glow over the whole layer makes the trail radiate convincingly. That smooth, fading streak — built from one effect and a few values — gives the title a sense of speed and energy that a plain animation lacks, demonstrating how Echo turns simple motion into eye-catching, dynamic design.
Echo for Speed and Energy
Echo is a go-to for conveying velocity, whether on a sprinting character, a rushing vehicle, or a fast-moving graphic. A subtle trail behind a fast element reads instantly as speed, while heavier echoes suggest extreme velocity or supernatural energy, making it a versatile shorthand for motion and power.
Matching the trail’s length and intensity to the speed you want to convey keeps the effect believable, and pairing it with motion blur blends the echoes into natural-looking movement. Used with restraint for realism or pushed hard for stylized energy, Echo gives motion a tangible sense of force.
Echo and Performance
Echo can be processor-heavy, since each additional echo means After Effects composites another copy of the layer’s frames. On dense compositions with many echoes, this slows previews, so keeping the echo count reasonable and pre-rendering finished echo layers keeps your project responsive.
If you need an extreme number of echoes, isolating the effect in its own pre-composition and rendering it out frees up your timeline. Treating Echo with the same optimization mindset as any demanding effect ensures its trails and ghosting don’t come at the cost of a sluggish edit.
Key Takeaways
- Echo overlays a layer’s frames over time for trails and ghosting.
- Echo Time and Number of Echoes shape the trail.
- The Echo Operator controls how echoes blend.
- Use it for smooth motion trails or trippy layered visuals.
Frequently Asked Questions
What does the Echo effect do in After Effects?
Echo overlays a layer’s frames from different points in time, creating motion trails, ghosting, and streaking as moving elements leave echoes behind them. It only affects layers that are animating or contain movement.
How do I make a motion trail with Echo?
Apply Echo to a moving layer, use a small negative Echo Time with several echoes, set a bright operator like Add or Screen, and use Decay so each echo fades. This leaves a smooth streak following the motion.
Why isn’t the Echo effect doing anything?
Echo works on motion over time, so it does nothing on a static layer. It also only sees the layer it’s applied to, ignoring effects above it in the stack unless you pre-compose the layer first.
Sources: Adobe’s documentation on the Echo and time effects in After Effects.
Create motion trails at Adobe Video World
Train hands-on with Adobe Certified Instructors across 100+ Premiere Pro & After Effects sessions.



