A workflow taught by Adobe Certified Instructors at Adobe Video World.
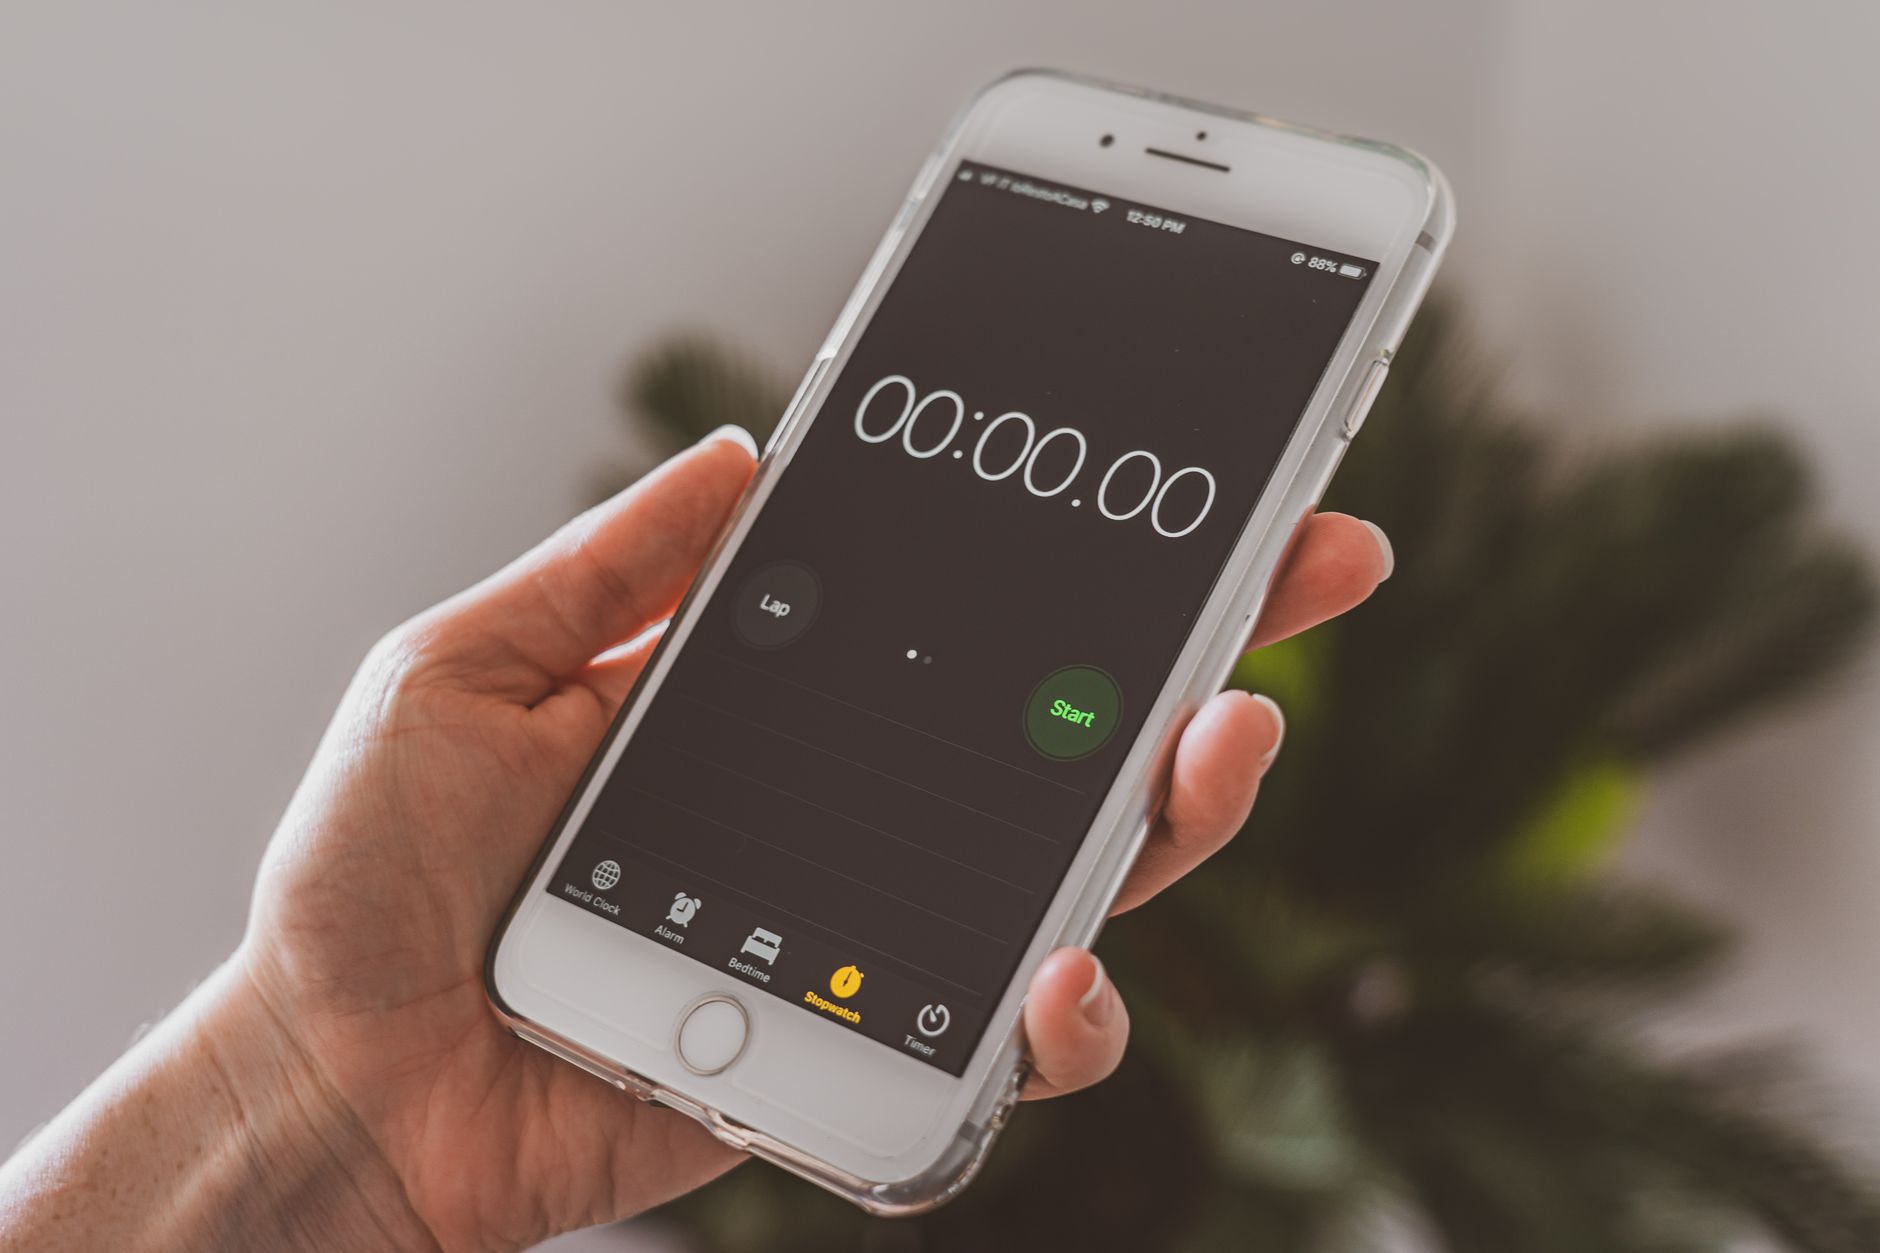
A countdown timer is a staple of live streams, webinars, and event intros — those ‘starting in 5:00’ screens that build anticipation. Animating every number by hand would be tedious, so After Effects uses expressions to count down automatically. This guide shows you how to build a clean, accurate countdown timer from scratch.
Why Use Expressions for a Countdown
You could type out and keyframe every number a timer passes through, but that’s slow and error-prone, especially for a long countdown. Expressions let After Effects calculate the numbers automatically based on time, so a single line of code drives the entire count.
This is a perfect first real-world use of expressions, since the result is genuinely useful and the logic is simple. If you’re new to them, our expressions guide covers the basics you’ll build on here.
Create Your Text Layer
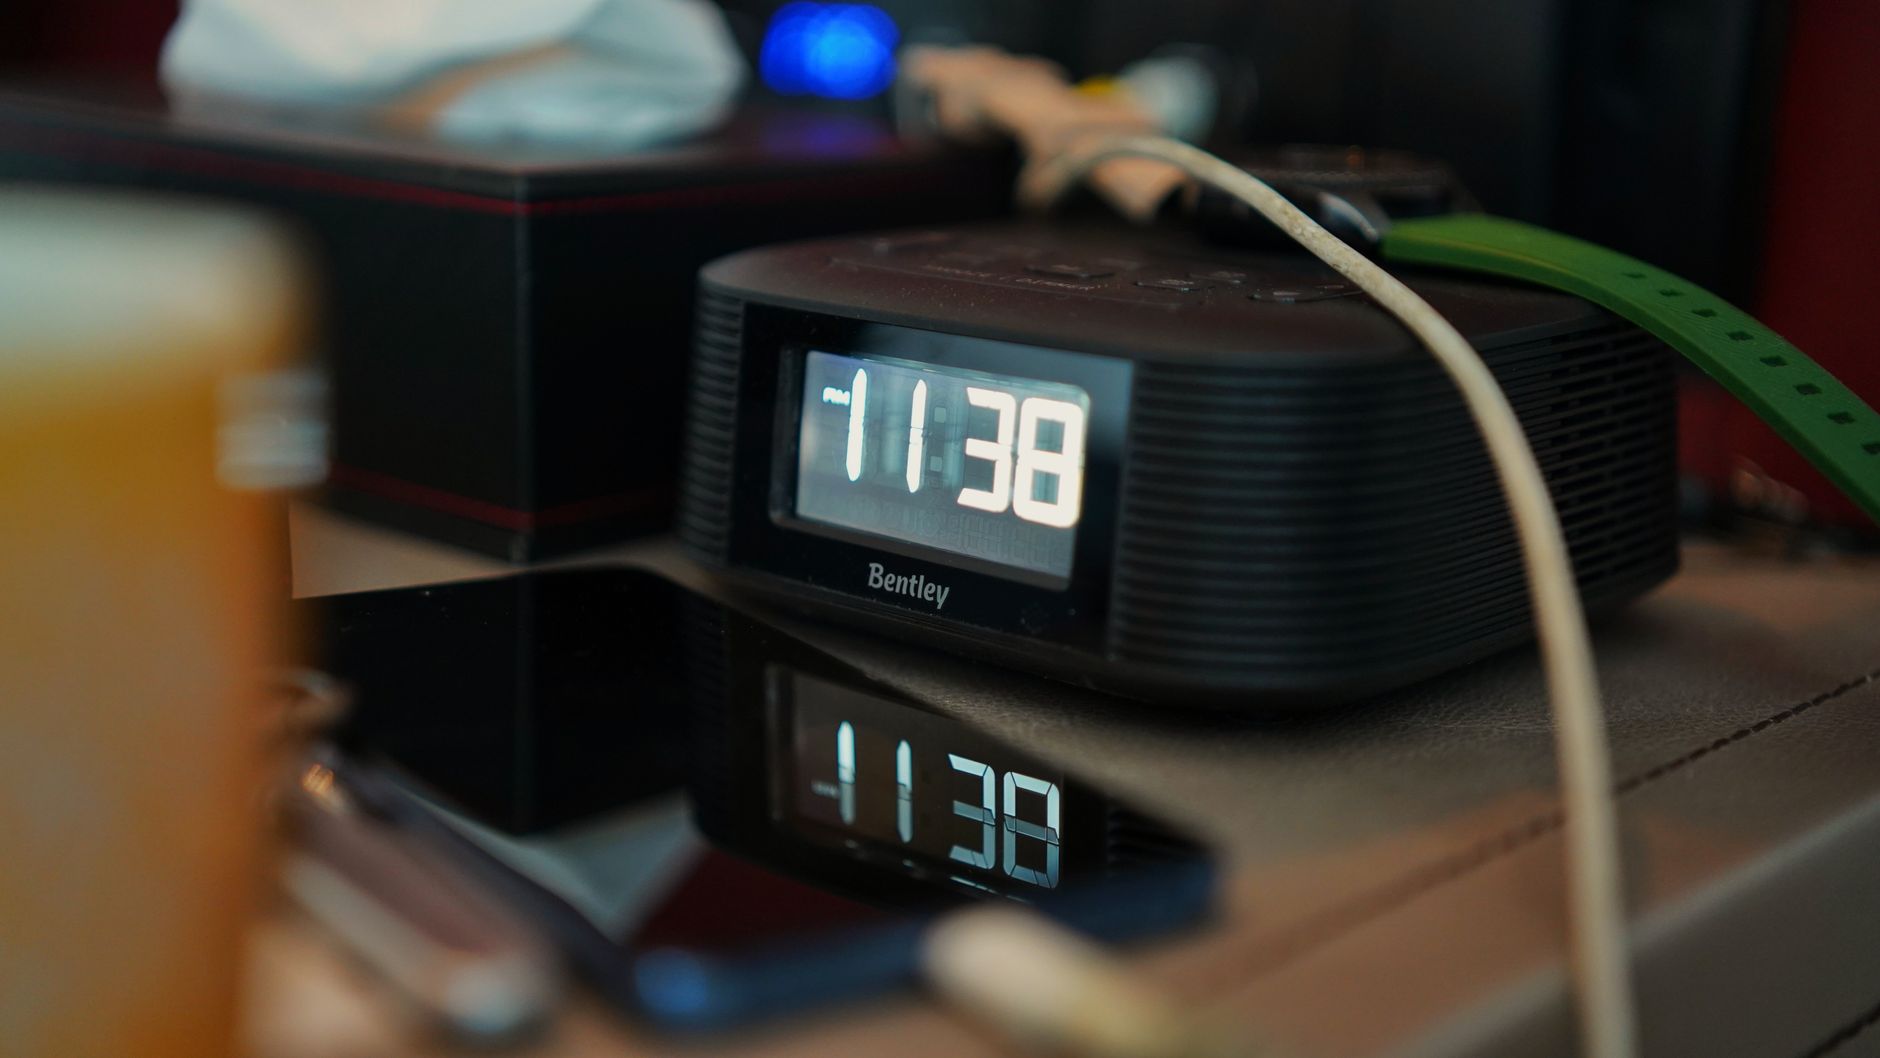
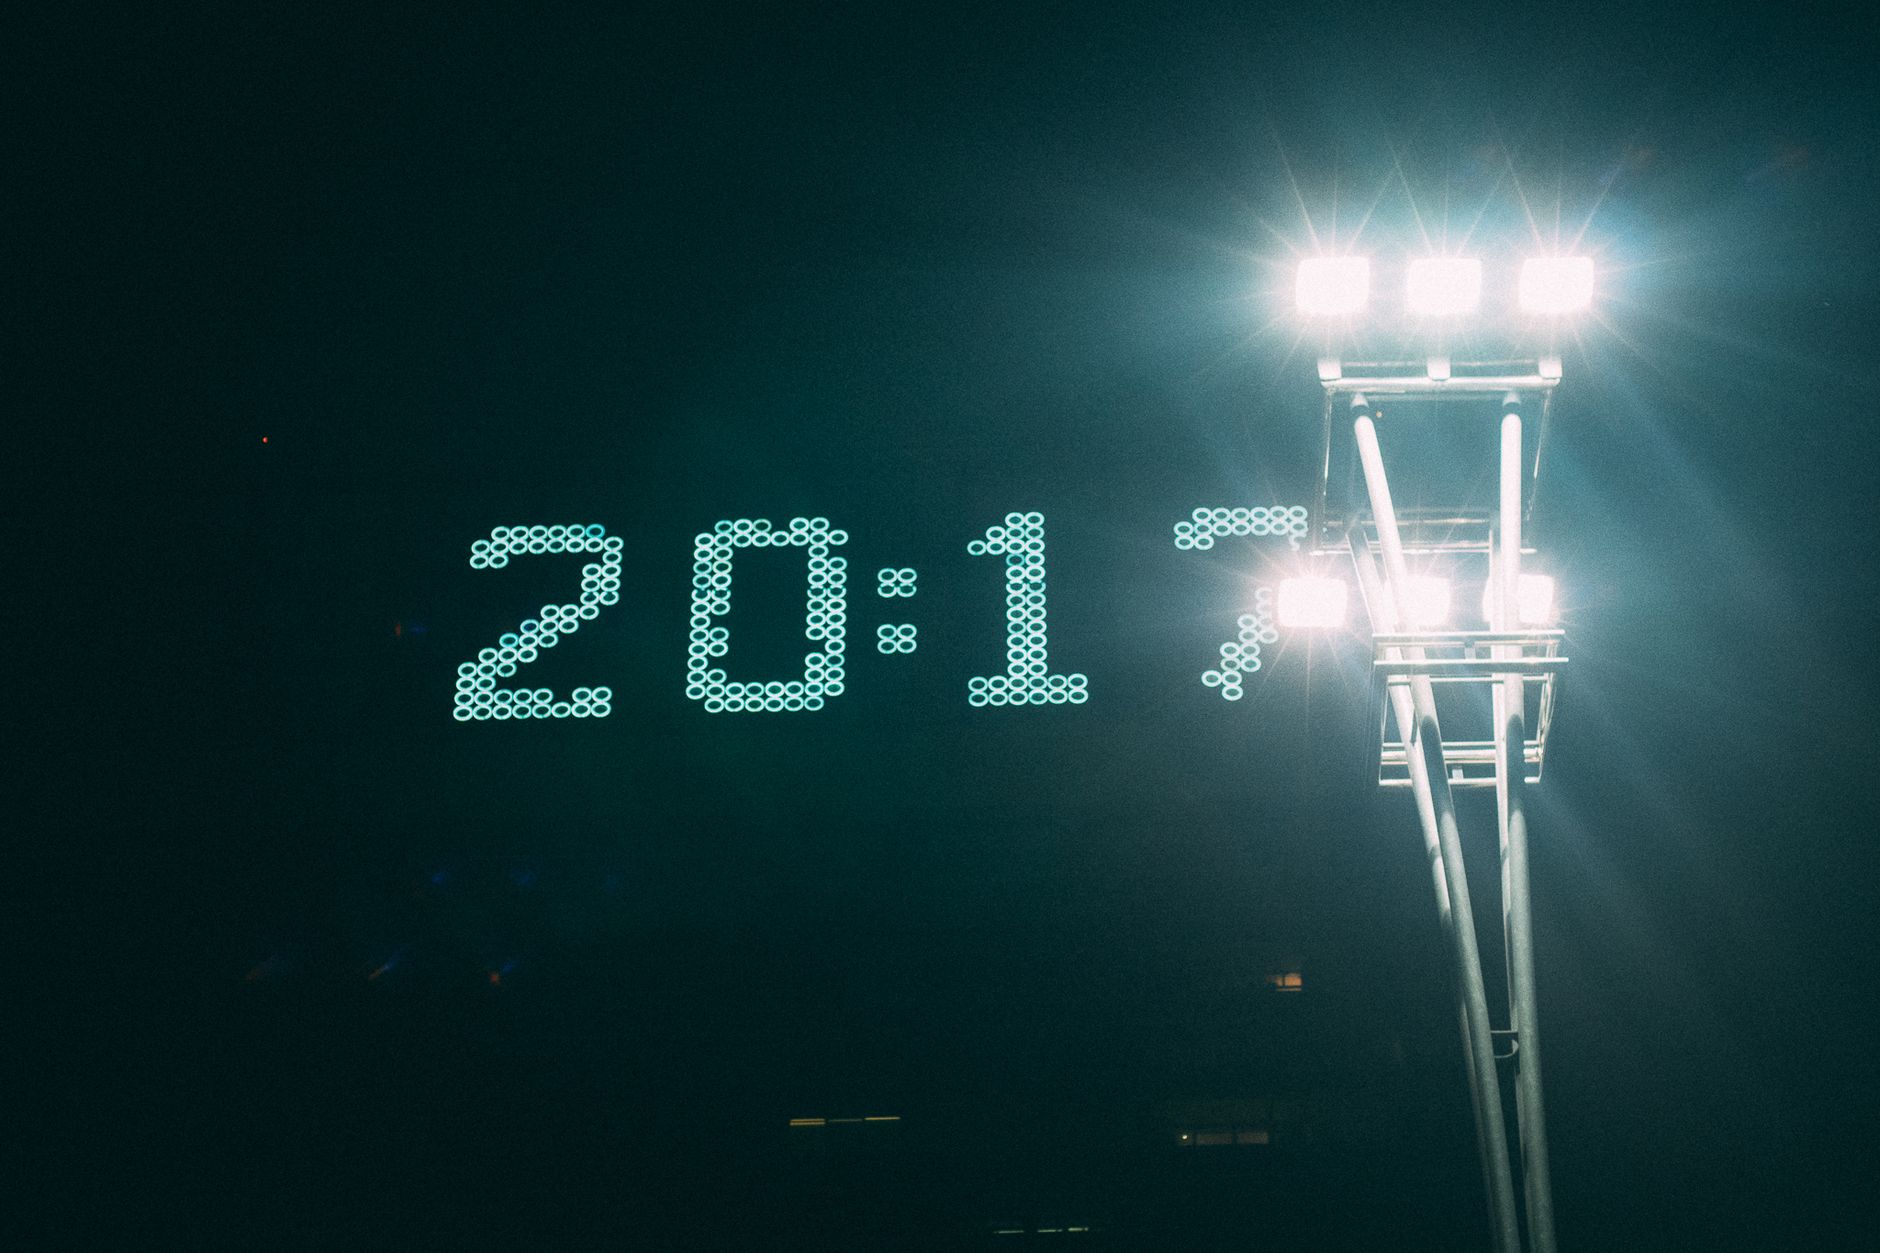
Start by adding a text layer where your countdown will display, and type a placeholder like ‘5:00’ so you can style it. Choose a clear, bold font and a large size, since a timer needs to be readable at a glance from across a room or on a small phone screen.
Position and style this text exactly how you want the final timer to look. Once styling is done, you’ll replace the static text with an expression that fills in the live, counting numbers automatically.
Add a Slider Control
To make the countdown easy to set, add a Slider Control effect to your text layer (Effect > Expression Controls > Slider Control). The slider’s value will represent your starting number of seconds — for a five-minute timer, you’d set it to 300.
Using a slider keeps the starting time adjustable without editing code, which is handy when you reuse the timer for different durations. It’s a small setup step that makes your countdown flexible and friendly to change later.
Write the Countdown Expression
Now connect the text to time. Alt/Option-click the text layer’s Source Text property to add an expression that subtracts the elapsed time from your slider value, then formats the result as minutes and seconds.
The core idea is to take your start seconds, subtract the composition’s current time, and convert what’s left into a MM:SS display. With that expression in place, the timer counts down on its own as the playhead moves, no keyframes required.
Format the Numbers Correctly
A timer needs proper formatting — ‘5:09’, not ‘5:9’. Your expression should pad the seconds with a leading zero when they’re below ten, so the display always shows two digits. This small detail is what makes the timer look professional rather than broken.
You can extend the formatting to include hours for very long countdowns, or milliseconds for a fast, energetic feel. Getting the number formatting right is the difference between a polished broadcast graphic and an obviously homemade one.
Style the Timer
With the count working, dress it up. Add a background shape behind the numbers, a subtle glow, or a circular progress ring that empties as the time runs down, using the techniques from our shape layers guide.
Match the styling to where the timer will appear — sleek and minimal for a corporate webinar, bold and energetic for a gaming stream. A well-designed timer becomes a focal point that holds viewers while they wait for your event to begin.
Add a Progress Ring or Bar
A visual progress indicator makes a countdown more engaging. Draw a circle with a stroke, add Trim Paths, and link its End value to your timer so the ring depletes as the seconds tick down, giving an at-a-glance sense of time remaining.
This combination of a number countdown and a draining ring or bar is exactly what you see on professional stream-starting screens. It rewards a few extra minutes of setup with a graphic that feels dynamic and alive rather than just a ticking number.
Loop or Reset the Timer
Depending on your use, you may want the timer to stop at zero, hold there, or reset. Your expression can clamp the value so it never goes negative, freezing neatly at 0:00 instead of counting into the minus numbers.
For repeating uses, you can also set it up to loop. Either way, test the timer by previewing it all the way to zero to confirm it behaves exactly as intended before you commit it to a live event.
Countdown Timer Best Practices
- Use a Slider Control so the start time is easy to change.
- Pad seconds with a leading zero for proper MM:SS formatting.
- Clamp the value so it stops cleanly at zero.
- Add a progress ring or bar for an engaging visual.
Common Countdown Mistakes
- Keyframing every number by hand instead of using an expression.
- Missing the leading zero, showing times like 5:9.
- Letting the timer count past zero into negatives.
- Text too small to read on a stream or phone.
Design a Stream-Starting Screen
A countdown rarely stands alone — it usually anchors a full ‘starting soon’ screen. Around your timer, add a background, your logo, social handles, and perhaps a music track, building a polished holding screen that entertains viewers while they wait. The timer becomes the focal point of a complete design.
Keep the layout clean and on-brand, with the countdown large and central so it’s readable at a glance. This kind of screen is standard for streams and webinars, and a well-designed one sets a professional tone before your event has even begun, turning dead waiting time into anticipation.
Turn Your Timer into a Template
Once you’ve built a countdown that works, save it as a reusable asset. Because the start time is driven by a Slider Control, you can change the duration for any event without touching the expression, and swapping the background or logo adapts it to a new brand in minutes.
Organize the project clearly so future-you can reopen it and reset it fast, and consider exporting it as a template if you produce streams regularly. This template thinking, central to efficient motion design and to working with expressions, turns one evening’s build into a tool you reuse for years.
A sweeping clock hand is really the Radial Wipe effect in After Effects animated around its center, perfect for timers and reveals.
Key Takeaways
- Drive the countdown with an expression, not keyframes.
- Use a Slider Control to set the starting seconds.
- Format the numbers as MM:SS with a leading zero.
- Add a progress ring and clamp the value at zero.
Frequently Asked Questions
How do I make a countdown timer in After Effects?
Create a text layer, add a Slider Control for the start time, then add an expression to the text’s Source Text that subtracts the current time from the slider value and formats it as MM:SS so it counts down automatically.
Do I need expressions for a countdown timer?
Expressions are by far the easiest way. They let After Effects calculate the numbers from time automatically with one line of code, instead of you keyframing every number the timer passes through by hand.
How do I stop the timer at zero?
Add logic to your expression that clamps the value so it never goes below zero. The timer then freezes cleanly at 0:00 instead of counting into negative numbers.
Sources: Adobe’s expression basics documentation.
Build dynamic graphics at Adobe Video World
Train hands-on with Adobe Certified Instructors across 100+ Premiere Pro & After Effects sessions.



