A workflow taught by Adobe Certified Instructors at Adobe Video World.
Frame rate determines how many frames play each second, shaping whether footage looks cinematic, smooth, or slow-motion. Changing it correctly in Premiere Pro — for a whole sequence or an individual clip — is essential for mixing footage and creating slow motion. This guide explains frame rates, sequence settings, and how to convert clips cleanly.
What Frame Rate Means
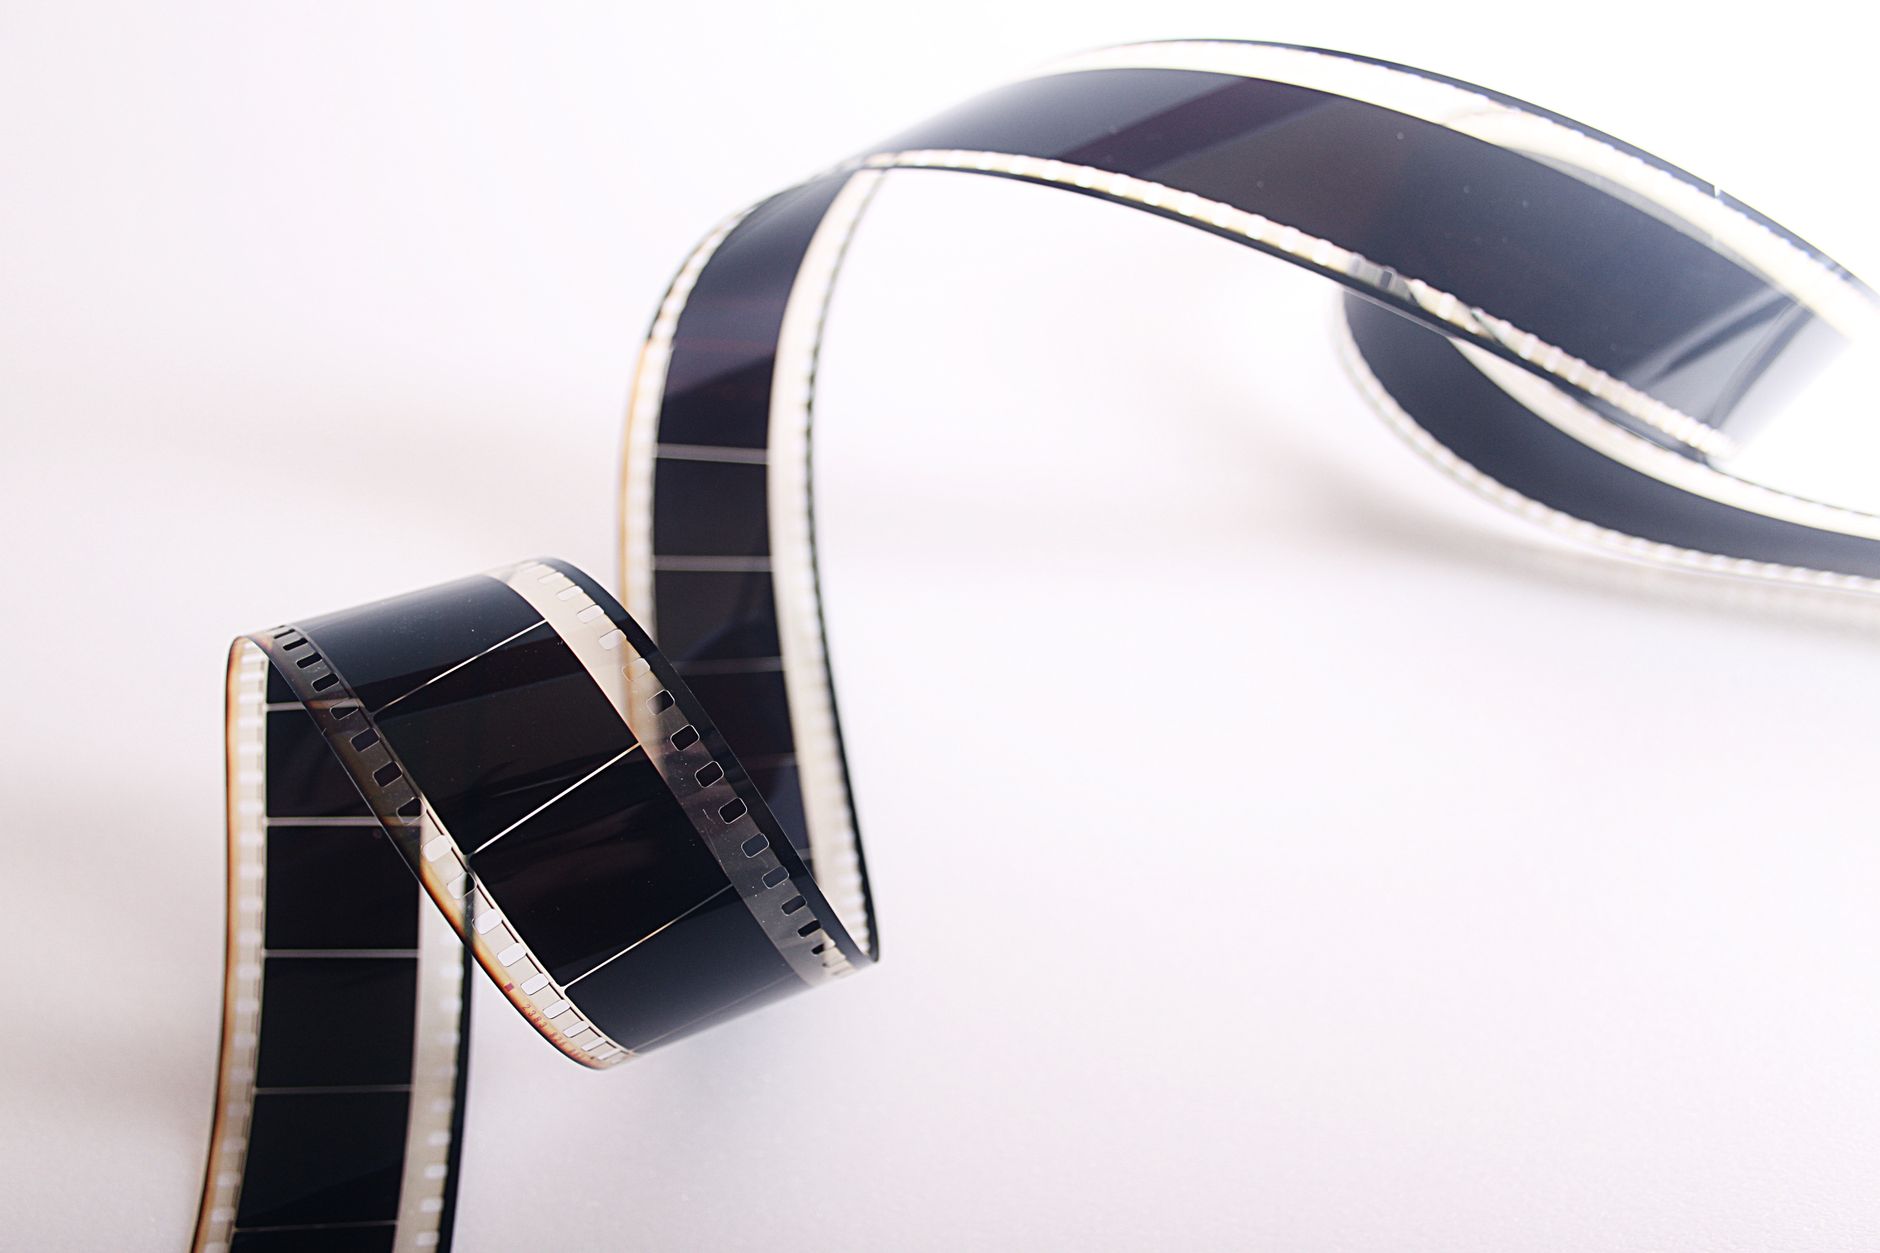
Frame rate, measured in frames per second (fps), is how many still images make up each second of video. Common rates include 24fps for a cinematic film look, 30fps for standard video, and 60fps or higher for smooth motion and slow-motion source.
The rate affects how motion feels — 24fps has a filmic quality, while higher rates look smoother and more lifelike. Understanding frame rate is the first step to mixing footage correctly and creating effects like slow motion.
Set Your Sequence Frame Rate
Your sequence has its own frame rate, ideally matching your primary footage and delivery target. Set it when creating the sequence, or check it in Sequence Settings, since this is the rate your final video plays at regardless of your clips’ native rates.
Choosing the right sequence rate up front avoids problems later — generally match it to how your footage was shot and how you’ll deliver. A 24fps sequence suits cinematic projects, while 30fps is common for online and broadcast video.
Understand Clip vs. Sequence Frame Rate
Each clip has its own native frame rate, which may differ from your sequence. When they don’t match, Premiere adapts the clip to fit the sequence, which can affect smoothness, so knowing both rates helps you predict how footage behaves.
A 60fps clip in a 30fps sequence, for instance, has frames to spare, which you can exploit for slow motion. Recognizing the relationship between clip and sequence rates is key to using mismatched footage intentionally rather than by accident.

Interpret Footage to a New Rate
To change a clip’s frame rate, right-click it in the Project panel and choose Modify > Interpret Footage, then assume a new frame rate. This tells Premiere to play the footage at a different rate than it was recorded.
Interpreting 60fps footage to play at 24fps, for example, stretches it into smooth slow motion using all its real frames. This is the cleanest way to create slow motion, since the footage was captured with the extra frames slow playback needs.

Create Smooth Slow Motion
The best slow motion comes from high-frame-rate footage interpreted to a slower rate. Because a 60fps or 120fps clip captured many frames, playing it slowly shows real, sharp frames rather than blurry duplicates, giving buttery smooth slow motion.
This is why slow-motion shots are filmed at high frame rates in the first place. When you don’t have high-fps footage, Premiere’s Optical Flow can generate in-between frames, though real captured frames always look cleaner, as our speed guide explains.
Conform Mixed Footage
Projects often mix footage shot at different frame rates. Premiere handles this by conforming each clip to the sequence rate, but the results vary — some footage adapts seamlessly, while other clips may need frame blending to play smoothly.
Being deliberate about how each clip’s rate relates to your sequence keeps mixed footage looking consistent. Knowing which clips were shot high for slow motion and which match your sequence lets you place each one to its best effect.
Match Frame Rate to Your Delivery
Your final frame rate should suit where the video will play. Cinematic projects favor 24fps, online and broadcast video commonly use 30fps, and high-motion content like sports or gaming may deliver at 60fps for extra smoothness.
Setting your sequence and export to the appropriate rate, as covered in our export settings guide, ensures your video plays as intended. Matching delivery frame rate to content and platform is the final piece of getting motion to look right.
Avoid Frame Rate Pitfalls
A common mistake is mismatched rates causing stutter or judder, especially when footage doesn’t divide evenly into the sequence rate. Planning your frame rates — shooting and editing with the delivery rate in mind — prevents most of these issues.
Another is expecting smooth slow motion from standard-rate footage, which simply lacks the frames for it. Understanding what each frame rate can and can’t do lets you shoot and edit deliberately, avoiding stutter and disappointment in the final video.
Frame Rate Best Practices
- Match your sequence frame rate to your footage and delivery.
- Use Interpret Footage to change a clip’s frame rate.
- Shoot high frame rates for the smoothest slow motion.
- Set export frame rate to suit the platform and content.
Common Frame Rate Mistakes
- Mismatched rates causing stutter and judder.
- Expecting smooth slow motion from standard-rate footage.
- Setting the wrong sequence rate and fixing it late.
- Ignoring the delivery platform’s preferred frame rate.
A Real Frame Rate Conversion Example
Imagine a project shot mostly at 24fps, with a few action shots captured at 120fps for slow motion. You build a 24fps sequence to match your cinematic look, then for each slow-motion clip you use Interpret Footage to assume 24fps, stretching those 120 real frames into smooth, crisp slow motion that drops perfectly into the timeline.
Because the slow shots were filmed with the extra frames, they play buttery-smooth without any software guesswork, while the 24fps footage keeps its filmic feel. Planning which shots to capture high and conforming them deliberately is exactly how mixed-rate projects achieve flawless slow motion alongside a consistent overall look.
Frame Rate and the Cinematic Look
Frame rate is a big part of why some footage ‘feels like film’ and other footage looks like a home video. The 24fps standard, paired with a matching shutter speed, produces the subtle motion blur audiences associate with cinema, while 60fps looks crisp and hyper-real, which suits sports but can feel less filmic.
Choosing your frame rate is therefore a creative decision, not just a technical one. Shooting and editing at 24fps for a narrative piece, then grading it with the techniques in our cinematic look guide, stacks the ingredients that together give footage a genuinely cinematic quality.
When you don’t have high-frame-rate footage, smooth slow motion with the Timewarp effect can approximate it by synthesizing new frames.
Key Takeaways
- Frame rate is how many frames play per second, shaping motion.
- Match your sequence rate to your footage and delivery target.
- Use Interpret Footage to change a clip’s rate for slow motion.
- Shoot high frame rates for the cleanest slow motion.
Frequently Asked Questions
How do I change the frame rate of a clip in Premiere Pro?
Right-click the clip in the Project panel and choose Modify > Interpret Footage, then assume a new frame rate. This makes Premiere play the footage at a different rate than it was recorded — ideal for slow motion.
How do I get smooth slow motion?
Shoot at a high frame rate (60fps or 120fps) and interpret the footage to a slower rate, so playback uses real captured frames. When you lack high-fps footage, Optical Flow can generate frames, but real ones look cleaner.
What frame rate should I use?
Match it to your content and delivery — 24fps for a cinematic look, 30fps for standard online and broadcast video, and 60fps for high-motion content like sports or gaming. Set your sequence and export to the same rate.
Sources: Wikipedia’s article on frame rate.
Master frame rates at Adobe Video World
Train hands-on with Adobe Certified Instructors across 100+ Premiere Pro & After Effects sessions.



