A workflow taught by Adobe Certified Instructors at Adobe Video World.
The Audio Track Mixer turns Premiere Pro into a mixing console, giving you channel-strip control over each audio track — levels, panning, effects, and automation. It’s the professional way to balance a complex mix with dialogue, music, and effects on separate tracks. This guide explains the mixer and how to use it for a polished, controlled soundtrack.
What the Audio Track Mixer Is
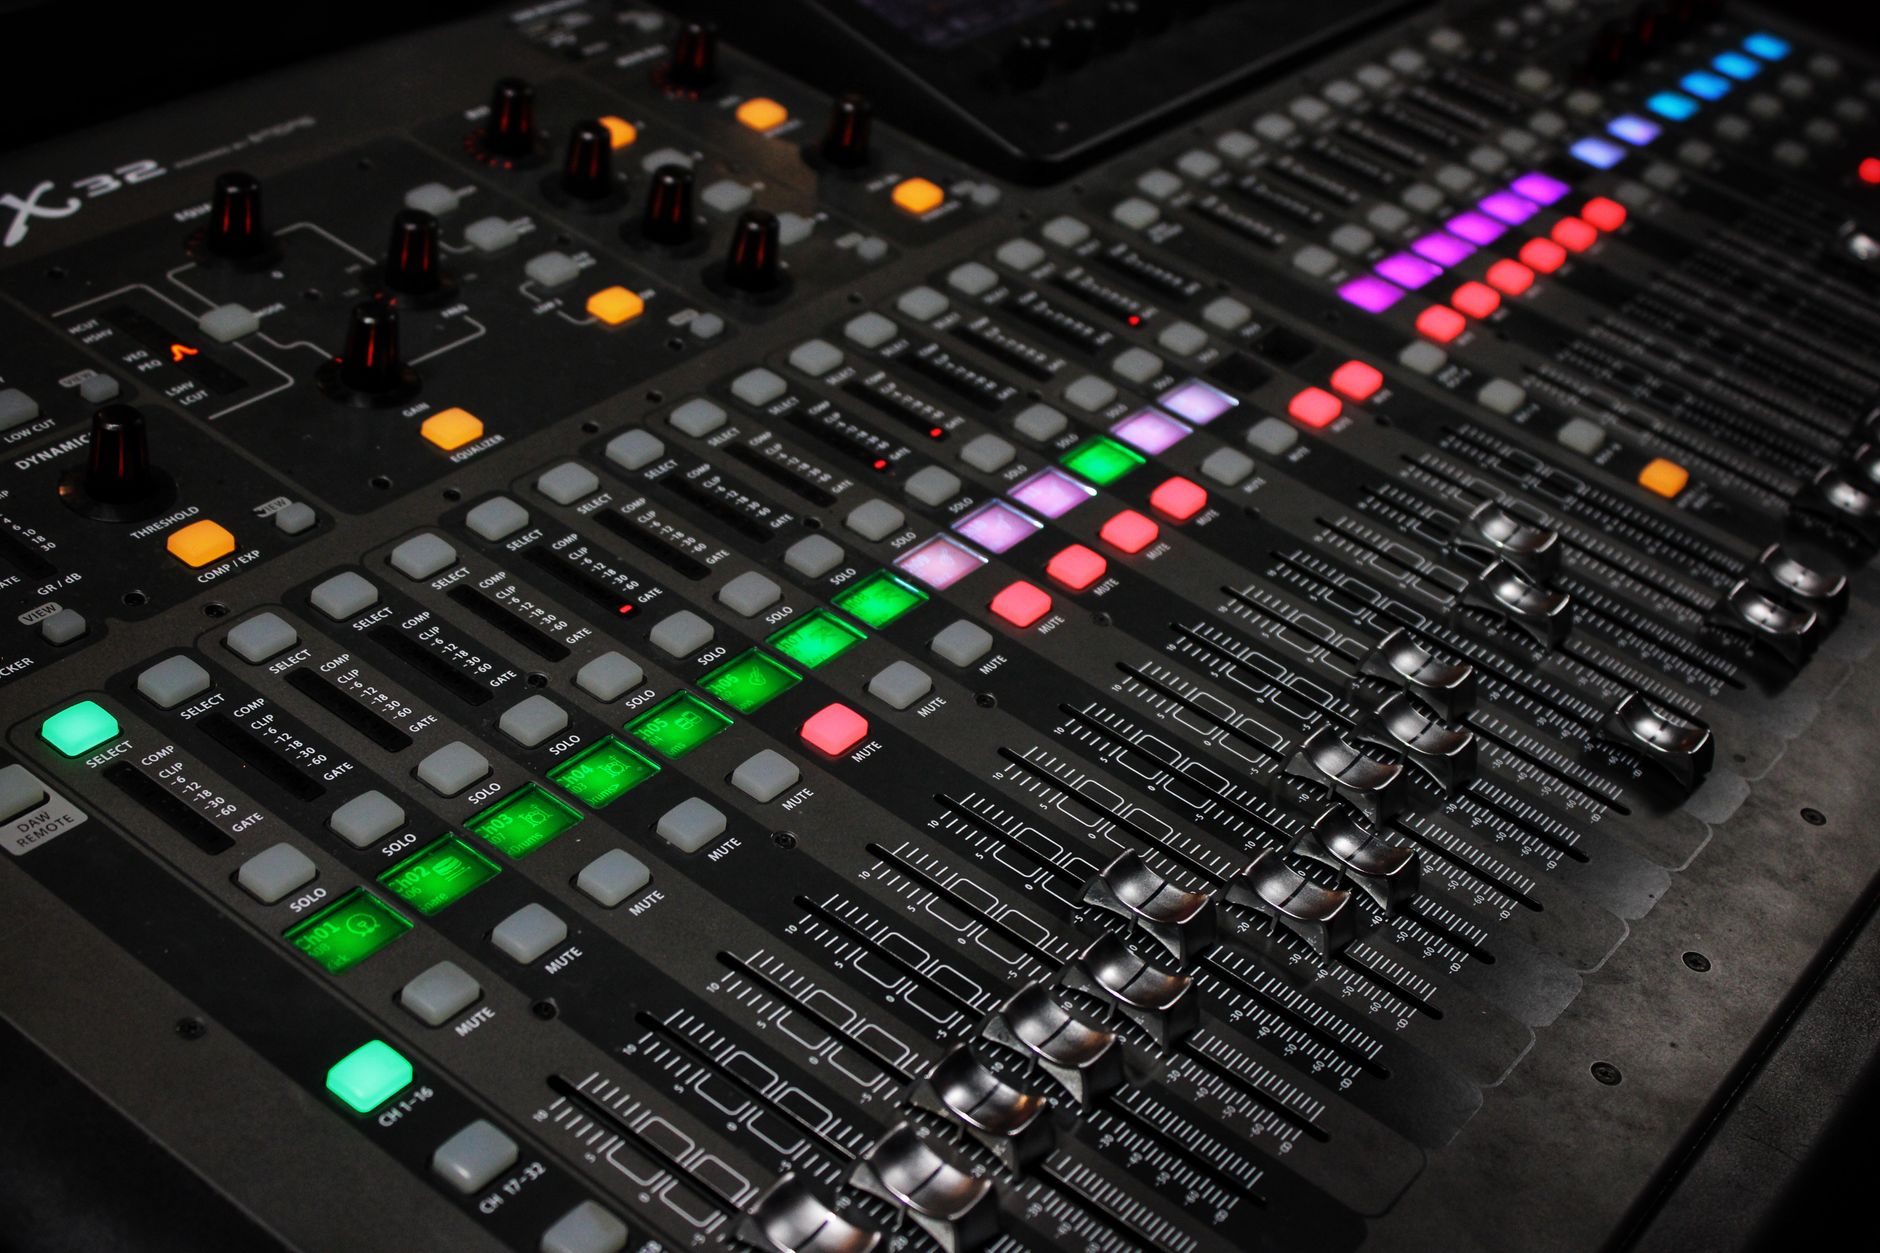
The Audio Track Mixer presents your sequence’s audio tracks as channel strips, like a hardware mixing board. Each track gets its own fader, pan control, mute and solo buttons, and effect slots, letting you control the whole mix from one panel.
This track-based view complements clip-level adjustments by letting you control entire tracks at once. Open it from Window > Audio Track Mixer, and you have a familiar, console-style interface for balancing all your audio together.
Track Mixer vs. Clip Mixer
Premiere has two mixers, and the distinction matters. The Audio Track Mixer controls whole tracks and applies track-wide effects and automation, while the Audio Clip Mixer adjusts individual clips’ levels.
Use the Clip Mixer to balance specific clips and the Track Mixer for overall track control and processing. Knowing which to reach for keeps your workflow clean — clip-level tweaks on one, track-wide mixing and effects on the other.
Organize Audio onto Tracks
The mixer works best when your audio is organized logically — dialogue on one track, music on another, effects on a third. This separation lets you control each element’s level and processing independently from its own channel strip.
Putting similar audio together is the foundation of a manageable mix. With dialogue, music, and effects each on their own tracks, the Track Mixer gives you clean, independent control over each layer of your soundtrack.
Set Levels and Panning
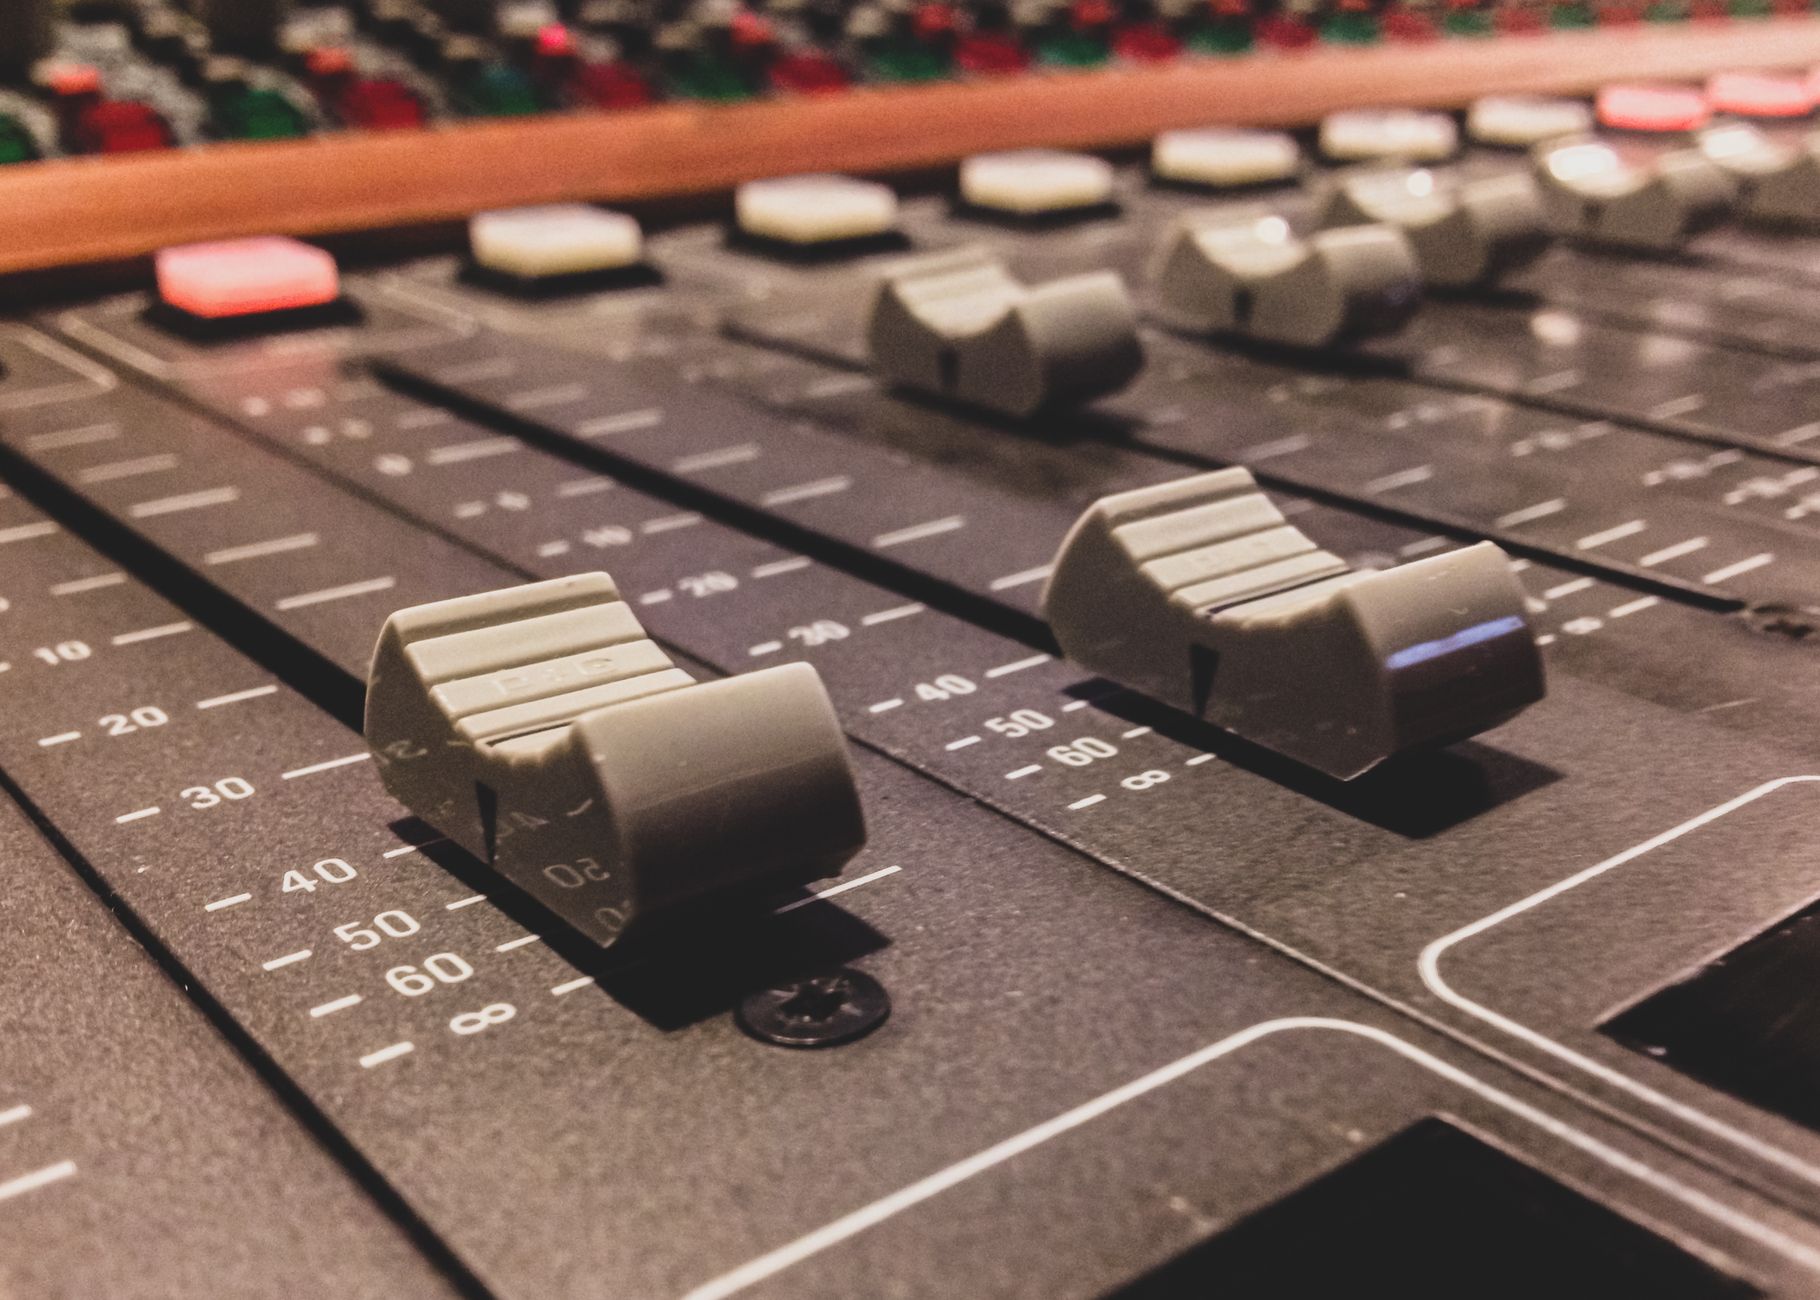
Each channel strip’s fader sets that track’s overall level, letting you raise dialogue or lower music for the whole track at once. The pan control places the track in the stereo field, from left to right, for spatial balance.
Riding these faders is how you set the relationships in your mix — dialogue forward, music supporting beneath. Panning effects and ambience slightly can also widen the soundstage, giving your mix space and dimension beyond a flat center image.
Apply Effects per Track
The Track Mixer’s effect slots let you apply audio effects to an entire track at once. Add EQ to shape the tone of all your dialogue, compression to even out a music track, or reverb to a group of effects, processing the whole track uniformly.
This track-wide processing is efficient and consistent, treating all clips on a track the same way. It’s how you apply a polish or correction across an element globally, rather than adding the same effect to every clip individually.
Automate Your Mix
The mixer can record automation, capturing your fader and pan moves as you play the sequence. Set a track to an automation mode like Write, then adjust the fader live, and Premiere records those changes as keyframes for dynamic, evolving levels.
This is how you create a mix that breathes — music swelling and dipping, levels shifting through a scene. Automation lets you perform your mix in real time, which is often more natural than placing keyframes by hand for complex level changes.
Use Submixes and Buses
For complex projects, you can route multiple tracks to a submix bus and control them together. Send all your dialogue tracks to one submix, for instance, and a single fader and effect chain governs the entire group at once.
Submixes are powerful for applying a final compressor or limiter across all dialogue, or balancing whole groups against each other. This bus-based routing, standard in professional audio, scales the mixer up to handle large, layered soundtracks cleanly.
Finish with the Essential Sound Panel
The Track Mixer and the Essential Sound panel complement each other. Essential Sound offers guided, clip-based tools for common tasks, while the Track Mixer gives hands-on, console-style control over tracks and automation.
Many editors use Essential Sound for quick balancing and the Track Mixer for detailed, track-wide mixing and automation. Combining both, along with proper level normalization, gives you a complete, professional audio workflow.
Audio Track Mixer Best Practices
- Organize dialogue, music, and effects onto separate tracks.
- Use the Track Mixer for track-wide levels, pan, and effects.
- Record automation to perform dynamic level changes live.
- Route track groups to submixes for unified control.
Common Mixer Mistakes
- Mixing everything on one track with no separation.
- Confusing the Track Mixer with the Clip Mixer.
- Adding effects to clips when a track effect is cleaner.
- Ignoring automation for dynamic, evolving mixes.
A Real Mixing Session Example
Imagine finishing a short documentary with dialogue, a music bed, and ambient sound on three tracks. In the Audio Track Mixer you set the music fader well below the dialogue, add a gentle EQ to the whole dialogue track to clear up muddiness, and pan the ambience slightly wide to open up the soundstage.
Then you arm the music track for automation and ride its fader live, dropping it under each interview answer and lifting it in the gaps, recording the moves as keyframes. The result is a mix that breathes with the story — the kind of dynamic, balanced soundtrack the Track Mixer is built to create.
Mixing for Headphones and Speakers
A mix can sound perfect on your studio monitors and fall apart on phone speakers or earbuds, where most viewers actually watch. Checking your Track Mixer balance on several playback systems reveals problems — dialogue lost on tiny speakers, bass overwhelming on headphones — that one set of monitors hides.
Aim for a mix that holds up across devices, keeping dialogue clear even when the low end disappears on small speakers. Testing widely and balancing for the lowest common denominator, alongside proper loudness levels, ensures your audio sounds right for the audience wherever they press play.
Judging a balanced mix is hard without flat-response headphones for reliable audio editing that reveal the sound truthfully.
Before you can mix freely, you often need linking and unlinking audio in Premiere Pro to move dialogue independently of its picture.
Fitting a music bed to your edit’s exact length is what the Remix tool in Premiere Pro automates, right alongside your mix.
Key Takeaways
- The Audio Track Mixer gives console-style control of each track.
- Organize audio onto separate tracks for independent control.
- Apply track-wide effects and record automation for dynamic mixes.
- Use submixes to control groups of tracks together.
Frequently Asked Questions
What is the Audio Track Mixer in Premiere Pro?
The Audio Track Mixer presents your sequence’s audio tracks as channel strips, like a mixing console, with faders, pan controls, effect slots, and automation for each track. Open it from Window > Audio Track Mixer.
What’s the difference between the Track Mixer and Clip Mixer?
The Audio Track Mixer controls whole tracks, applying track-wide effects and automation, while the Audio Clip Mixer adjusts individual clips’ levels. Use the Clip Mixer for specific clips and the Track Mixer for overall control.
How do I automate audio levels in Premiere Pro?
In the Audio Track Mixer, set a track to an automation mode like Write, then move the fader as the sequence plays. Premiere records your moves as keyframes, creating dynamic levels that swell and dip through the mix.
Sources: Wikipedia’s overview of the mixing console.
Mix like a console at Adobe Video World
Train hands-on with Adobe Certified Instructors across 100+ Premiere Pro & After Effects sessions.



