A workflow taught by Adobe Certified Instructors at Adobe Video World.
The Puppet tool turns a still image into a moving, bending character — wave an arm, bend a tree, make a logo dance. It works by placing pins on your artwork and moving them, while After Effects naturally distorts everything in between. Here’s how to use it.
What the Puppet Tool Does
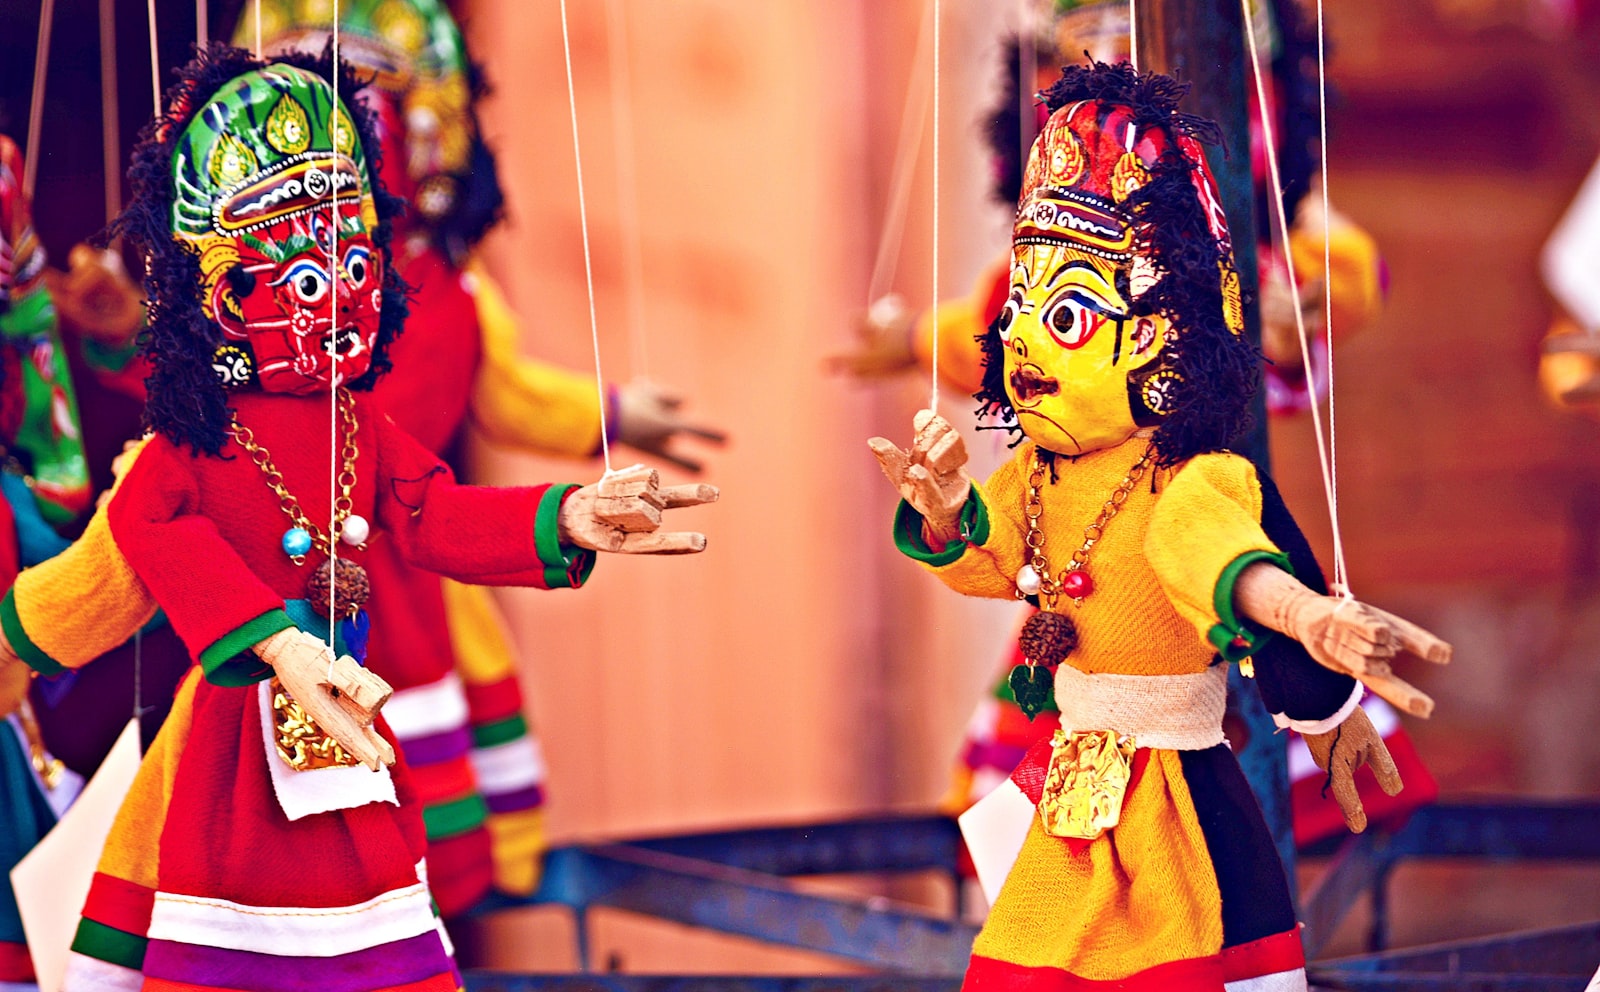
The Puppet tool adds natural, organic movement to static images. It overlays an invisible mesh on your layer, and the pins you place become handles that bend and warp that mesh.
Move a pin and the surrounding artwork stretches and flexes believably, the way real cloth or skin would. It’s the fastest way to bring a flat illustration to life without redrawing a thing.
Prepare Your Artwork
The Puppet tool works best on a layer with transparency around the subject — a PNG character or a logo cut out from its background. The tool meshes only the visible (non-transparent) pixels.
For a character you plan to bend at joints, import the artwork on separate limbs or as a clean cutout, so the mesh follows the shape you actually want to move.

Place Your First Pins
Select the Puppet Position Pin tool and click on your artwork to drop pins at the points you want to control — typically joints like shoulders, elbows, hands, and feet.
After Effects builds the mesh automatically the moment you place your first pin. Each pin pins that spot in place; the areas between pins are free to bend.
Animate by Moving Pins
Animating is just keyframing the pins. Each pin records its position over time, so move the playhead, drag a pin, move forward, and drag again.
Bend an arm by keyframing the elbow and hand pins, and the whole limb flexes naturally. It’s the same keyframe rhythm as any other animation — our keyframe guide covers the fundamentals.
Control Stiffness with Starch Pins
Sometimes parts of your artwork bend when they shouldn’t — a rigid torso flexing like rubber. The Starch Pin tool stiffens an area so it holds its shape.
Add starch pins to parts that should stay firm (a body, a logo’s solid core) while position pins handle the parts that move. Balancing the two is the key to believable puppet animation.
Fix Overlap with Overlap Pins
When one part of your character should pass in front of another — an arm crossing the body — the Overlap Pin tells After Effects which area sits on top.
Without it, limbs can render in the wrong order and look broken. Overlap pins keep your character’s depth reading correctly as it moves.
Record Motion with Puppet Sketch
For lifelike, hand-animated movement, use Puppet Sketch: hold Ctrl/Cmd, and your cursor becomes a recorder. Drag a pin around in real time and After Effects records your motion as keyframes.
This is perfect for organic, performance-style animation — a waving hand or a bobbing character — that would be tedious to keyframe by hand.
Refine the Mesh Density
If your distortion looks lumpy, increase the mesh Expansion and Density in the layer’s Puppet properties. A finer mesh bends more smoothly but costs a little performance.
Tune the density until the warping looks natural without over-meshing. A clean mesh is the foundation of clean puppet motion.
Add Secondary Motion
Great character animation has secondary motion — the slight follow-through of a hand after the arm stops, or hair settling after a head turn. Offset the timing of trailing pins by a few frames so they catch up after the main move.
This subtle overlap is what makes puppet animation feel alive rather than stiff.
Common Puppet Tool Mistakes
- Too few pins, giving you no control; or too many, making animation fiddly.
- Forgetting starch pins, so rigid areas wobble.
- Ignoring overlap, causing limbs to render in the wrong order.
- Moving pins too far, tearing the mesh into unnatural shapes.
Render and Reuse Your Puppet Animation
Once your character moves the way you want, render the animation so you can drop it into a larger project. Export with a transparent background if the character needs to sit over other footage, so nothing blocks the scene behind it.
Because the Puppet rig stays editable in your project file, you can come back and tweak a gesture or create new movements from the same artwork at any time. One well-built puppet can power a whole series of animations, which is what makes the tool such a time-saver for character-driven content.
Get Better Results from the Puppet Tool
A few habits make puppet animation noticeably more believable. Place pins thoughtfully at real joints rather than scattering them, use just enough to control the movement without making the rig fiddly, and always add starch pins to areas that should stay rigid so they don’t wobble like rubber.
Above all, embrace timing and overshoot. Let trailing pins lag a few frames behind the main motion so limbs follow through naturally, and allow a gesture to settle rather than stopping dead. These small touches, borrowed from traditional animation, are what turn a stiff mechanical rig into a character that feels genuinely alive.
Key Takeaways
- Use the Position Pin tool to place control points on joints.
- Keyframe the pins to animate natural bending and movement.
- Add Starch pins to stiffen areas and Overlap pins to fix depth.
- Use Puppet Sketch to record organic motion in real time.
A Real Puppet Animation Example
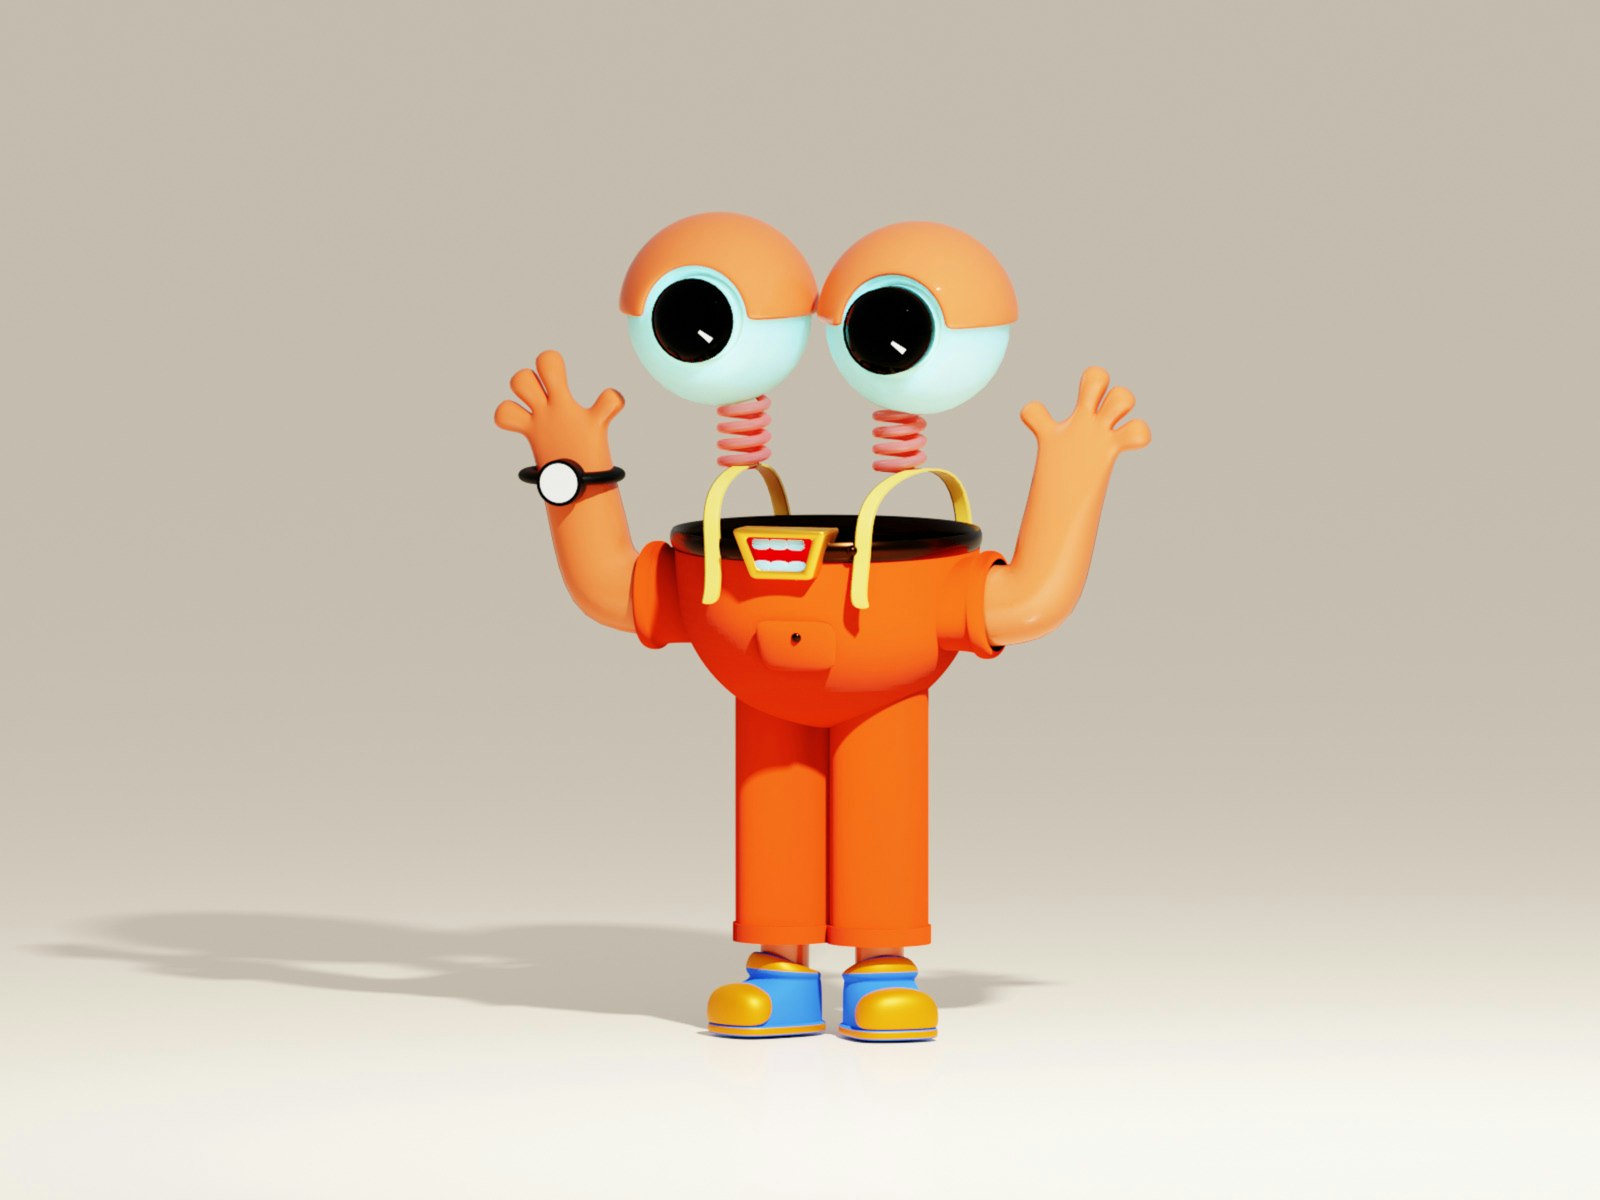
Picture animating a cartoon character waving hello. You import the character as a transparent PNG, then place Position pins at the shoulder, elbow, and hand of the waving arm, plus a starch pin on the torso so the body stays rigid. With the structure set, the rig is ready to move.
Now you keyframe the hand and elbow pins to swing the forearm back and forth, offsetting the hand’s timing by a couple of frames so it trails naturally behind the elbow. That small delay creates believable secondary motion, turning a stiff mechanical wave into a friendly, lifelike one. The whole animation takes minutes, not hours — and never required redrawing the artwork.
Puppet Tool vs. Other Rigging Methods
The Puppet tool is fast and intuitive, but it’s not the only way to animate characters in After Effects. For simple bends and organic movement, it’s hard to beat. For more complex characters with many moving parts, animators often combine it with parenting, separated artwork on multiple layers, and dedicated rigging plugins.
As a rule, reach for the Puppet tool when you want quick, natural distortion of a single piece of artwork — a waving plant, a bouncing logo, a gesturing character. For a full articulated character you’ll animate repeatedly, a layered rig with parented limbs gives you more precise, reusable control. Many pros blend both approaches in the same project.
Frequently Asked Questions
What is the Puppet tool in After Effects?
It’s a tool that adds natural movement to still images by placing pins on a mesh. Moving the pins bends and warps the artwork, letting you animate characters and objects.
How do I animate a character with the Puppet tool?
Place Position pins on the joints, then keyframe each pin’s position over time. Add Starch pins to stiffen rigid areas and Overlap pins to control which parts sit in front.
What does Puppet Sketch do?
Holding Ctrl/Cmd lets you drag a pin in real time while After Effects records your movement as keyframes — ideal for organic, performance-style animation.
Sources: Adobe’s Puppet tools documentation.
Animate characters at Adobe Video World
Train hands-on with Adobe Certified Instructors across 100+ Premiere Pro & After Effects sessions.



