A workflow taught by Adobe Certified Instructors at Adobe Video World.
Three-dimensional text adds depth, weight, and impact to titles and logos — type with real thickness, beveled edges, and realistic lighting. After Effects creates it using the Cinema 4D renderer, which extrudes flat text into genuine 3D geometry. This guide covers setting up 3D text, adding depth and materials, lighting it, and animating dimensional titles.
What 3D Text Adds
3D text gives type genuine thickness and dimension, so letters have sides, beveled edges, and catch light like real objects. This adds a premium, impactful quality that flat text can’t match, ideal for titles, logos, and dramatic reveals.
Unlike faking depth with shadows, true 3D text can be rotated to reveal its sides and lit realistically. It’s a powerful way to make titles feel substantial and cinematic, and After Effects builds it natively with the right renderer.

Switch to the Cinema 4D Renderer
True extruded 3D text requires the Cinema 4D renderer. In Composition Settings under the 3D Renderer tab, switch from Classic 3D to Cinema 4D, which unlocks the ability to give text real depth and beveled edges.
Without this renderer, text can be positioned in 3D space but stays flat, as our 3D layers guide explains. The Cinema 4D renderer is what enables genuine geometry, so switching to it is the essential first step for 3D text.

Enable 3D and Extrude the Text
Create your text layer and turn on its 3D switch, then in the layer’s Geometry Options, increase the Extrusion Depth. This pushes the flat letters back into three dimensions, giving them real thickness you can see when rotated.
The extrusion depth controls how thick the text is — subtle for a slight dimension, deep for chunky, bold type. With extrusion applied, your text is now genuine 3D geometry, ready for beveling, materials, and lighting.
Add Bevels
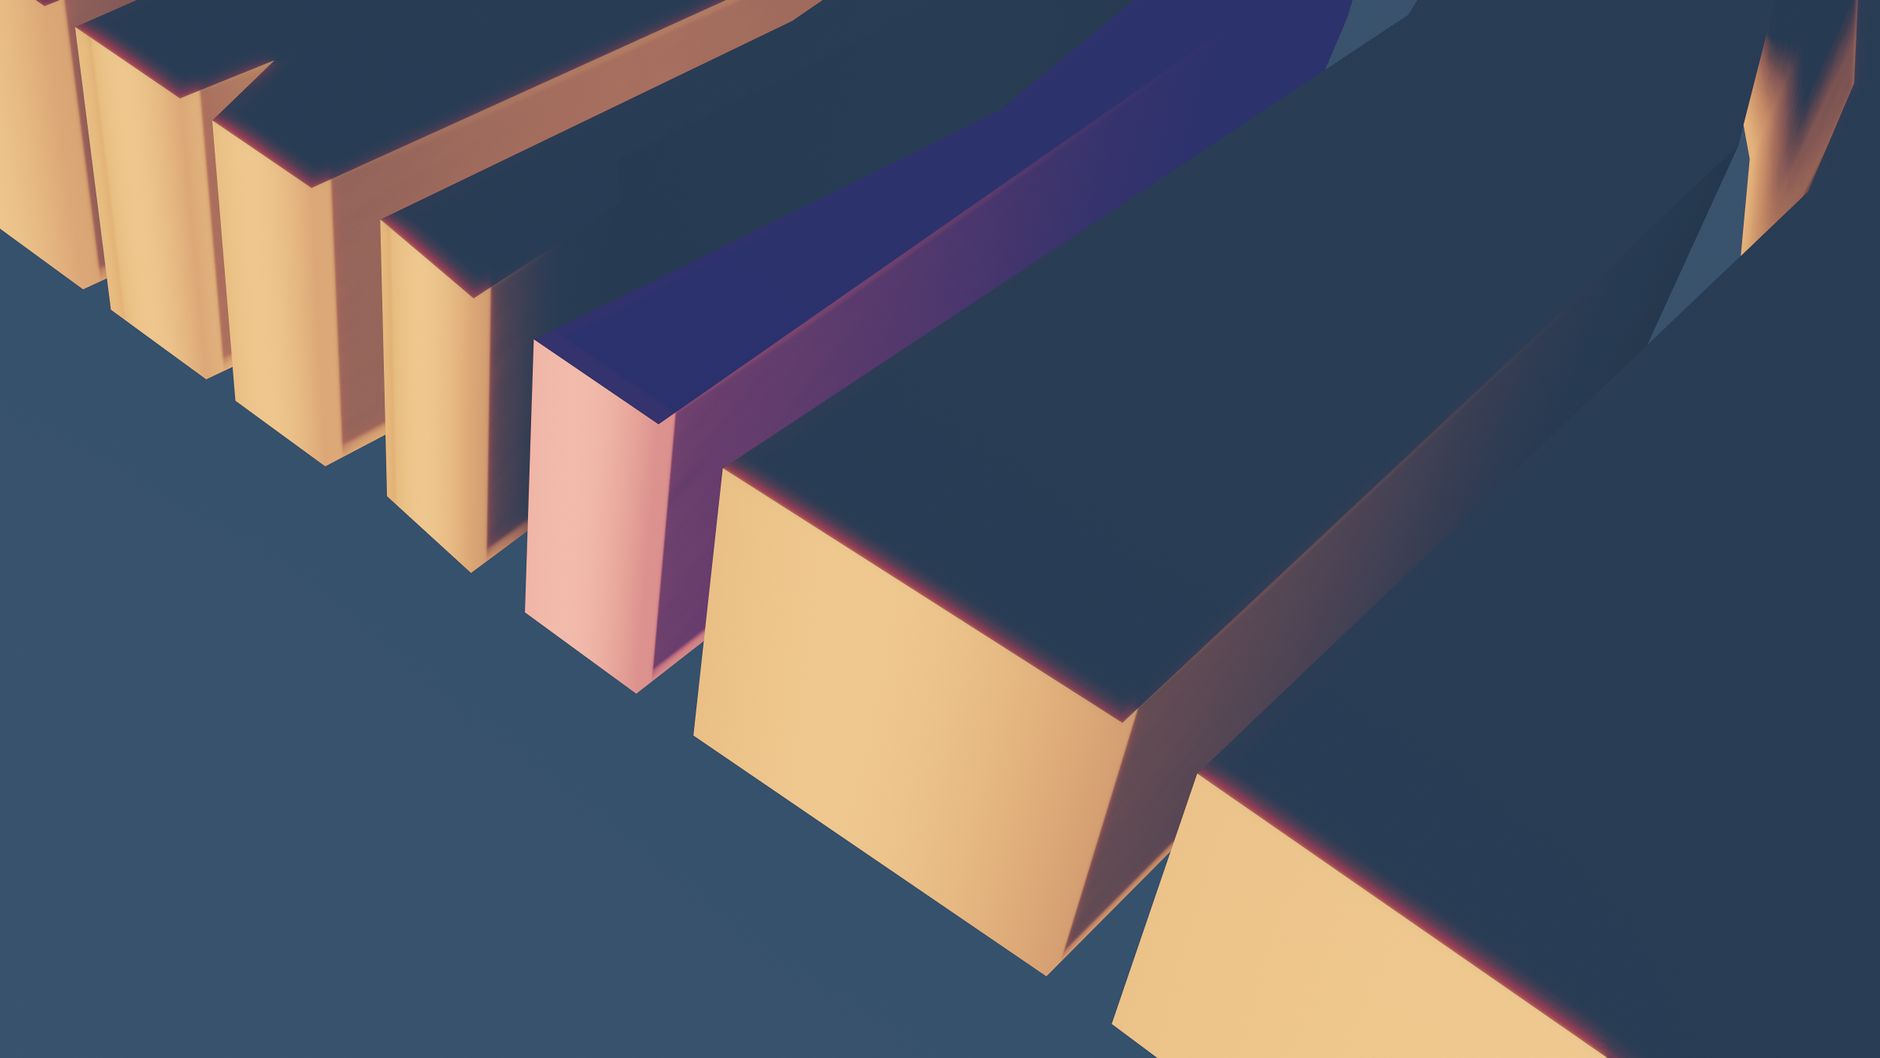
Bevels shape the edges of your 3D text, rounding or angling them rather than leaving them sharp. In Geometry Options, the Bevel Style and Bevel Depth add a chamfered or rounded edge that catches light attractively.
Beveled edges make 3D text look more polished and realistic, since real objects rarely have perfectly sharp corners. A subtle bevel adds a professional finish, while a larger one gives a softer, more rounded character to the letters.
Apply Materials
The text layer’s Material Options control how its surface looks and reacts to light. Adjusting properties like specular highlights, reflection, and shininess turns plain text into metallic, glossy, or matte surfaces.
Giving your 3D text a material — chrome, gold, plastic — dramatically affects its look and how light plays across it. These surface qualities, combined with lighting, are what make 3D text feel like a real, tangible object rather than a flat shape.
Light Your 3D Text
3D text needs lighting to reveal its dimension. Adding lights to your composition illuminates the text from chosen angles, creating highlights and shadows that show off its depth, bevels, and material.
Good lighting is what makes 3D text shine — literally. Positioning lights to catch the beveled edges and create attractive highlights, much like lighting a real product, brings the text to life and sells its three-dimensional quality.
Add a Camera and Rotate
A camera lets you view and animate your 3D text from any angle. Adding a camera and rotating it around the text, or rotating the text itself, reveals its dimensionality and creates dynamic, dimensional reveals.
Animating the text rotating to show its sides, or a camera flying past it, demonstrates the depth that makes 3D text impressive. These dimensional moves, impossible with flat text, are a major reason to build titles in true 3D.
Animate the 3D Title
Beyond rotation, 3D text animates like any layer. Keyframe its position, scale, and rotation for dynamic entrances — letters flying in, the title spinning into place, or a camera revealing it dramatically, eased smoothly for a polished feel.
Combining these animations with the lighting and materials, and the easing from our keyframe guide, produces striking dimensional title sequences. The depth gives the motion extra impact, making 3D animated titles feel genuinely cinematic.
3D Text Best Practices
- Switch to the Cinema 4D renderer for true extrusion.
- Increase Extrusion Depth and add a bevel for realism.
- Apply materials to control the surface and shine.
- Light the text and use a camera to reveal its depth.
Common 3D Text Mistakes
- Forgetting to switch to the Cinema 4D renderer.
- Sharp, unbeveled edges that look flat and hard.
- No lighting, so the dimension doesn’t show.
- Extruding so deep the text becomes unreadable.
A Real 3D Title Example
Picture opening a tech review with a bold 3D channel name. You switch the comp to the Cinema 4D renderer, enable the text’s 3D switch, and push the extrusion depth until the letters have satisfying thickness, then add a slight bevel so the edges catch light. A chrome material makes the surface gleam, and two lights — a key and a rim — model the type dramatically.
Finally you animate a camera arcing past the title as it settles, revealing the depth and the polished metal sides. What was flat text becomes a heavy, cinematic logo treatment that feels genuinely three-dimensional. That combination of extrusion, bevel, material, and lighting is the whole recipe for premium 3D titles.
Performance and the Cinema 4D Renderer
The Cinema 4D renderer produces beautiful extruded type, but it’s more demanding than Classic 3D, so heavy scenes with deep extrusions, many lights, and shadows can render slowly. Keeping bevels and extrusion sensible, limiting shadow-casting lights, and pre-rendering finished titles all keep your project responsive while you design.
Drafting at a lower quality and only switching to full resolution for final renders also helps. Pairing these habits with the optimization advice in our render and export guide lets you build rich 3D text without your previews grinding to a halt on every adjustment.
Key Takeaways
- 3D text gives type real thickness, bevels, and lighting.
- Use the Cinema 4D renderer and increase Extrusion Depth.
- Add bevels and materials for a realistic surface.
- Light the text and use a camera to reveal its depth.
Frequently Asked Questions
How do I make 3D text in After Effects?
Switch the composition’s 3D Renderer to Cinema 4D, enable the text layer’s 3D switch, then increase the Extrusion Depth in Geometry Options to give it real thickness. Add bevels, materials, lighting, and a camera.
Why won’t my text extrude in After Effects?
True extrusion requires the Cinema 4D renderer. In Composition Settings under the 3D Renderer tab, switch from Classic 3D to Cinema 4D — otherwise text can sit in 3D space but stays flat without thickness.
How do I make 3D text look realistic?
Add a bevel so the edges aren’t sharp, apply a material for the right surface (metallic, glossy, matte), and light the text from angles that catch the bevels and create highlights, just like lighting a real object.
Sources: Wikipedia’s overview of 3D computer graphics.
Add real dimension at Adobe Video World
Train hands-on with Adobe Certified Instructors across 100+ Premiere Pro & After Effects sessions.



