
A workflow taught by Adobe Certified Instructors at Adobe Video World.
Particle effects fill your frame with countless tiny moving elements — sparks, snow, dust, bubbles, or abstract energy. They add atmosphere, energy, and polish that’s hard to achieve any other way, and After Effects includes built-in particle generators to create them. This guide covers the main tools and how to shape particles into the effect you want.
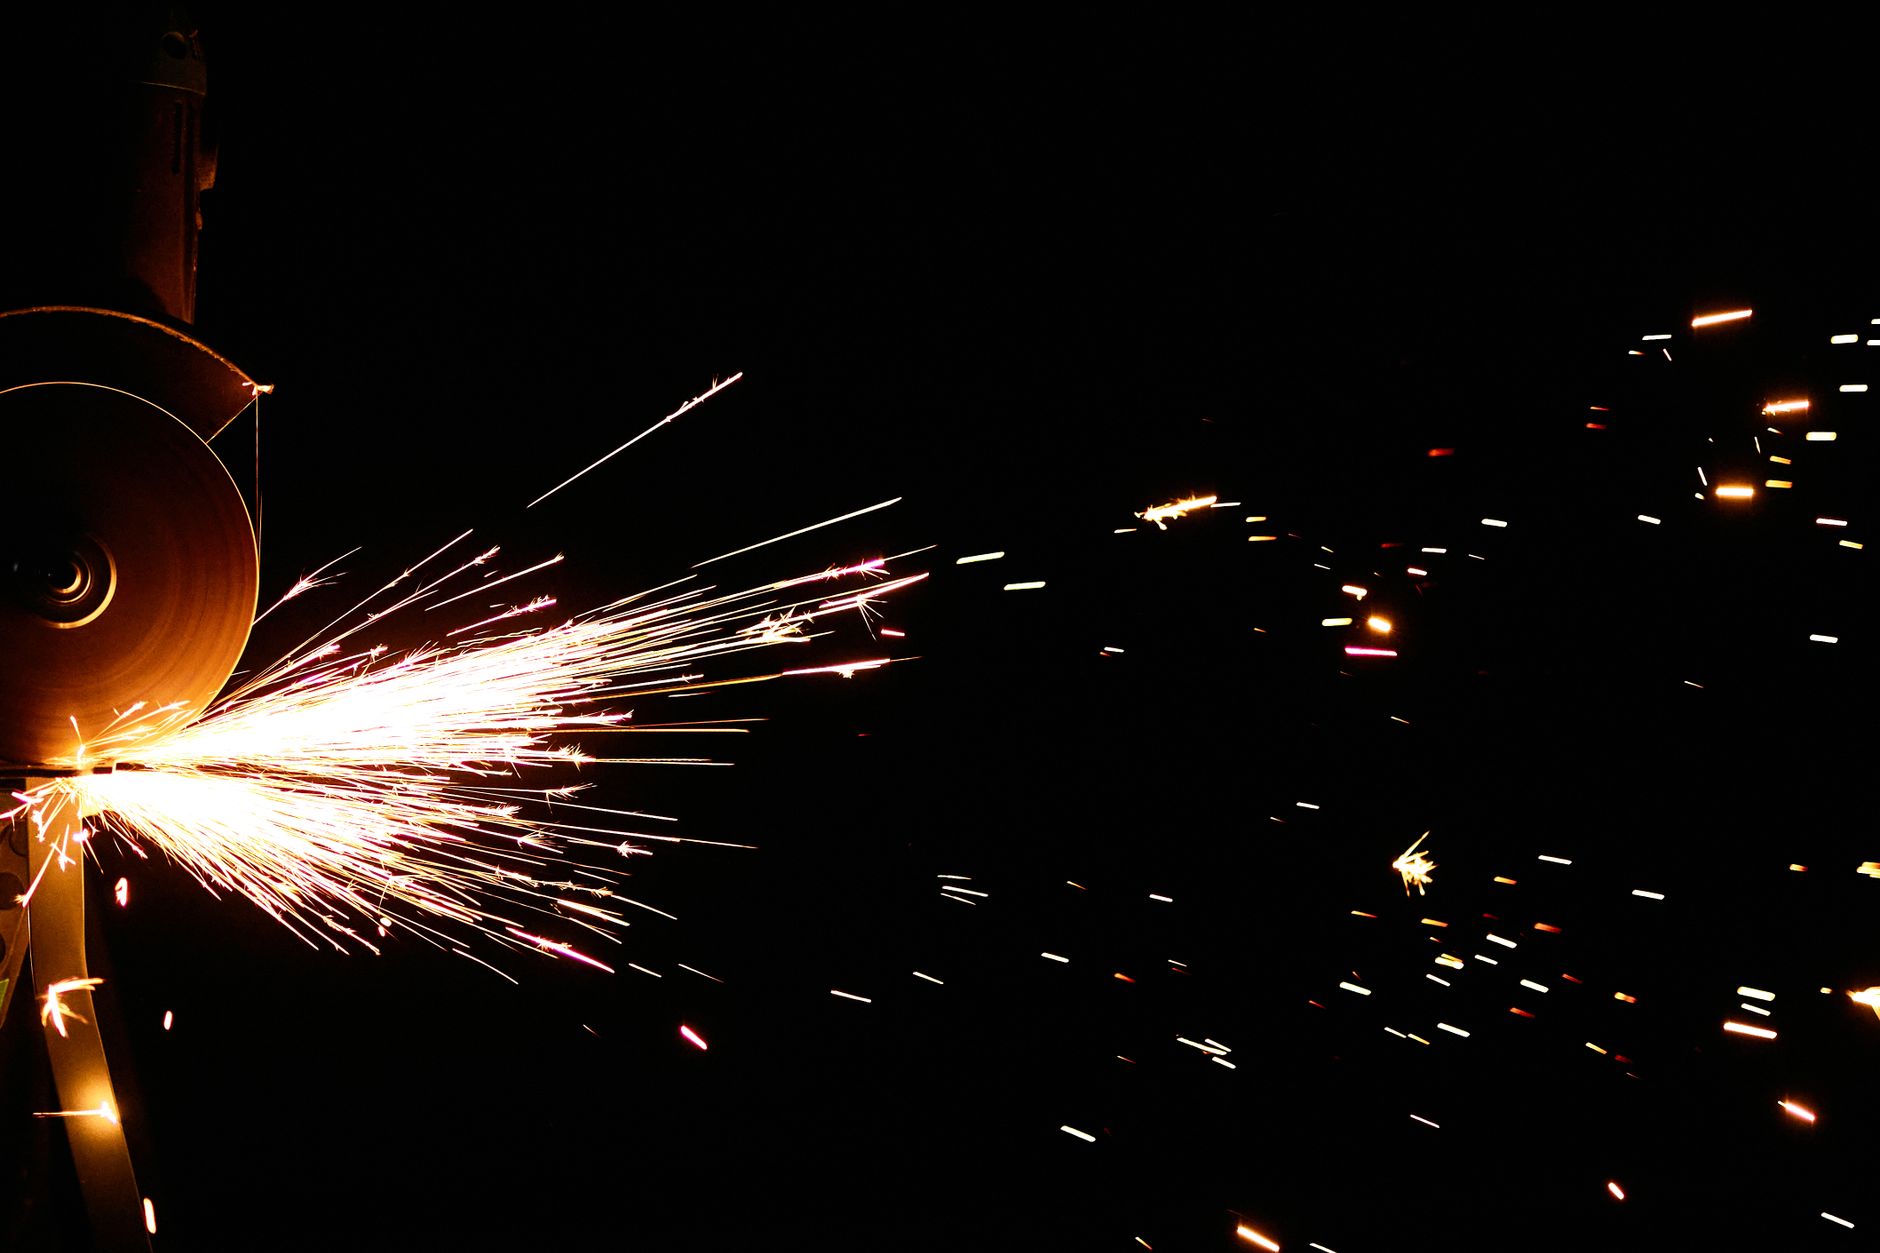
What Particle Effects Are
A particle system generates and animates many small elements at once, each following rules you set for birth, movement, and death. Instead of animating hundreds of objects by hand, you define behavior and the system produces the swarm automatically.
This makes particles perfect for natural phenomena like rain, snow, fire sparks, and floating dust, as well as abstract motion graphics. The power lies in controlling a whole population of elements through a handful of parameters.

Use CC Particle World
After Effects’ most versatile built-in particle generator is CC Particle World. Apply it to a solid layer, and it immediately produces a stream of particles emitting from a point in 3D space, ready to be shaped into almost any effect.
Particle World gives you control over how particles are born, how they move, and how they look, all in a 3D environment. It’s the go-to tool for everything from sparks flying toward the camera to dust drifting through a scene.

Control the Producer and Birth Rate
The Producer settings control where particles are born and how spread out the emitter is. Adjust its position to place the source, and its radius to make particles emit from a point, a line, or a wide area.
Birth Rate sets how many particles spawn — low for a few drifting specks, high for a dense cloud. Together these define the foundation of your effect: where it comes from and how much of it there is.

Shape Particle Physics
The Physics settings dictate how particles move after birth. Velocity controls their speed, Gravity pulls them down (or up, with negative values), and Resistance slows them over time, letting you simulate everything from rising embers to falling snow.
Tuning these is where an effect comes to life. A little gravity and slow velocity make gentle floating dust; high velocity with an explosion animation makes a spark burst. Experimenting with physics is how you find the exact motion you want.
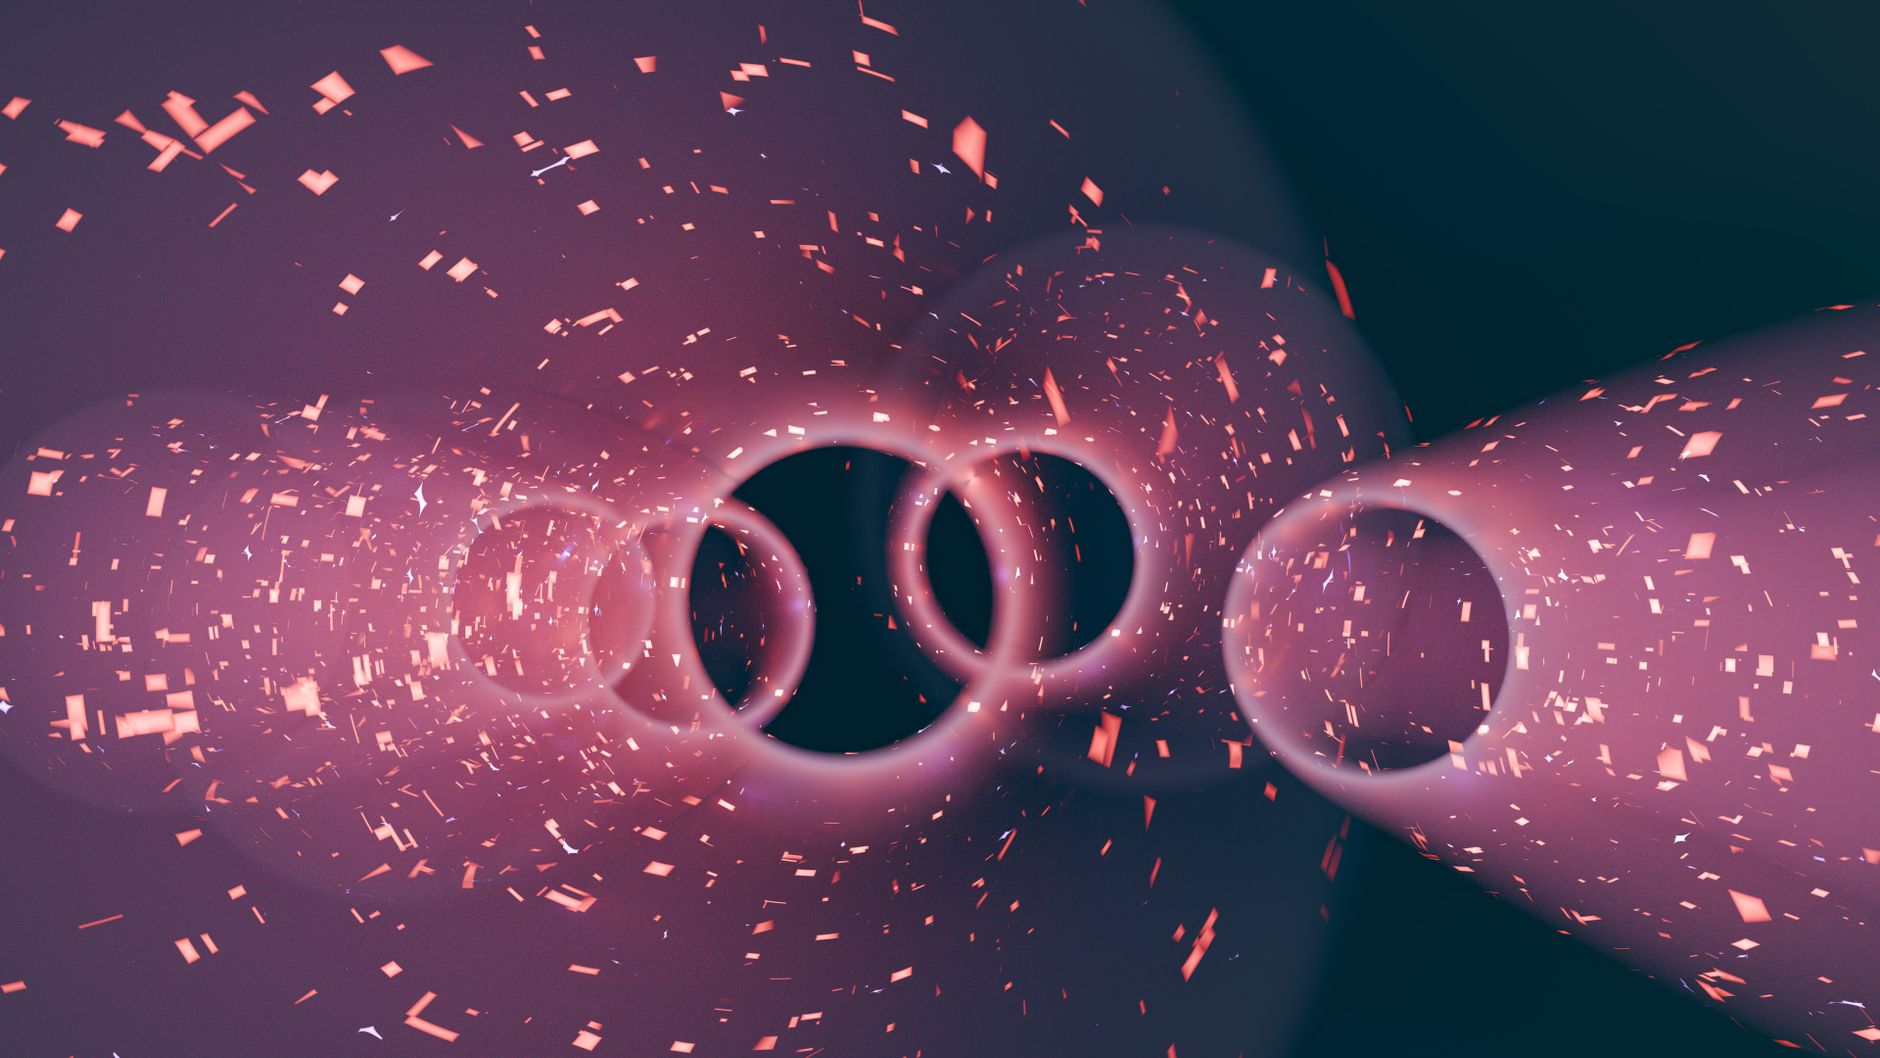
Style the Particles
The Particle settings control appearance — particle type, size, and color. You can render particles as glowing dots, shaded spheres, motion-blurred streaks, or even textured elements, and animate their size and color over their lifespan.
Setting particles to fade or change color as they age adds realism, like sparks cooling from white to red. Pairing particles with a glow effect makes energy and light particles genuinely radiate, lifting the whole effect.
Try CC Particle Systems II
For 2D particle effects, CC Particle Systems II is a simpler alternative that works on a flat plane. It’s excellent for effects like rain, confetti, and fireworks where you don’t need full 3D depth and want quicker setup.
Both generators share similar concepts — a producer, physics, and particle styling — so learning one makes the other familiar. Choose Particle World when you need 3D space and Systems II when a 2D effect will do.
Composite Particles into Your Scene
Particles usually sit on their own layer over your footage or graphics. Set the particle layer’s blending mode to Add or Screen so dark areas drop out and only the bright particles show, blending light effects naturally over the scene beneath.
Layering multiple particle systems — a few large foreground specks and many small background ones — adds depth. This compositing, combined with the blending mode techniques from our blending modes guide, is what makes particles feel embedded in the shot.
Consider Third-Party Particle Plugins
The built-in generators are powerful, but dedicated plugins offer far more advanced, realistic particle simulations with finer control and better performance. For demanding hero shots, these specialized tools produce results the built-in effects can’t match.
Still, CC Particle World handles the vast majority of everyday needs once you understand it. Master the built-in tools first, and you’ll know exactly what a plugin adds before deciding whether a project justifies one.
Particle Effect Best Practices
- Use CC Particle World for 3D effects, Systems II for 2D.
- Set birth rate and producer radius to define the source.
- Tune physics — velocity, gravity, resistance — for natural motion.
- Use Add or Screen blending to composite light particles.
Common Particle Mistakes
- Cranking birth rate so high the render slows to a crawl.
- Leaving particles at default, looking generic and flat.
- Forgetting to fade particles over their lifespan.
- Compositing without a blending mode, leaving a dark box.
A Real Particle Effect Walkthrough
Picture creating magical sparks rising from a wand. You apply CC Particle World to a solid, position the producer at the wand tip, and lower the birth rate to a gentle stream. A touch of negative gravity makes the particles float upward, and resistance slows them as they rise, like cooling embers.
Then you style them as small glowing dots, fading from bright white to soft gold over their lifespan, and add a Glow effect so they genuinely radiate. Set on an Add blending mode over the footage, the sparks blend seamlessly into the shot — a complete effect built from a handful of parameters.
Optimize Heavy Particle Renders
Particle systems can be demanding, especially at high birth rates with motion blur enabled. If previews crawl, lower the birth rate while designing and raise it only for the final render, or pre-render the particle layer once you’re happy so you’re not recomputing it constantly. This keeps the rest of your work responsive.
Layering a few well-tuned systems usually looks better than one enormous one anyway, so resist cranking the count purely for density. Smart settings paired with the optimization habits from our render and export guide let you create rich particle effects without grinding your machine to a halt.
Key Takeaways
- Particle systems generate many animated elements from rules.
- CC Particle World is the versatile 3D generator.
- Producer, physics, and particle settings shape the effect.
- Blend particles with Add or Screen to composite light.
Frequently Asked Questions
How do I create a particle effect in After Effects?
Apply CC Particle World to a solid layer to generate a stream of particles, then adjust the Producer, Physics, and Particle settings to control where particles are born, how they move, and how they look.
What’s the difference between CC Particle World and Systems II?
CC Particle World works in 3D space and suits effects with depth, like sparks flying toward the camera. CC Particle Systems II is a simpler 2D generator, ideal for rain, confetti, and fireworks on a flat plane.
How do I make particles blend into my footage?
Put particles on their own layer and set its blending mode to Add or Screen so dark areas drop out and only the bright particles show, blending light and energy effects naturally over the scene beneath.
Sources: Wikipedia’s overview of particle systems.
Generate stunning effects at Adobe Video World
Train hands-on with Adobe Certified Instructors across 100+ Premiere Pro & After Effects sessions.



