A workflow taught by Adobe Certified Instructors at Adobe Video World.
Recorded your audio on a separate microphone or recorder for better sound? Then you need to sync it to your video before you can edit. Premiere Pro can line up audio and video automatically by matching their waveforms — no more nudging clips frame by frame. This guide covers every way to sync, plus how to fix clips that drift.
Why You Record Audio Separately
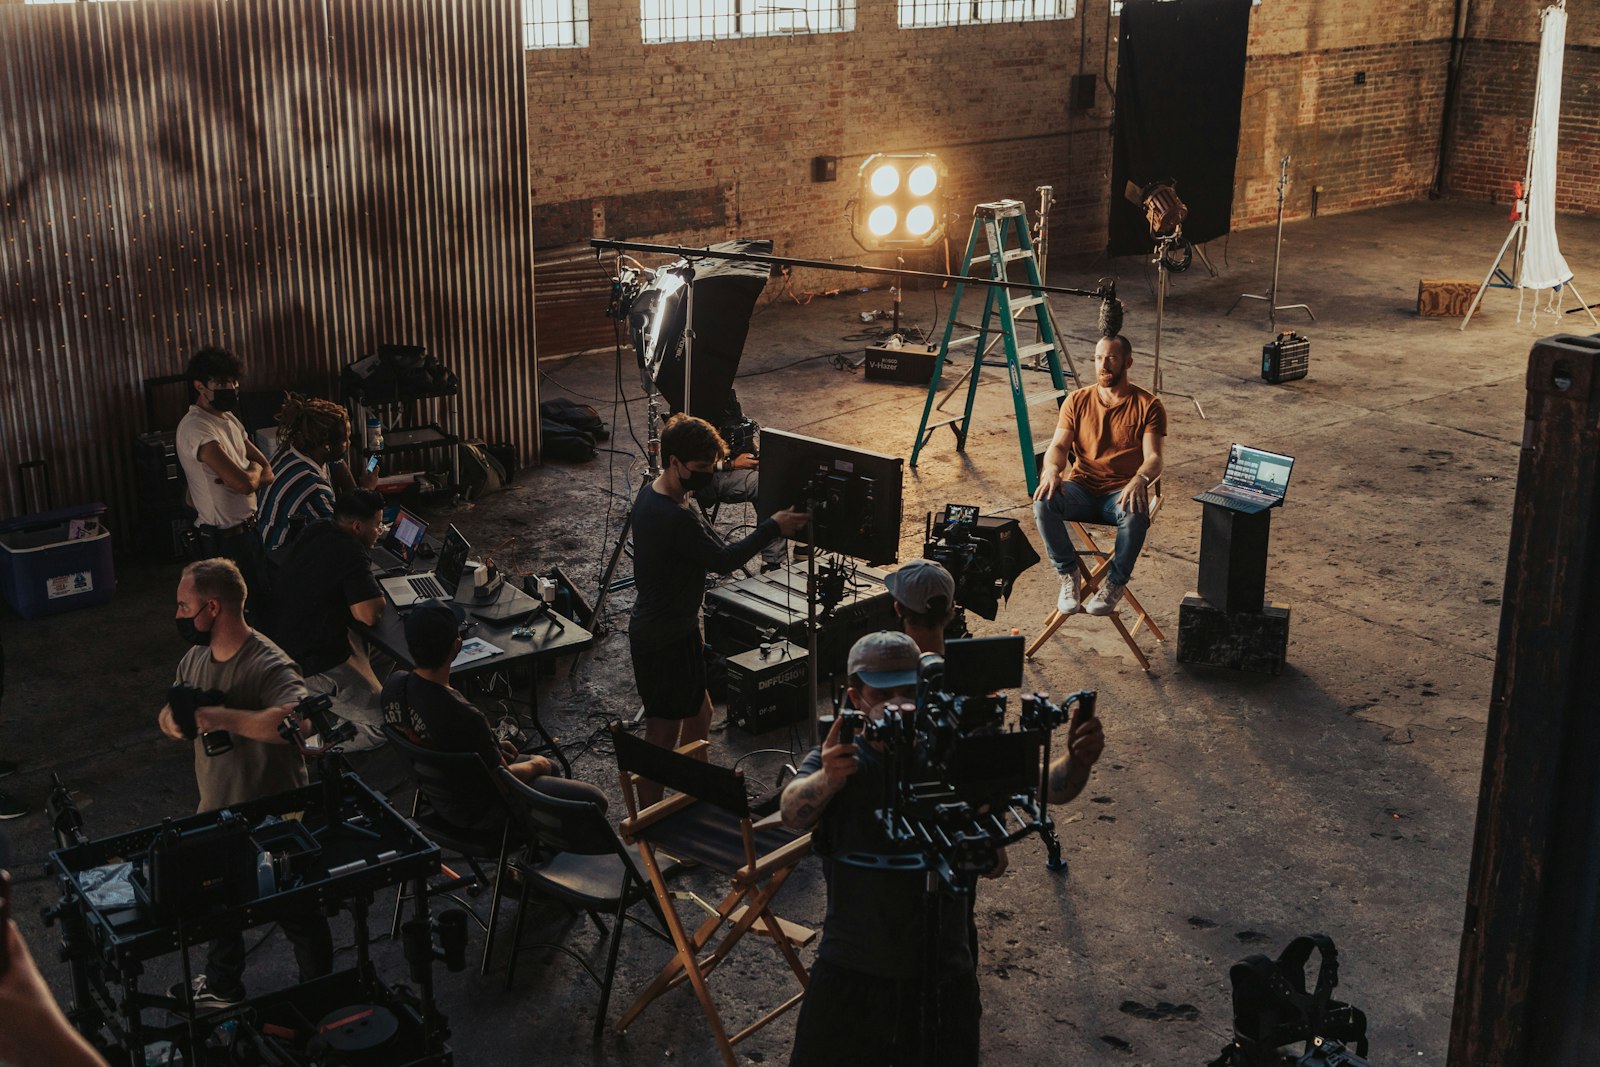
Your camera’s built-in microphone is convenient but rarely good enough for professional results. A dedicated recorder or a wireless lavalier captures cleaner, fuller dialogue, free of camera handling noise and the limitations of a tiny onboard mic.
The catch is that this audio lives in a separate file from your video, recorded on a different device. Before editing, the two have to be perfectly aligned so lips and words match — and that alignment is what syncing solves.
Use a Sync Reference on Set
Syncing is easiest when both devices capture the same sound. Always record a reference: even your camera’s poor onboard audio works, because Premiere only needs the matching waveform to line things up, not good quality.
The classic clapperboard exists for exactly this reason — a sharp, distinct sound spike that’s easy to align. A simple hand clap at the start of each take does the same job for free.
The Easy Way: Merge Clips
Premiere’s Merge Clips feature combines a video clip and its separate audio into a single synced clip. Select both in the Project panel, right-click, and choose Merge Clips.
In the dialog, set the Synchronize Point to Audio and Premiere matches the waveforms automatically. The result is one tidy merged clip you edit as if the good audio were recorded in-camera all along.
Sync on the Timeline Instead
If your clips are already on the timeline, you can sync them there. Place the video on one track and the external audio on another, select both, right-click, and choose Synchronize.
Again, choose Audio as the sync method. Premiere shifts the clips so their waveforms align. This approach is handy when you’ve already started cutting and need to bring proper audio into an existing edit.
Sync Multiple Cameras at Once
Syncing isn’t limited to one camera. When you have several angles plus separate audio, the same waveform matching powers a full multicam edit, lining up every source in one step.
As long as each device recorded the same sound, Premiere aligns them all together — the foundation of interviews, podcasts, and live events shot with multiple cameras.
Mute the Camera Audio
Once synced, you usually only want the good audio playing, not the camera’s reference track underneath it. Expand the merged or synced clip and mute or delete the camera audio so it doesn’t muddy your mix.
Leaving both playing causes a slight echo or phasing as two recordings of the same sound overlap. Keep the clean track, lose the reference, and your dialogue instantly sounds better.
Fix Audio That Drifts Out of Sync
Sometimes audio starts in sync but slowly drifts over a long take — a sign the two devices ran at slightly different frame rates or sample rates. The fix is to re-sync in sections, or correct the recorder’s sample rate before importing.
For short drifts, you can manually nudge the audio a frame or two until lips match again. Checking sync at both the start and end of a long clip catches drift before it reaches your viewers.
Check Sync the Right Way
Always verify sync on a moment with a sharp, visible sound — a clap, a door, or a hard consonant where you can see the lips. Watch it at full speed, then frame-step through to confirm the audio spike lands on the right frame.
Trust your eyes and ears together. Even a single frame of offset is noticeable on close-up dialogue, so it’s worth the extra few seconds to confirm.
Clean Up After Syncing
With audio synced, the real work begins: balancing levels and removing noise. Premiere’s Essential Sound panel makes dialogue clear and consistent, and the noise reduction tools clean up any hiss or hum.
Synced, clean, balanced audio is the foundation of professional video — audiences forgive imperfect picture far sooner than bad sound.
Audio Sync Best Practices
- Always record a reference sound on the camera, even low quality.
- Add a clap at the start of each take for an easy sync point.
- Match sample rates across devices to prevent drift on long takes.
- Mute the camera’s reference track after syncing to avoid echo.
Common Sync Mistakes
- No reference sound, leaving Premiere nothing to match.
- Leaving both audio tracks playing, creating a hollow echo.
- Ignoring drift on long takes until the end of the edit.
- Mismatched sample rates between camera and recorder.
A Real Two-Person Interview Sync
Picture a two-person interview shot on a single camera with two lavalier mics recorded to an external device. You select the camera clip and the external audio, right-click, and choose Merge Clips with Audio as the sync point. In seconds Premiere lines up the clean lav audio with the picture, and you mute the tinny camera track underneath.
Now every word matches every lip movement, and you have pristine dialogue to edit with. A workflow that once meant dragging waveforms around by hand is reduced to a couple of clicks, freeing you to focus on the actual edit rather than the technical plumbing.
What to Do When Auto-Sync Fails
Occasionally waveform sync fails — usually because the camera captured little or no usable reference sound. When that happens, fall back to a manual sync point: find a sharp shared moment such as a hand clap or a door slam, line up that spike on both clips, and the rest falls into place.
If there’s genuinely no common sound at all, you may need to nudge the audio by ear until consonants match the lips. Recording even a rough reference on every device from the start prevents nearly all of these situations before they begin.
Sync and Your Wider Audio Workflow
Syncing is only the first step in good audio. Once your clean track is aligned, the real polish comes from balancing levels, removing noise, and adding clarity. Treat sync as the gateway that lets all those later improvements work on quality source audio rather than camera scratch.
From there, move into the Essential Sound panel to even out levels and the noise reduction tools to clean up any hiss. Synced, clean, balanced dialogue is the bedrock of professional video.
Key Takeaways
- Record a reference sound so Premiere can match waveforms.
- Use Merge Clips (or Synchronize on the timeline) with Audio as the method.
- Mute the camera’s reference track to avoid echo.
- Check sync on a sharp, visible sound and fix any drift in sections.
Frequently Asked Questions
How do I sync audio and video in Premiere Pro?
Select the video and its separate audio in the Project panel, right-click, choose Merge Clips, and set the Synchronize Point to Audio. Premiere matches the waveforms and creates one synced clip.
Why does my audio drift out of sync over a long clip?
Usually the camera and recorder used slightly different frame or sample rates. Re-sync in sections, correct the sample rate before importing, or nudge the audio back into place manually.
Do I need a clapperboard to sync audio?
No, but any sharp shared sound helps. A simple hand clap at the start of each take gives Premiere a clear waveform spike to align, just like a clapperboard.
Sources: Adobe’s guide to synchronizing clips.
Perfect your audio at Adobe Video World
Train hands-on with Adobe Certified Instructors across 100+ Premiere Pro & After Effects sessions.



