A workflow taught by Adobe Certified Instructors at Adobe Video World.
Shot types and sizes are the visual vocabulary of filmmaking — from sweeping wide shots to intimate close-ups, each communicates something different. Knowing them and using variety is essential for engaging, professional video. This guide covers the main shot sizes, what each conveys, and how to use them to tell your story.
Why Shot Variety Matters
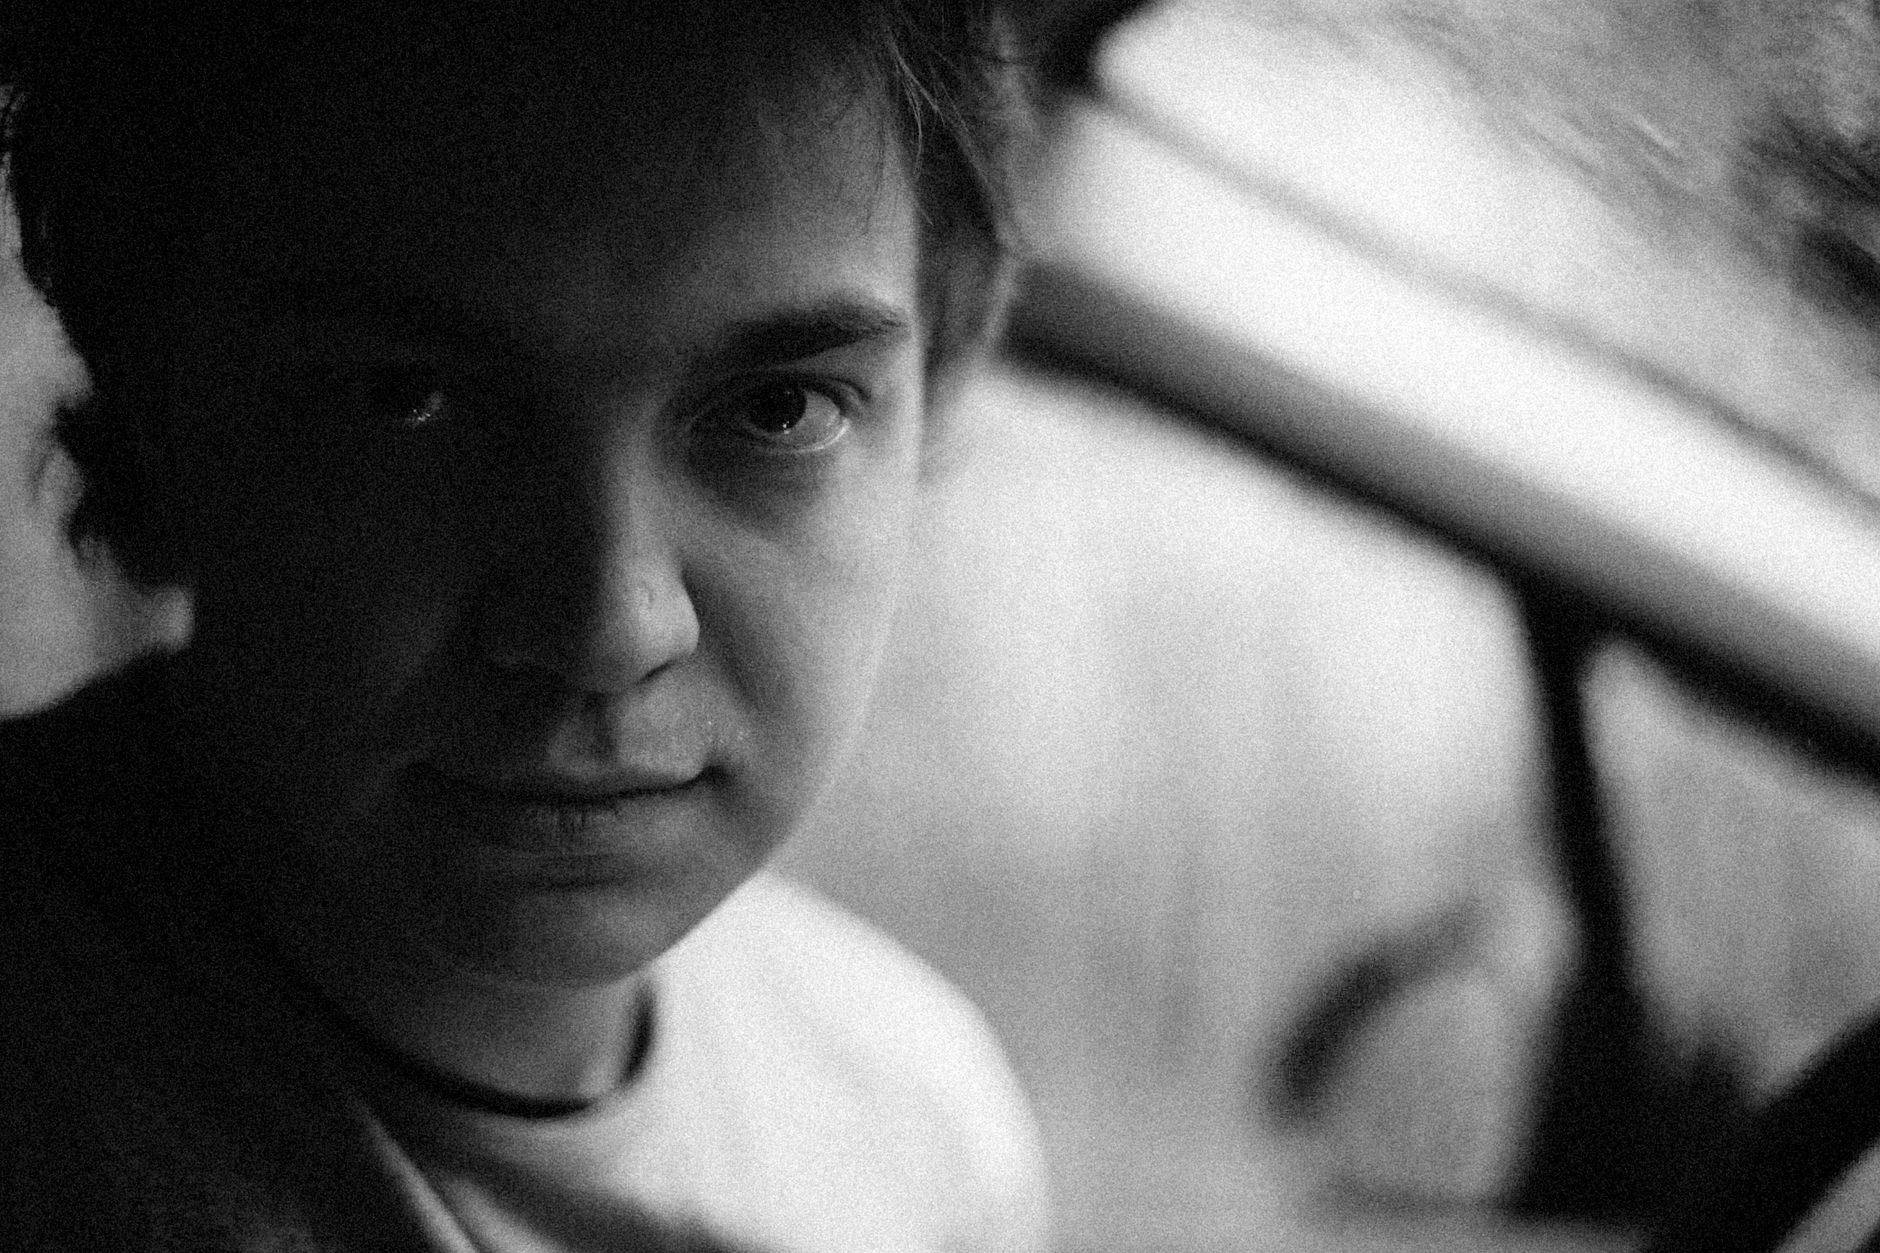
Different shot sizes communicate different things — scale, context, emotion, detail — and varying them keeps video engaging while telling your story visually. A single shot size becomes monotonous, while a thoughtful mix guides the viewer’s experience.
Understanding the vocabulary of shots lets you choose deliberately, framing each moment to convey what it needs. This visual language, fundamental to filmmaking, is what gives video its narrative power, building on our composition guide.
The Wide Shot
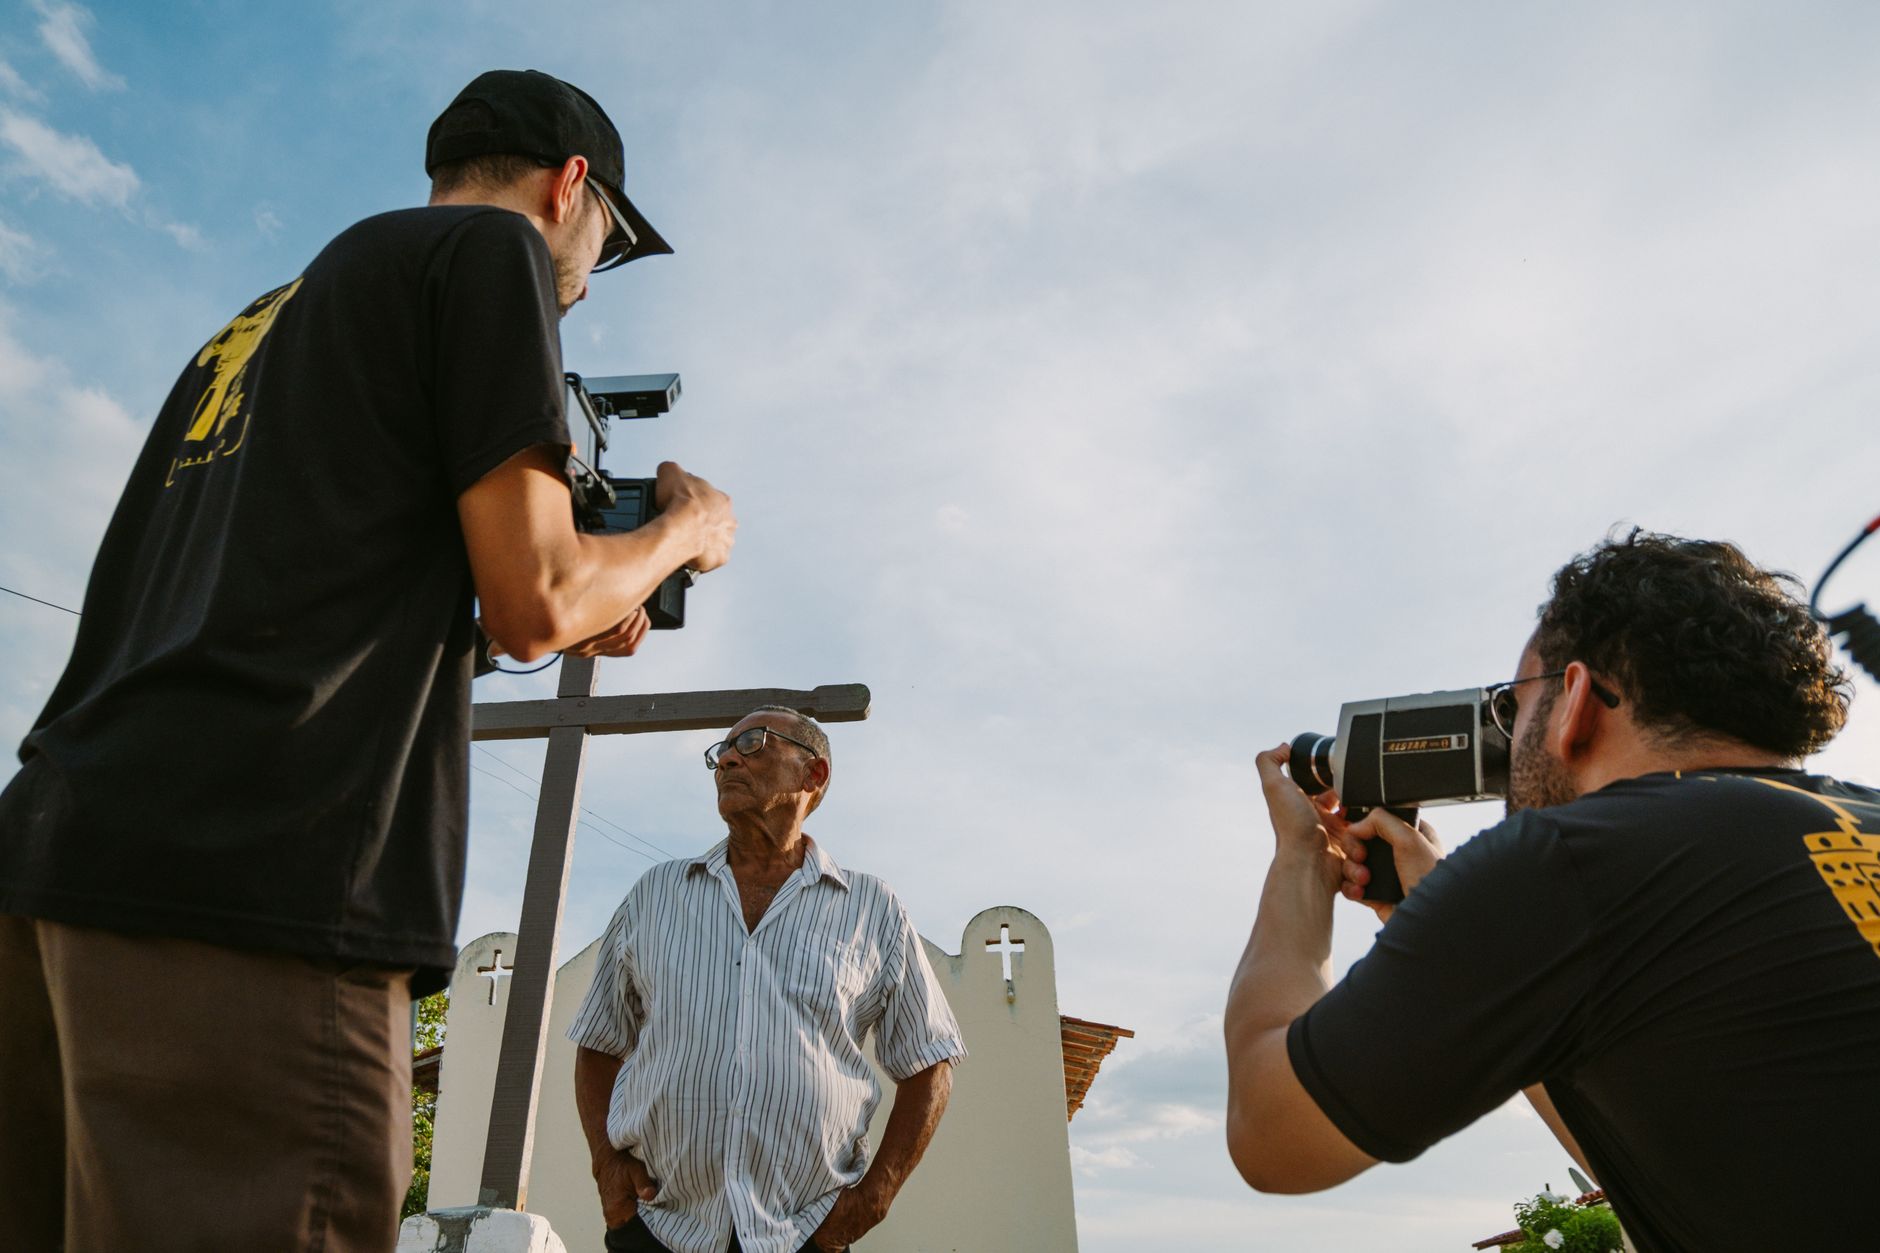
The wide shot (or long shot) shows the subject within their environment, establishing location, scale, and context. It sets the scene, showing where the action takes place and the relationship between subjects and their surroundings.
An extreme wide shot goes further, emphasizing vast scale or isolation. Wide shots are often used to establish a scene before cutting closer, giving viewers the geography and context they need to understand what follows.
The Medium Shot
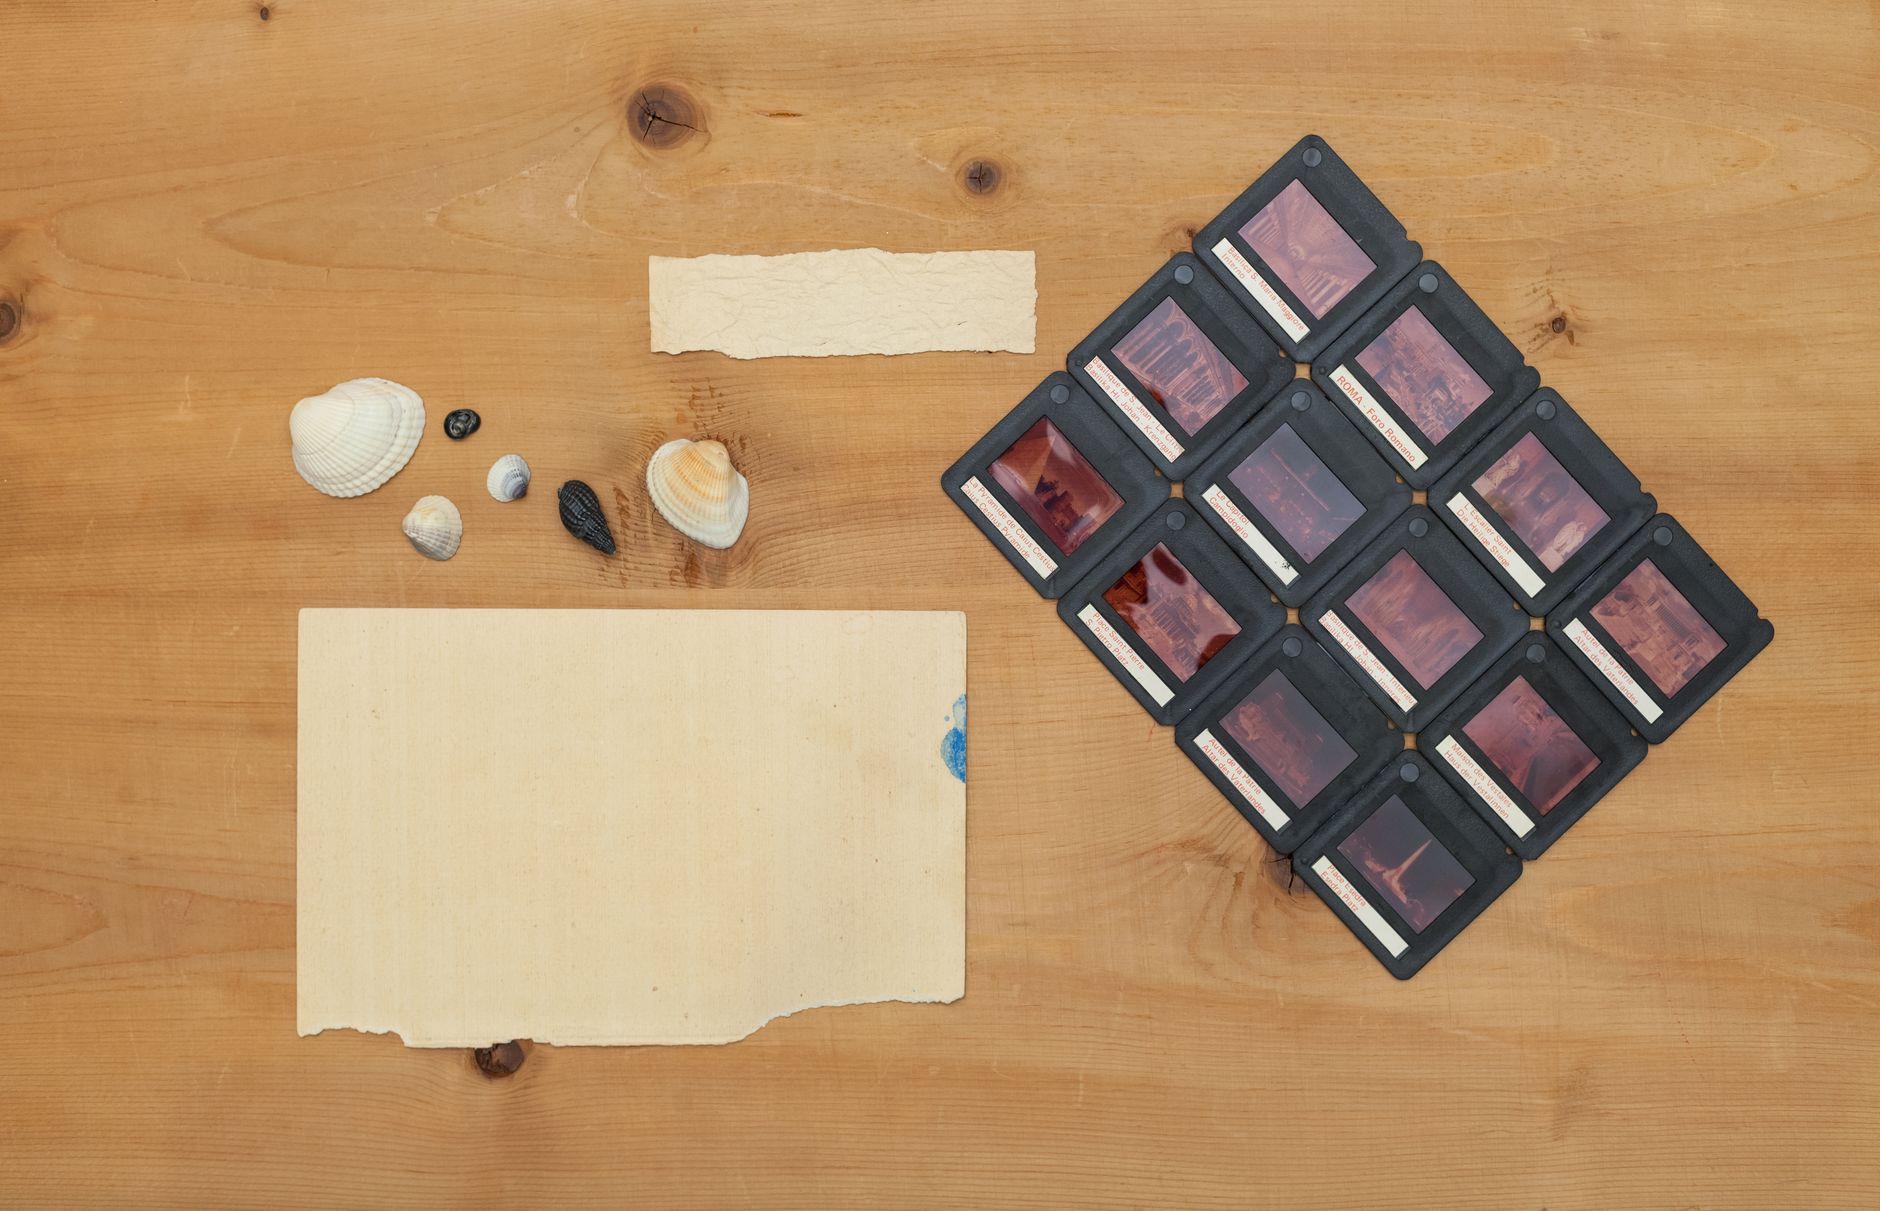
The medium shot frames a subject from roughly the waist up, the natural framing for showing a person while including some context and body language. It’s a workhorse for dialogue, interviews, and everyday action.
Medium shots balance intimacy and context, close enough to read expression and gesture but wide enough to show the subject in their space. This versatile, comfortable framing is one of the most-used shot sizes for its natural, conversational feel.
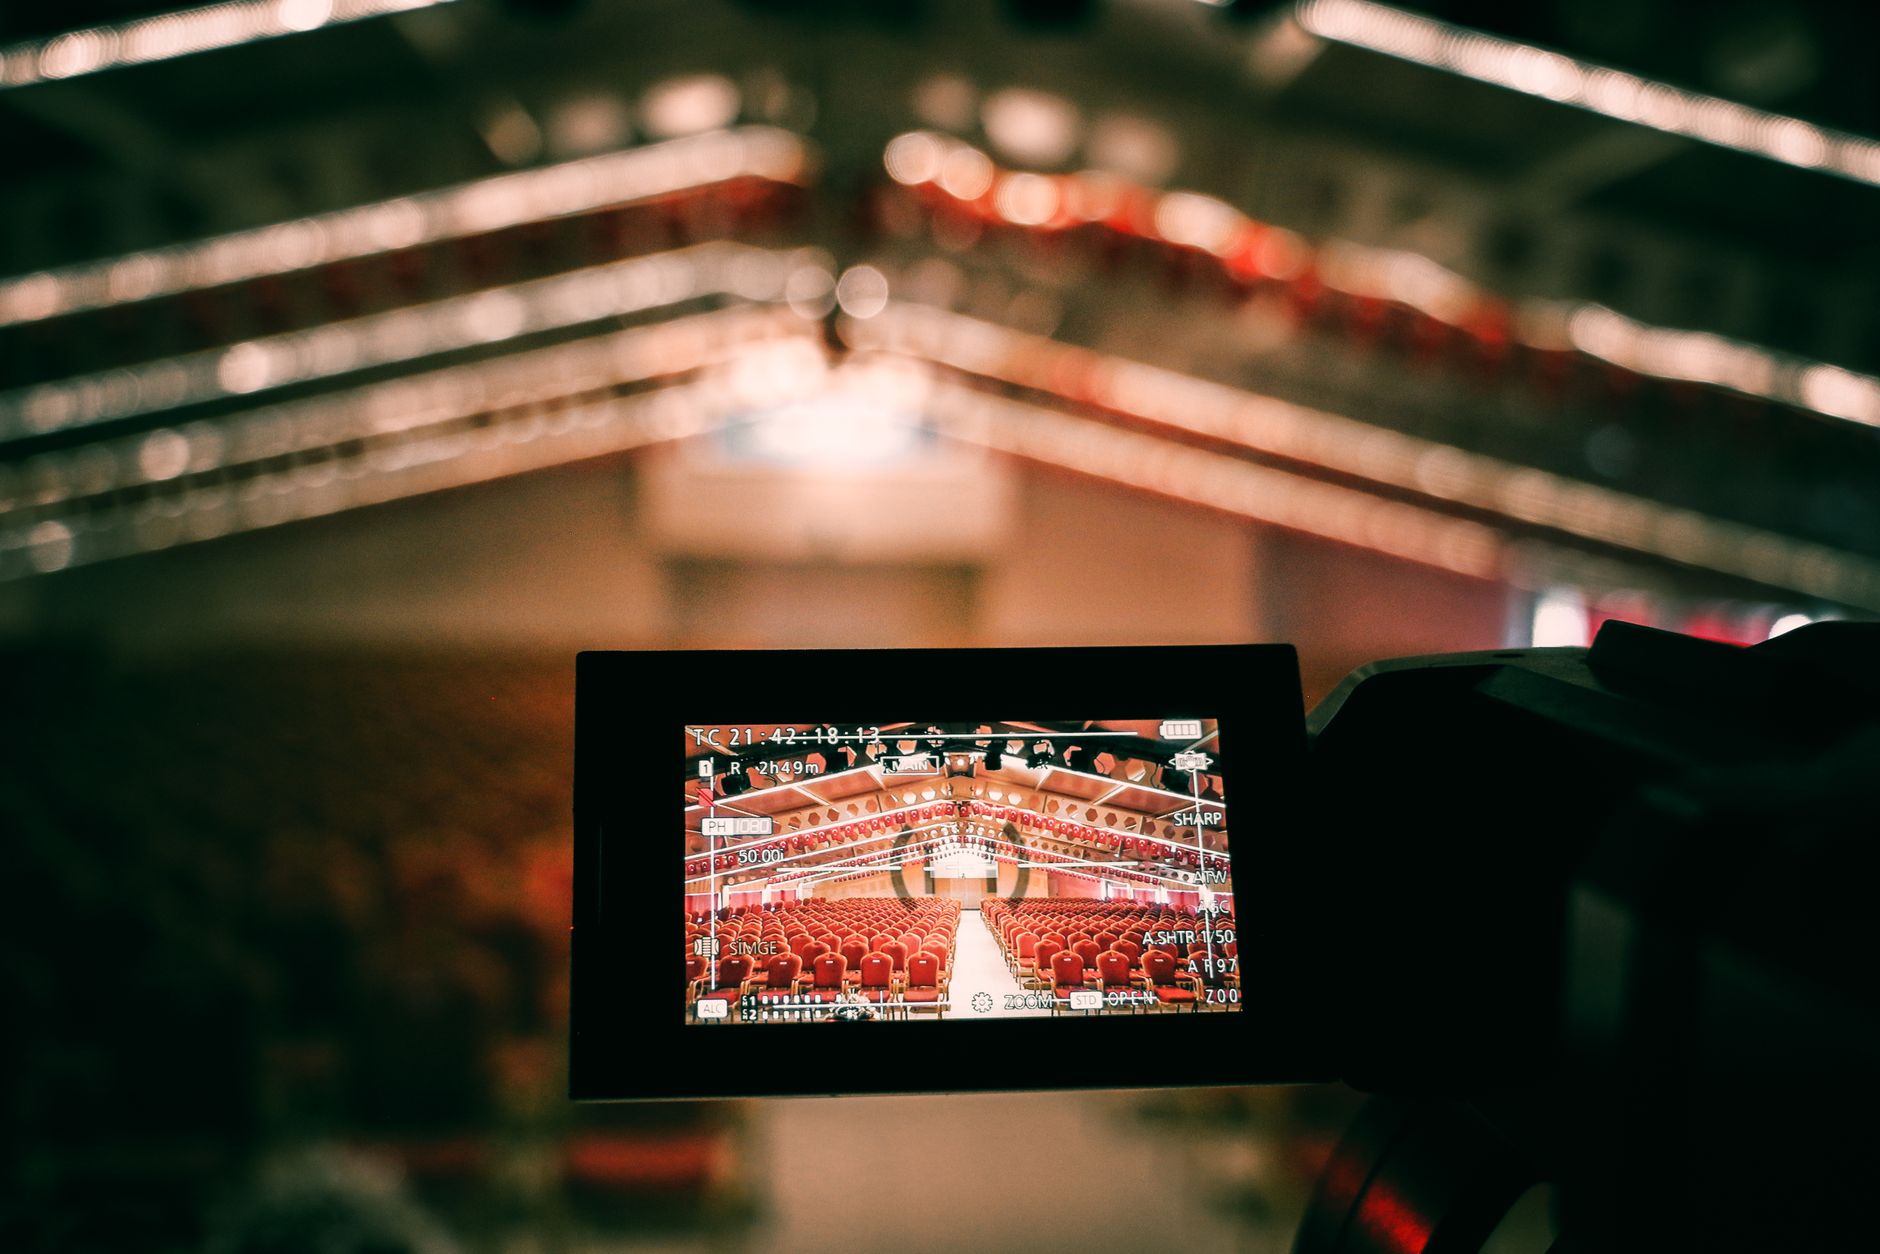
The Close-Up
The close-up frames a subject’s face or a detail tightly, emphasizing emotion and importance. It creates intimacy and draws the viewer into a character’s feelings or focuses attention on a significant detail.
Close-ups carry emotional weight, revealing expression and making moments feel personal and intense. Used at key emotional beats, they’re a powerful tool for connection and emphasis, which is why they punctuate dramatic and important moments.
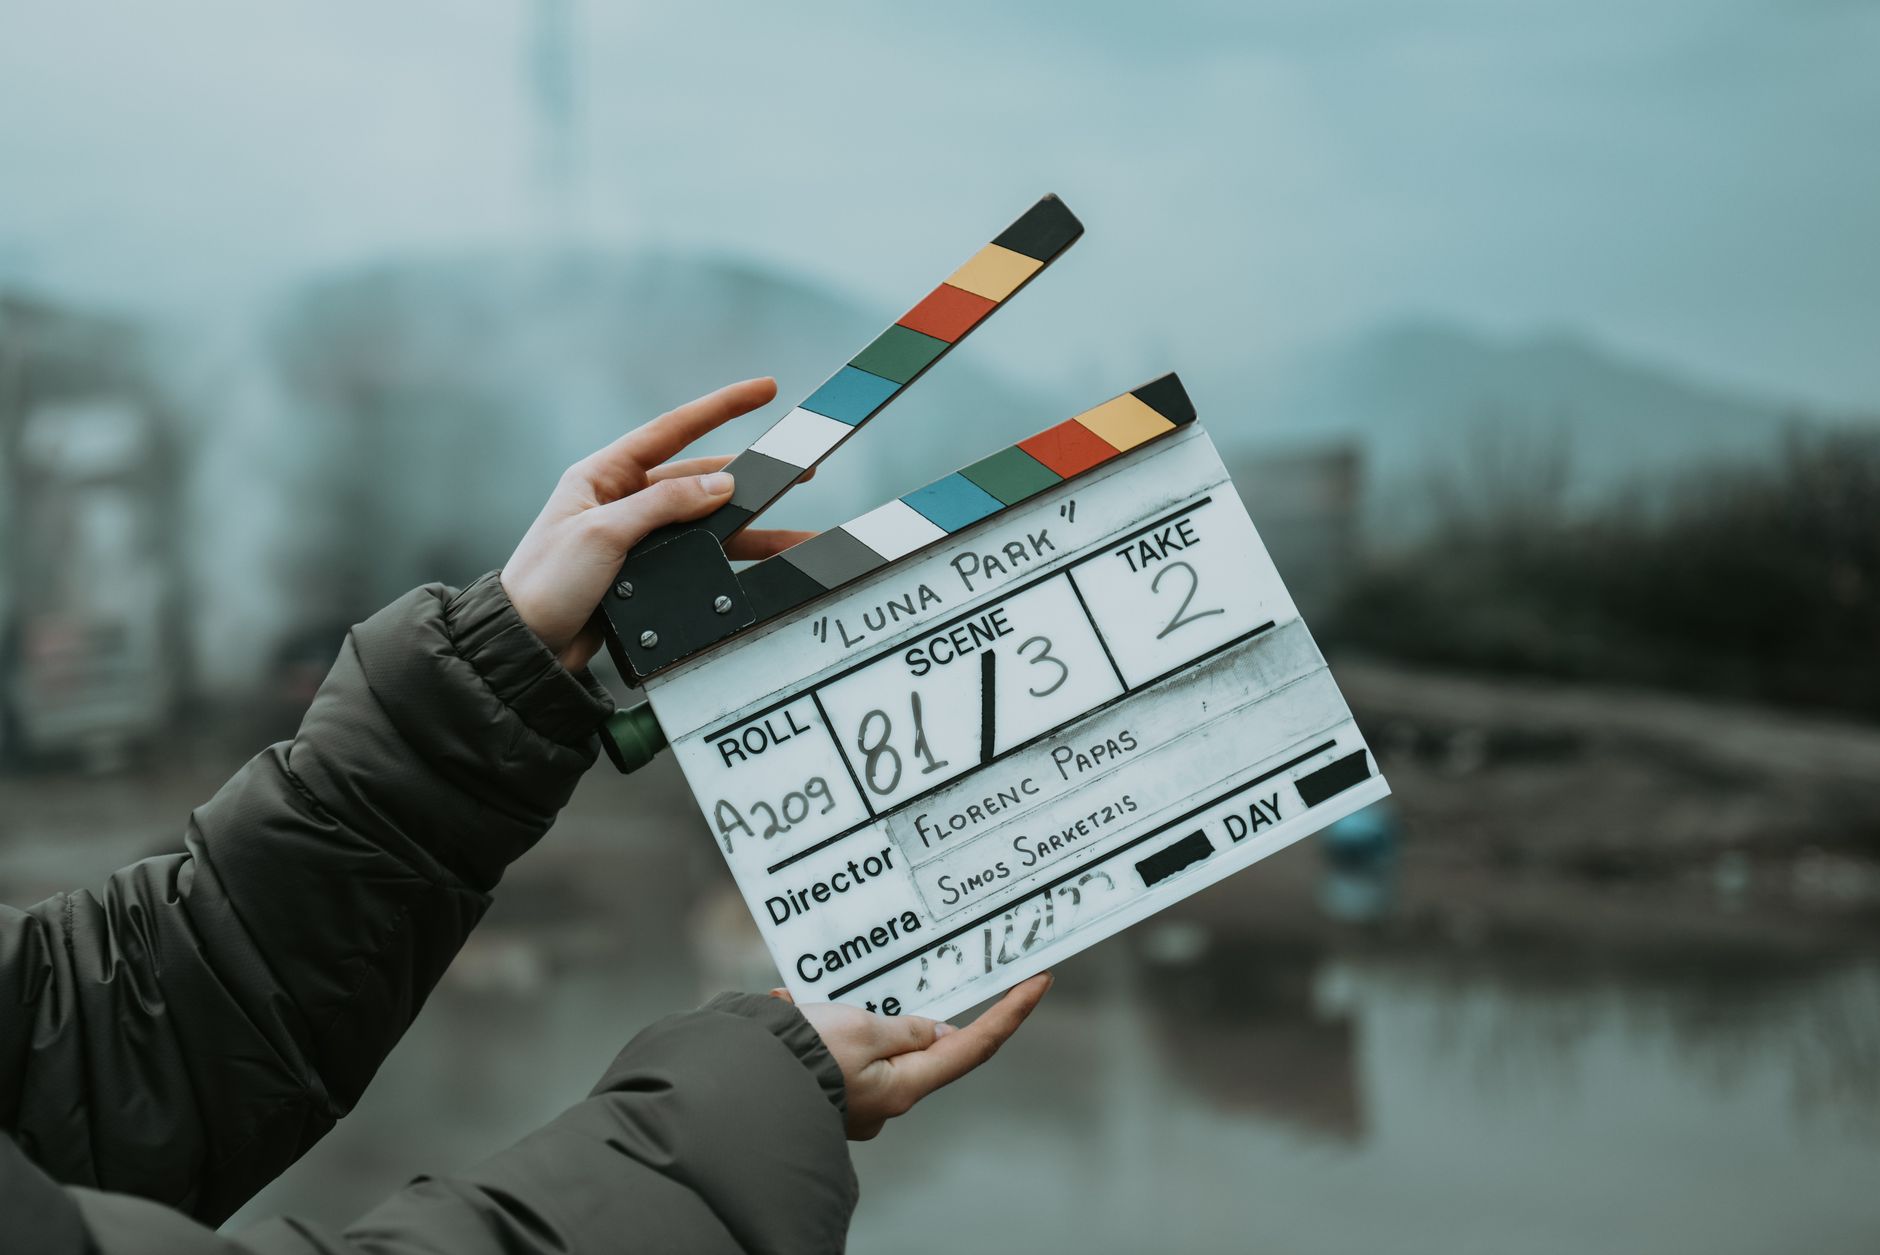
The Extreme Close-Up
The extreme close-up fills the frame with a small detail — eyes, hands, an object — for intense emphasis. It isolates and magnifies, creating drama, tension, or focus on something specific and significant.
This very tight framing draws total attention to its subject, often used for dramatic effect or to highlight a crucial detail. Its intensity makes it a deliberate choice for moments that demand the viewer’s complete focus on one small thing.
Other Useful Shots
Beyond the main sizes, useful shots include the over-the-shoulder shot for conversations, the two-shot framing two subjects, the point-of-view shot showing what a character sees, and the establishing shot setting a scene.
These specialized shots serve particular storytelling needs, from showing relationships to conveying perspective. Knowing them expands your visual toolkit, letting you frame conversations, perspectives, and scenes in ways that serve the story effectively.
Use a Variety of Shots
Engaging video uses a mix of shot sizes, cutting between wide, medium, and close shots to vary the visuals and tell the story. This variety, captured by shooting coverage, gives the editor options and keeps the video dynamic.
Shooting a range of shot sizes for each scene, including plenty of B-roll, ensures you have the coverage to cut a compelling sequence. A scene shot from one size feels flat, while varied shots create rhythm and depth.
Choose Shots for the Story
Each shot should serve the moment. Use wide shots to establish and show scale, medium shots for natural action and dialogue, and close-ups for emotion and emphasis, matching the shot size to what the moment needs to convey.
Thinking about what each shot communicates, not just how it looks, makes your shot choices purposeful. This intentional use of shot sizes to support the story is what separates thoughtful, professional video from footage shot without consideration.
Shot Types Best Practices
- Use wide shots to establish scene, scale, and context.
- Use medium shots for natural dialogue and action.
- Use close-ups for emotion and emphasis.
- Shoot a variety of shot sizes for editing coverage.
Common Shot Mistakes
- Shooting everything in one shot size, looking flat.
- No establishing shot, leaving viewers disoriented.
- Overusing close-ups, losing context.
- Shot sizes that don’t match what the moment conveys.
A Real Shot Variety Example
Picture covering a chef plating a dish. You open on a wide shot of the busy kitchen for context, cut to a medium of the chef working at the pass, then push into a close-up of their hands arranging the garnish, and finish on an extreme close-up of a single drop of sauce hitting the plate. Four shot sizes, each capturing a different layer of the moment.
Cut together, those varied shots turn a simple action into a rich, cinematic sequence that draws the viewer in. Shooting that range of coverage on set is what gives the edit its rhythm and depth — a perfect demonstration of why varying shot sizes is fundamental to engaging visual storytelling.
Shot Sizes and Emotion
Shot size is one of the most powerful emotional tools in filmmaking. Pushing closer as a scene intensifies — moving from wide to medium to close-up — naturally heightens emotion and tension, while pulling wider creates distance, isolation, or relief. The audience feels these shifts even without consciously noticing them.
Thinking about the emotional arc of a scene and choosing shot sizes to support it turns coverage into storytelling. Combined with the pacing instincts in our pacing guide, deliberately escalating or releasing shot sizes lets you guide how the audience feels moment to moment, which is the deeper craft behind the visual vocabulary.
Build Shot Lists Around Shot Types
Knowing shot types helps you plan coverage before shooting. Building a shot list that deliberately includes wides, mediums, close-ups, and cutaways for each scene ensures you capture the variety the edit will need, rather than discovering missing shots when you’re cutting.
This intentional planning, part of good pre-production, gives the editor options and guarantees a scene can be cut dynamically. Thinking in shot types while you plan and shoot, as our storyboarding guide covers, is what ensures you come away with complete, editable coverage every time.
Key Takeaways
- Each shot size communicates something different.
- Wide establishes, medium suits dialogue, close-up conveys emotion.
- Use specialized shots for conversations and perspective.
- Vary your shots and choose each to serve the story.
Frequently Asked Questions
What are the main shot sizes in video?
The main shot sizes are the wide shot (subject in their environment), medium shot (waist up, for dialogue), close-up (face or detail, for emotion), and extreme close-up (a small detail, for intense emphasis), plus the extreme wide shot.
What does a close-up shot communicate?
A close-up frames a subject’s face or a detail tightly, emphasizing emotion and importance. It creates intimacy, draws viewers into a character’s feelings, and focuses attention, carrying emotional weight at key moments.
Why should I use a variety of shots?
Different shot sizes communicate different things and keep video engaging. Cutting between wide, medium, and close shots varies the visuals, tells the story effectively, and gives the editor options. A single shot size becomes monotonous.
Sources: Wikipedia’s article on shot sizes.
Frame every shot at Adobe Video World
Train hands-on with Adobe Certified Instructors across 100+ Premiere Pro & After Effects sessions.



